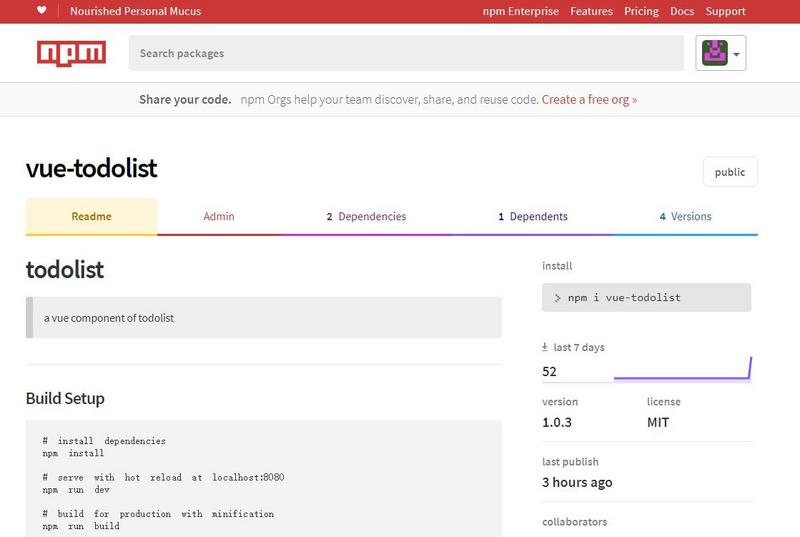
最近几个人合作完成了一个项目,发现有一些公用的基础业务组件,可以提取出来,不仅方便大家在各自模块直接引用,也可以在以后的项目中使用。想到了可不可以自己动手把组件打包发布到内部的npm上,避免以后小伙伴们的重复工作呢?于是乎,说干就干,在这里操练一下,写个todo-list的vue组件案例。案例源码:https://github.com/wuwhs/todoList
建立npm项目
1. 初始化npm项目
建一个文件夹(todoList),在这个文件夹路径下打开cmd窗口,输入指令npm init,前提是已经装好了node(自带npm)。
$ npm init This utility will walk you through creating a package.json file. It only covers the most common items, and tries to guess sensible defaults. See `npm help json` for definitive documentation on these fields and exactly what they do. Use `npm install <pkg>` afterwards to install a package and save it as a dependency in the package.json file. Press ^C at any time to quit. package name: (todolist)
提示输入项目包名称,这里的名称将作为发布到npm上这个包的名称,以后别人使用就可以直接import或require到项目中使用。
package name: (todolist) todolist version: (1.0.0)
接下来提示输入版本,这里的版本将作为发布到npm上这个包版本控制号,每次发布必须要改一下版本号,才允许发布,在这里作为第一个版本可以直接回车,默认是1.0.0。
version: (1.0.0) description:
然后提示输入描述信息,描述一下这个包的功能作用。于是输入:
description: a vue component of todolist entry point:(webpack.config.js)
再者,提示整个项目的入口文件,这里是我们打包后的文件,打包后文件都放到dist目录下,先设定生成的文件是todoList.min.js,于是:
entry point:(webpack.config.js) ./dist/todoList.min.js test command: git repository:
接下来提示输入测试命令、git仓库,先不管,后面再详细写,回车默认空。
再提示输入关键字,便于其他人在npm上搜索得到你写的包,最后就是作者和认证,根据自己实际情况填。
keywords: todolist vue author: wuwhs license: (ISC) About to write to D:\WampServer\wamp\www\todoList\package.json: { "name": "vue-todolist", "version": "1.0.0", "description": "a vue component of todolist", "main": "dist/todolist.min.js", "scripts": { "test": "echo \"Error: no test specified\" && exit 1" }, "keywords": [ "todolist", "vue" ], "author": "wuwhs", "license": "ISC" } Is this ok? (yes) yes
这样,一个npm项目就初始化完了。接下来,来发布一个已经打包好了的组件包(先为空的)到npm上。
发布包到npm上
首先需要有npm官网的一个注册账号,然后输入npm adduser,依次输入npm登录账号、密码和注册激活邮箱。这样就轻松的登录上了。(PS:在window的CMD窗口,输入密码时不显示输入密码,盲输入,确定后回车即可,这里被坑了一下)
$ npm adduser Username: wuwhs Password: balabala... Email: (this IS public) balabala... Logged in as wuwhs on https://registry.npmjs.org/.
最后,直接输入指令publish即可大功告成。
$ npm publish + vue-todolist@1.0.0

不过,好事多磨,可能事情没有那么顺利。
一个可能取的包名称跟别人的重名了,这样是不能上传上去的,会提示你没有权限发布这个包。
$ npm publish npm ERR! publish Failed PUT 403 npm ERR! code E403 npm ERR! You do not have permission to publish "vue-router". Are you logged in as the correct user? : vue-router npm ERR! A complete log of this run can be found in: npm ERR! C:\Users\Administrator\AppData\Roaming\npm-cache\_logs\2018-04-02T15_41_56_696Z-debug.log
解决方法:需要到package.json里改一下包名称name,或者去npm官网搜一下你要取的名称,有没有同名,再回头来改。
还有就是每次发布,没改版本号。
$ npm publish npm ERR! publish Failed PUT 403 npm ERR! code E403 npm ERR! You cannot publish over the previously published versions: 1.0.1. : vue-todolist npm ERR! A complete log of this run can be found in: npm ERR! C:\Users\Administrator\AppData\Roaming\npm-cache\_logs\2018-04-02T15_40_28_571Z-debug.log
解决方法:需要到package.json里改一下版本号后发布。
把npm线路打通了,接下来就是打包输出,上传资源了。
webpack打包
组件写好后,一般要借助自动化工具,将资源整合打包压缩,提供一个入口文件,供别人直接引用。在这里,选用webpack来打包。
为了方便演示,写一个vue官网上todo-list的例子,作为组件打包发布。
整个目录结构
--todoList --src --components --todoItem.vue --todoList.vue --App.vue --index.js --main.js --index.html --webpack.config.js --package.json --.babelrc --.npmignore
下面来分别说明文件内容:
1. package.json文件
