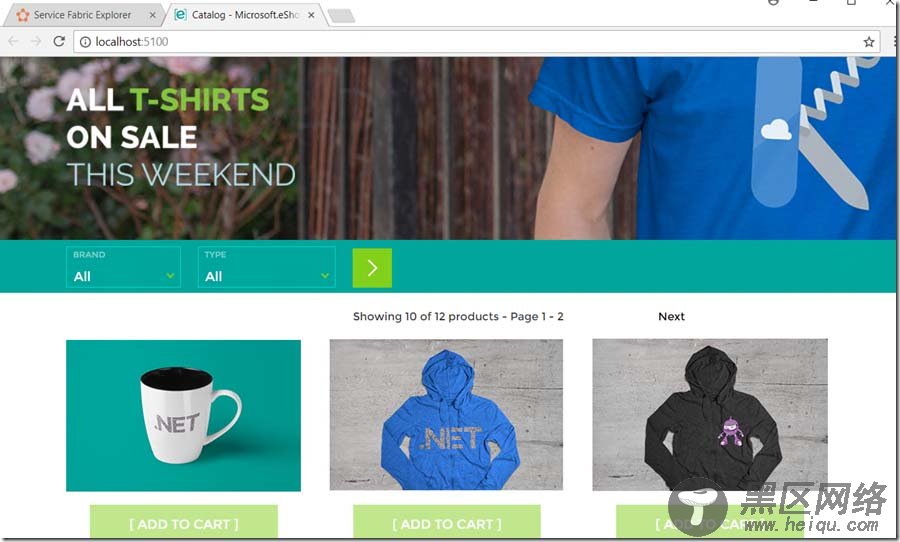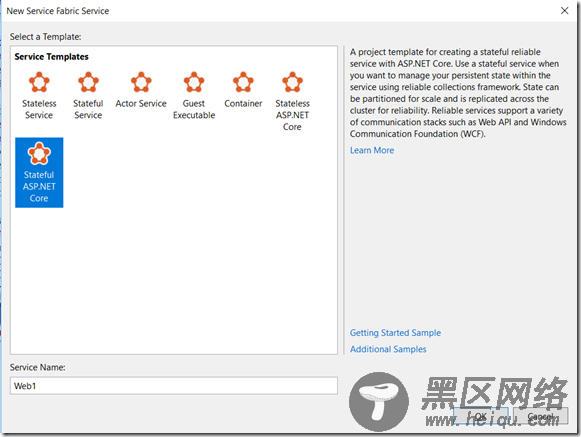
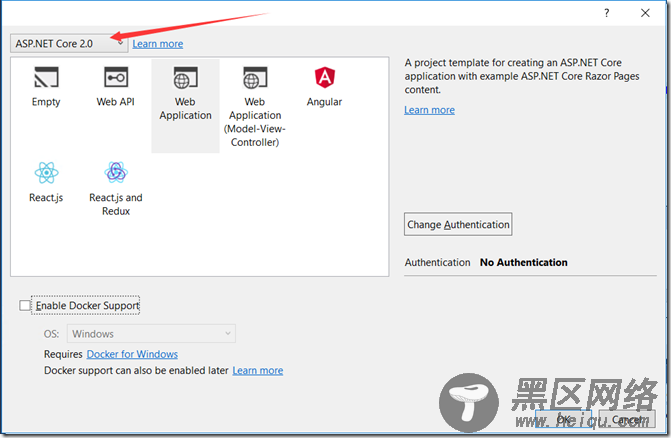
eShop on Container的代码都已经是一份成型的.net core 2.0的代码,所以不需要重新编写服务。
1.通过nuget添加最新的Service Fabric最新的SDK。
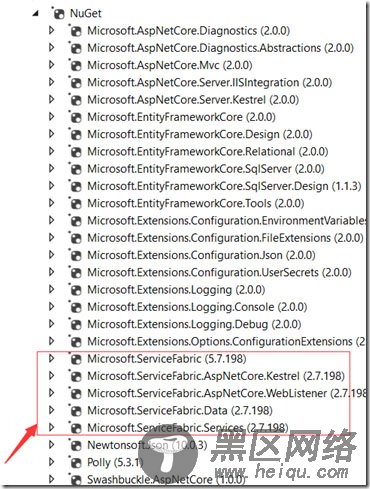
2.修改programe.cs,启动ServiceFabric Runtime而不是直接启动Asp.net WebHost
public static void Main(string[] args) { try { // ServiceManifest.XML 文件定义一个或多个服务类型名称。 // 注册服务会将服务类型名称映射到 .NET 类型。 // 在 Service Fabric 创建此服务类型的实例时, // 会在此主机进程中创建类的实例。 ServiceRuntime.RegisterServiceAsync("Catalog.API", context => new CatalogAPI(context)).GetAwaiter().GetResult(); ServiceEventSource.Current.ServiceTypeRegistered(Process.GetCurrentProcess().Id, typeof(CatalogAPI).Name); // 防止此主机进程终止,以使服务保持运行。 Thread.Sleep(Timeout.Infinite); } catch (Exception e) { ServiceEventSource.Current.ServiceHostInitializationFailed(e.ToString()); throw; } }
3.编写
CatalogAPI 类用于启动WebHost
internal sealed class CatalogAPI : StatelessService { public CatalogAPI(StatelessServiceContext context) : base(context) { } /// <summary> /// Optional override to create listeners (like tcp, http) for this service instance. /// </summary> /// <returns>The collection of listeners.</returns> protected override IEnumerable<ServiceInstanceListener> CreateServiceInstanceListeners() { return new ServiceInstanceListener[] { new ServiceInstanceListener(serviceContext => new KestrelCommunicationListener(serviceContext, "ServiceEndpoint", (url, listener) => { ServiceEventSource.Current.ServiceMessage(serviceContext, $"Starting WebListener on {url}"); return new WebHostBuilder() .UseKestrel() .ConfigureServices( services => services .AddSingleton<StatelessServiceContext>(serviceContext)) .UseContentRoot(Directory.GetCurrentDirectory()) .ConfigureAppConfiguration((builderContext, config) => { IHostingEnvironment env = builderContext.HostingEnvironment; config.AddJsonFile("settings.json", optional: false, reloadOnChange: true) .AddJsonFile($"appsettings.{env.EnvironmentName}.json", optional: true, reloadOnChange: true); }) .UseStartup<Startup>() .UseServiceFabricIntegration(listener, ServiceFabricIntegrationOptions.None) .UseUrls(url) .UseWebRoot("Pics") .Build(); })) }; } }
4.编写serviceManifest.xml描述服务端口等信息
<?xml version="1.0" encoding="utf-8"?> <ServiceManifest Version="1.0.3" xmlns="http://schemas.microsoft.com/2011/01/fabric" xmlns:xsd="http://www.w3.org/2001/XMLSchema" xmlns:xsi="http://www.w3.org/2001/XMLSchema-instance"> <ServiceTypes> <StatelessServiceType ServiceTypeName="Catalog.API" /> </ServiceTypes> <!-- Code package is your service executable. --> <CodePackage Version="1.0.3"> <EntryPoint> <ExeHost> <Program>Catalog.API.exe</Program> <WorkingFolder>CodePackage</WorkingFolder> </ExeHost> </EntryPoint> <EnvironmentVariables> <EnvironmentVariable Value="Development"/> </EnvironmentVariables> </CodePackage> <ConfigPackage Version="1.0.1" /> <Resources> <Endpoints> <Endpoint Protocol="http" Type="Input" Port="5101" /> </Endpoints> </Resources> </ServiceManifest>
5.修改AppcationManifest.xml增加几个服务的描述信息
添加ServiceImport节
<ServiceManifestImport> <ServiceManifestRef ServiceManifestName="Catalog.APIPkg" ServiceManifestVersion="1.0.3" /> <ConfigOverrides /> </ServiceManifestImport>
在DefaultService中描述Service
<Service ServiceDnsName="catalog.fabric.api"> <StatelessService ServiceTypeName="Catalog.API" InstanceCount="[Catalog.API_InstanceCount]"> <SingletonPartition /> </StatelessService> </Service>
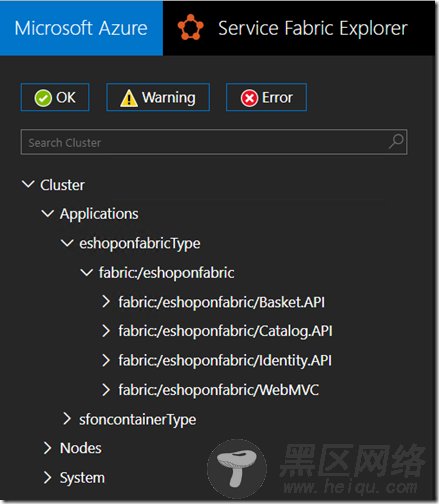
这样我们就可以将Catalog这个服务改造成可以通过Service Fabric来管理的微服务了。通过Publish,我们可看到几个服务都已经在Service Fabric下面接受管理和编排了。
访问localhost:5100
