3.4 构建和安装新的内核
构建和安装新的内核, 执行下面的3个命令:
make all
make modules_install
make install
保持耐心, 内核编译需要一定时间, 主要看你的内核配置和处理器速度. 最后一个命令将自动创建一个ramdisk, 你将在/boot/grub/menu.lst用到.
现在编辑/boot/grub/menu.lst. 把你的新的内核信息放到列表的顶端, 确认新的内核已经替代老的内核, default值需要设为0.
vi /boot/grub/menu.lst
我的menu.lst是这样的:
# grub.conf generated by anaconda
#
# Note that you do not have to rerun grub after making changes to this file
# NOTICE: You have a /boot partition. This means that
# all kernel and initrd paths are relative to /boot/, eg.
# root (hd0,0)
# kernel /vmlinuz-version ro root=/dev/VolGroup00/LogVol00
# initrd /initrd-version.img
#boot=/dev/sda
default=0
timeout=5
splashimage=(hd0,0)/grub/splash.xpm.gz
hiddenmenu
title Fedora Core (2.6.18.2)
root (hd0,0)
kernel /vmlinuz-2.6.18.2 ro root=/dev/VolGroup00/LogVol00
initrd /initrd-2.6.18.2.img
title Fedora Core (2.6.18-1.2798.fc6)
root (hd0,0)
kernel /vmlinuz-2.6.18-1.2798.fc6 ro root=/dev/VolGroup00/LogVol00
initrd /initrd-2.6.18-1.2798.fc6.img
现在重新启动系统:
shutdown -r now
如果一切进展顺利, 你的新内核正常工作. 你可以通过运行下面命令来检查你的新内核是否运行:
uname -r
这将会显示如:
2.6.18.2
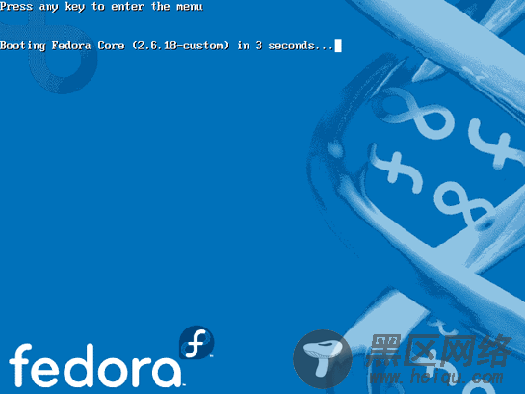
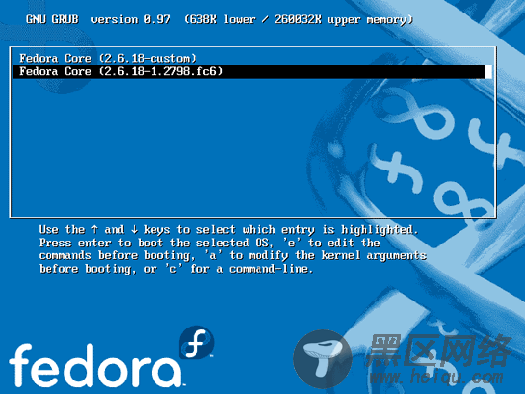
如果系统没有起来, 重启一下, 你会看到:

按任意键进入GRUB菜单:

选择你以前的内核启动系统, 现在你能再次尝试编译新的工作内核. 不要忘记从/boot/grub/menu.1st文件中移去不需要的引导内核信息.
