// components/navigationBar/index.js const app = getApp() Component({ properties: { navbarData: { //navbarData 由父页面传递的数据,变量名字自命名 type: Object, value: {}, // observer: function (newVal, oldVal) { } } }, data: { height: '', //默认值 默认显示左上角 navbarData: { showCapsule: 1 } }, attached: function () { // 定义导航栏的高度 方便对齐 this.setData({ height: app.globalData.height }) }, methods: { // 返回上一页面 _navback() { wx.navigateBack() }, //返回到首页 _backhome() { wx.switchTab({ url: '/pages/index/index', }) } } })
京东优选小程序这里的两个按钮都是返回首页,我在开发的时候觉得不对劲,所以我改过来了。
在这里还去取了一下全局定义的变量,也就是获取的设备顶部窗口的高度(不同设备窗口高度不一样,根据这个来设置自定义导航栏的高度),在app.js中要定义一下:
app.js App({ onLaunch: function () { ...... wx.getSystemInfo({ success: (res) => { this.globalData.height = res.statusBarHeight } }) }, globalData: { ... height: 0 } })
记得自定组件的时候一定要在json中写成自定义组件
// components/navigationBar/index.json { "component": true }
接下来就是调用该组件了
<navigationBar navbar-data='{{navbarData}}'></navigationBar>
别忘了在要引用页面的json中引入该组件
"usingComponents": { "navigationBar": "../../components/navigationBar/index" }
Toast
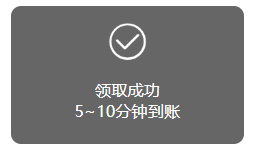
Toast同样也是小程序开发已经做好给你用的了,虽然它可以支持替换里面的图标,但是你会发现很鸡肋的一点是,如果你想显示两行文字你就没办法做到了。我在开发过程中也搜索过相关的实现方法,找到了大部分是说在要换行的文字后背加上rn就能实现了,但是我自己亲测无效,所以实在忍不住也自己做了一个。

<!-- components/toast/index.wxml --> <!-- 距离顶部高度由业务需要动态确定 --> <view hidden="{{hide}}"> <image src='' mode='aspectFit'></image> <view> <view wx:if="{{toastData.info1 != ''}}">{{toastData.info1}}</view> <view wx:if="{{toastData.info2 != ''}}">{{toastData.info2}}</view> </view> </view>
/* components/toast/index.wxss */ .mask { width: 440rpx; height: auto; border-radius: 20rpx; position: fixed; left: 155rpx; z-index: 1000; background: rgba(0, 0, 0, 0.6); text-align: center; padding-bottom: 30rpx; } .image { z-index: 1000; width: 80rpx; height: 80rpx; padding-top: 30rpx; padding-bottom: 20rpx; } .info1, .info2 { color: #ffffff; font-size: 32rpx; } .info { display: flex; flex-direction: column; justify-content: center; align-items: center; }
// components/toast/index.js Component({ properties: { //定义组件属性 toastData: { //用来显示提示信息 type: Object, // 类型(必填),目前接受的类型包括:String, Number, Boolean, Object, Array, null(表示任意类型) value: { icon: 'success' } // 属性初始值(可选),如果未指定则会根据类型选择一个 }, }, data: { hide: true }, methods: { showToast: function () { let that = this; that.setData({ hide: false }); }, hideToast: function (e) { let that = this; setTimeout(function () { that.setData({ hide: true }); }, 2000); } } })
这里给组件定义了两个方法,是用来显示和隐藏Toast的。这里要注意一下,调用给自定义组件定义方法要先在页面上获取该组件
<toast toast-data="{{toastData}}"></toast>
Page({ data: { toastData: { // toast需要的参数 icon: "success", info1: "加入购物车成功", top: "50%" } }, onReady() { this.toast = this.selectComponent("#toast"); } })
然后在需要触发Toast的事件中写上这两句:
this.toast.showToast() this.toast.hideToast()
功能实现
导航
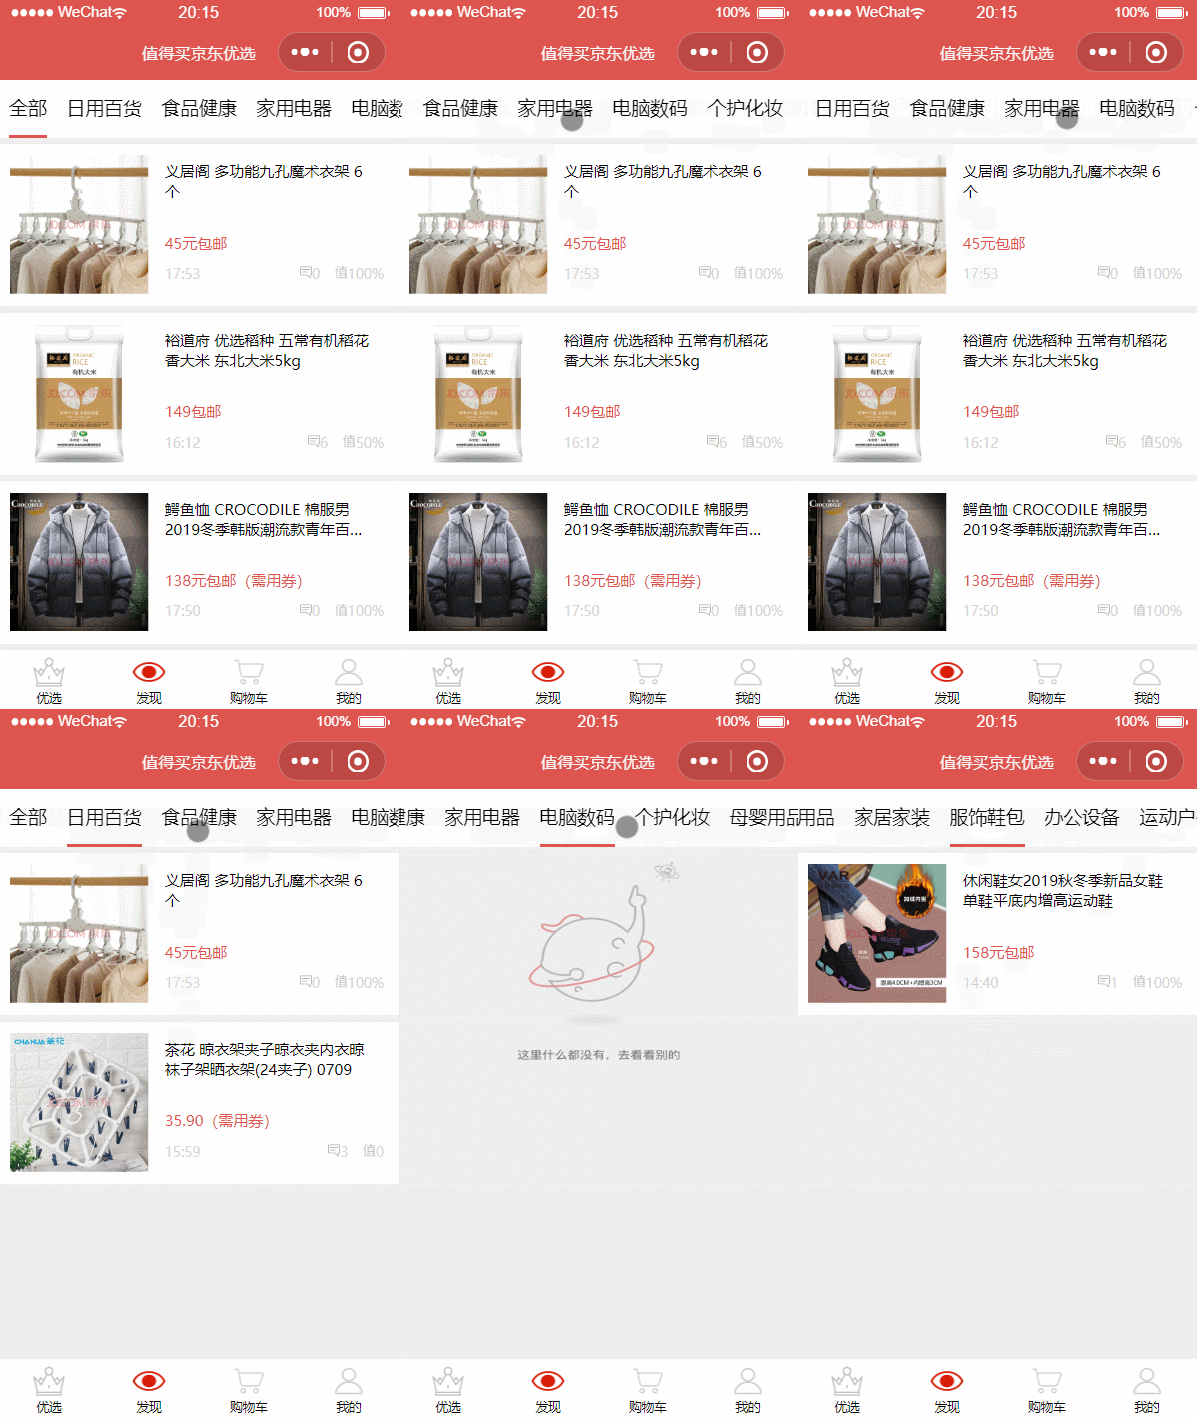
所谓导航,也是很常见了,就是根据选择栏目的不同,显示不同的类别内容。例如:

功能要求:
点击导航栏目,显示对应的栏目数据。
如果栏目中没有东西,要显示对应的提示信息。
