
几何变换可以看成图像中物体(或像素)空间位置改变,或者说是像素的移动。
几何运算需要空间变换和灰度级差值两个步骤的算法,像素通过变换映射到新的坐标位置,新的位置可能是在几个像素之间,即不一定为整数坐标。这时就需要灰度级差值将映射的新坐标匹配到输出像素之间。最简单的插值方法是最近邻插值,就是令输出像素的灰度值等于映射最近的位置像素,该方法可能会产生锯齿。这种方法也叫零阶插值,相应比较复杂的还有一阶和高阶插值。
插值算法感觉只要了解就可以了,图像处理中比较需要理解的还是空间变换。
总结一下最近看的关于OpenCV图像几何变换的一些笔记。
这是原图:
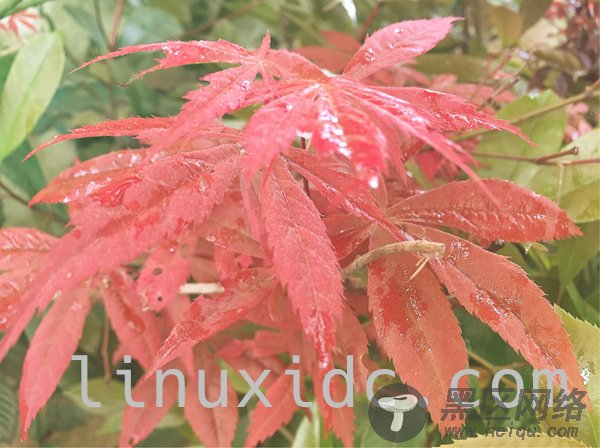
原图
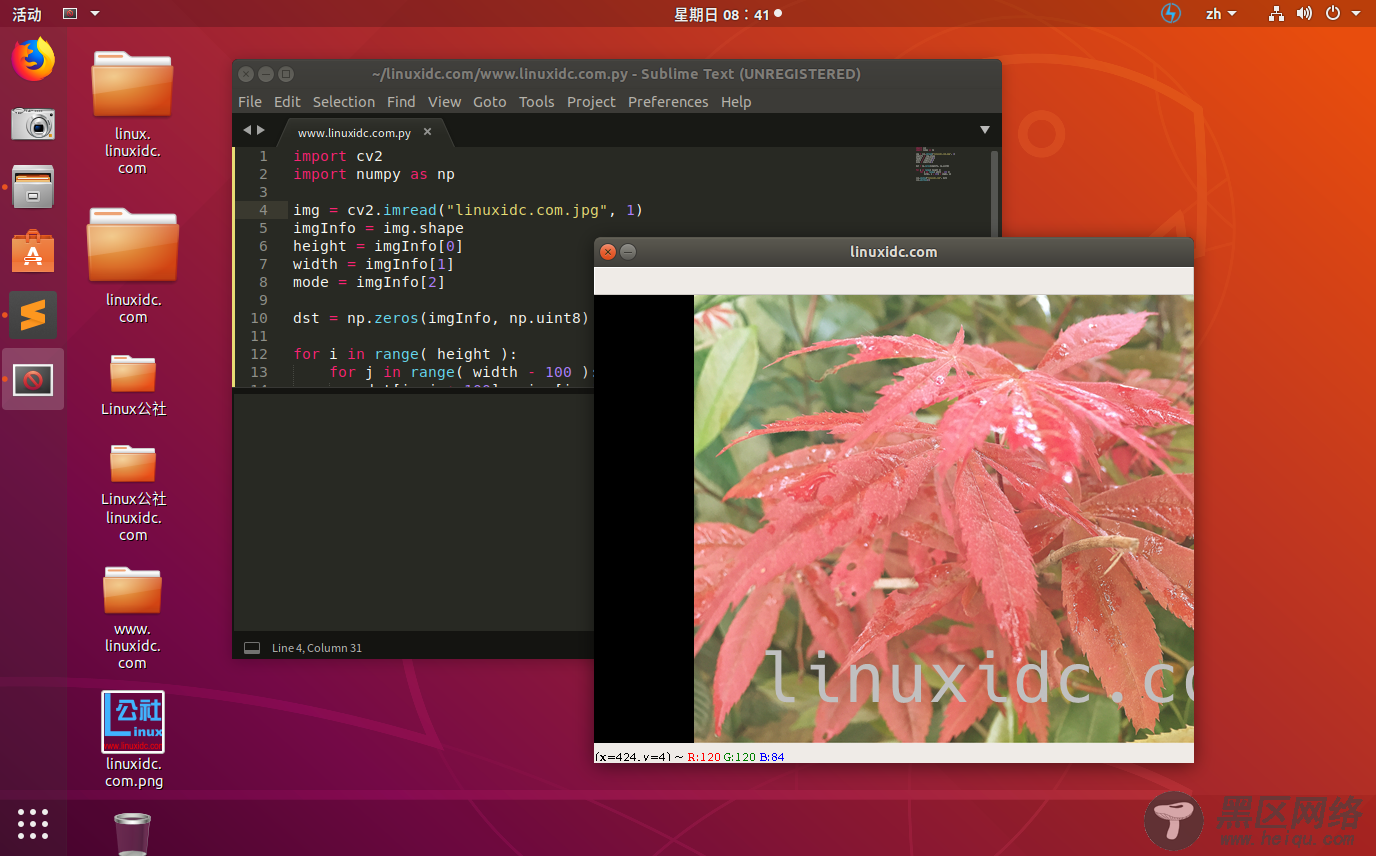
1、平移
import cv2 import numpy as np img = cv2.imread("linuxidc.com.jpg", 1) imgInfo = img.shape height = imgInfo[0] width = imgInfo[1] mode = imgInfo[2] dst = np.zeros(imgInfo, np.uint8) for i in range( height ): for j in range( width - 100 ): dst[i, j + 100] = img[i, j] cv2.imshow('linuxidc.com', dst) cv2.waitKey(0)
示例很简单,就是将图像向右平移了100个像素,如图:
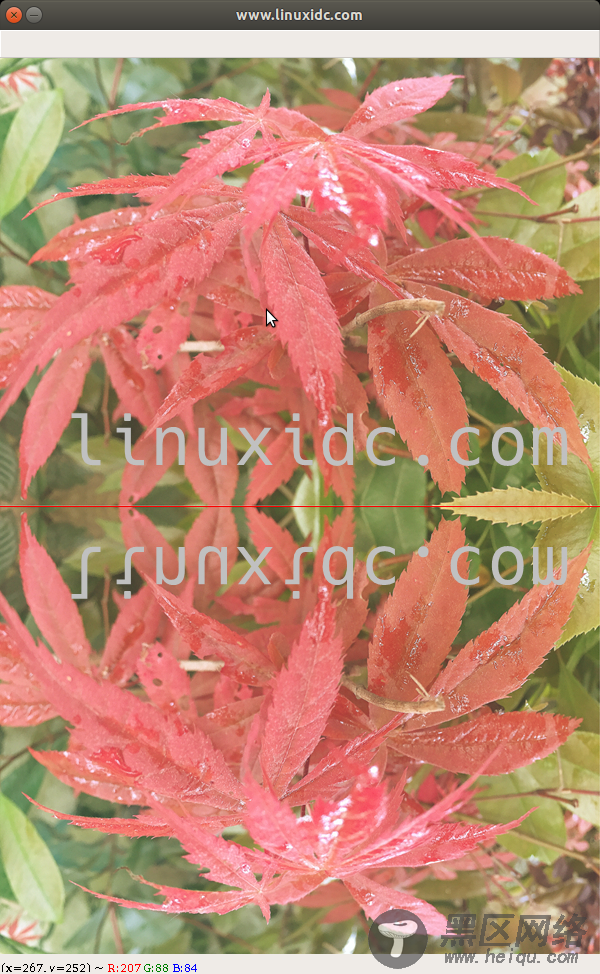
2、镜像
import cv2 import numpy as np img = cv2.imread('linuxidc.com.jpg', 1) cv2.imshow('src', img) imgInfo = img.shape height= imgInfo[0] width = imgInfo[1] deep = imgInfo[2] dst = np.zeros([height*2, width, deep], np.uint8) for i in range( height ): for j in range( width ): dst[i,j] = img[i,j] dst[height*2-i-1,j] = img[i,j] for i in range(width): dst[height, i] = (0, 0, 255) cv2.imshow('www.linuxidc.com', dst) cv2.waitKey(0)
生成一个如下效果图:
3、缩放
import cv2 img = cv2.imread("linuxidc.com.jpg", 1) imgInfo = img.shape print( imgInfo ) height = imgInfo[0] width = imgInfo[1] mode = imgInfo[2] # 1 放大 缩小 2 等比例 非等比例 dstHeight = int(height * 0.5) dstWeight = int(width * 0.5) # 最近邻域插值 双线性插值 像素关系重采样 立方插值 dst = cv2.resize(img, (dstWeight,dstHeight)) print(dst.shape) cv2.imshow('www.linuxidc.com', dst) cv2.waitKey(0)
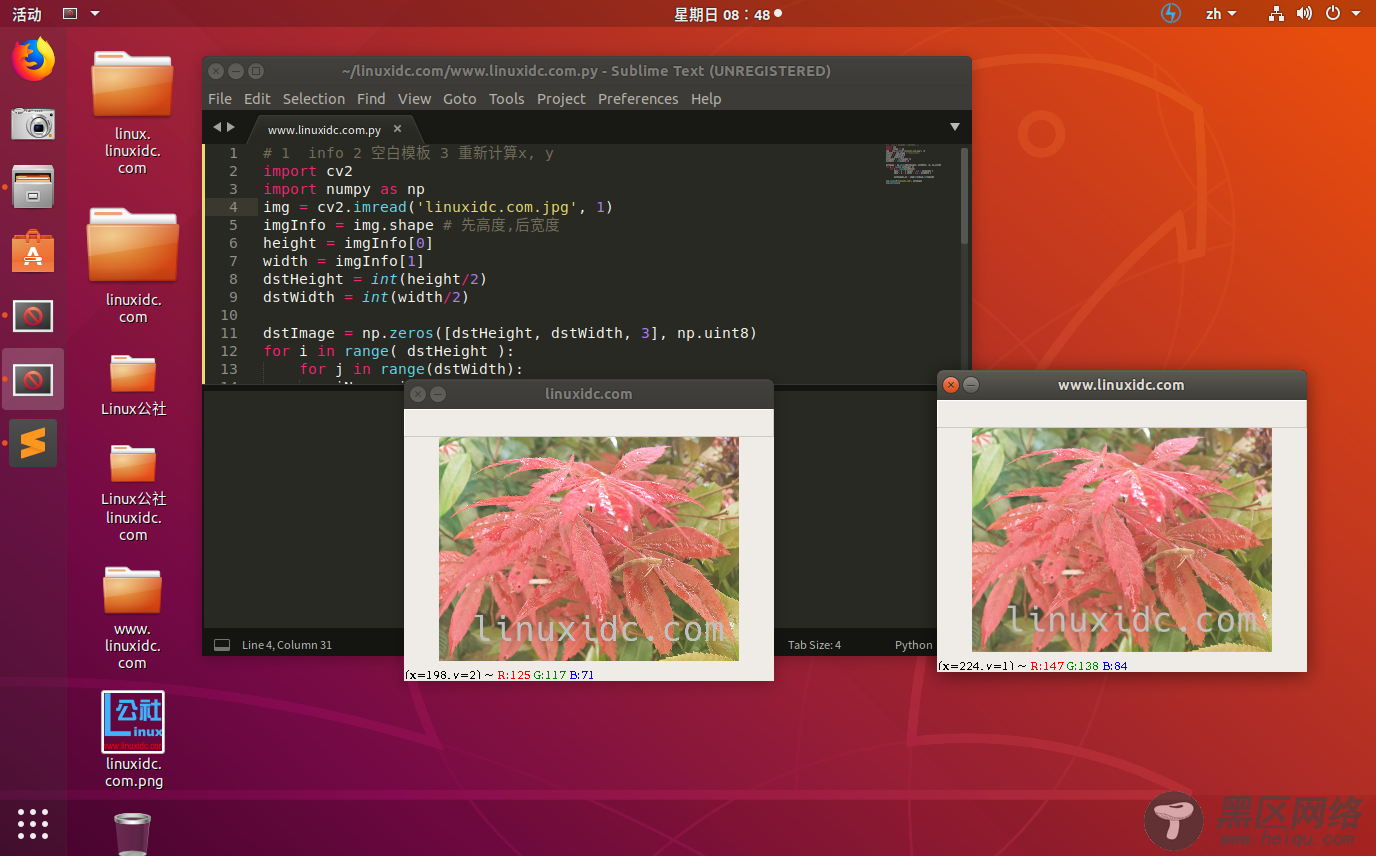
使用resize直接进行缩放操作,同时还可以使用邻域插值法进行缩放,代码如下:
# 1 info 2 空白模板 3 重新计算x, y import cv2 import numpy as np img = cv2.imread('linuxidc.com.jpg', 1) imgInfo = img.shape # 先高度,后宽度 height = imgInfo[0] width = imgInfo[1] dstHeight = int(height/2) dstWidth = int(width/2) dstImage = np.zeros([dstHeight, dstWidth, 3], np.uint8) for i in range( dstHeight ): for j in range(dstWidth): iNew = i * ( height * 1.0 / dstHeight ) jNew = j * ( width * 1.0 / dstWidth ) dstImage[i,j] = img[int(iNew),int(jNew)] cv2.imshow('linuxidc.com', dstImage) cv2.waitKey(0)
示例效果图如下:
4、旋转
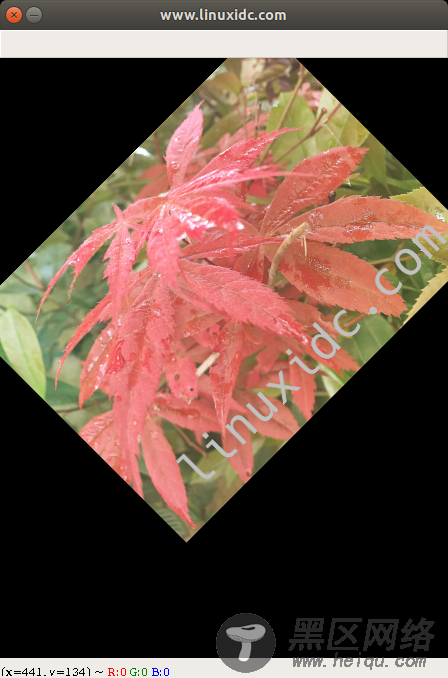
import cv2 img = cv2.imread('linuxidc.com.jpg', 1) cv2.imshow('src', img) imgInfo = img.shape height= imgInfo[0] width = imgInfo[1] deep = imgInfo[2] # 定义一个旋转矩阵 matRotate = cv2.getRotationMatrix2D((height*0.5, width*0.5), 45, 0.7) # mat rotate 1 center 2 angle 3 缩放系数 dst = cv2.warpAffine(img, matRotate, (height, width)) cv2.imshow('www.linuxidc.com',dst) cv2.waitKey(0)
旋转需要先定义一个旋转矩阵,cv2.getRotationMatrix2D(),参数1:需要旋转的中心点.参数2:需要旋转的角度.参数三:需要缩放的比例。效果如下图:
5、仿射