这篇文章主要介绍了phpstudy2020搭建站点的实现示例,文中通过示例代码介绍的非常详细,对大家的学习或者工作具有一定的参考学习价值,需要的朋友们下面随着小编来一起学习学习吧
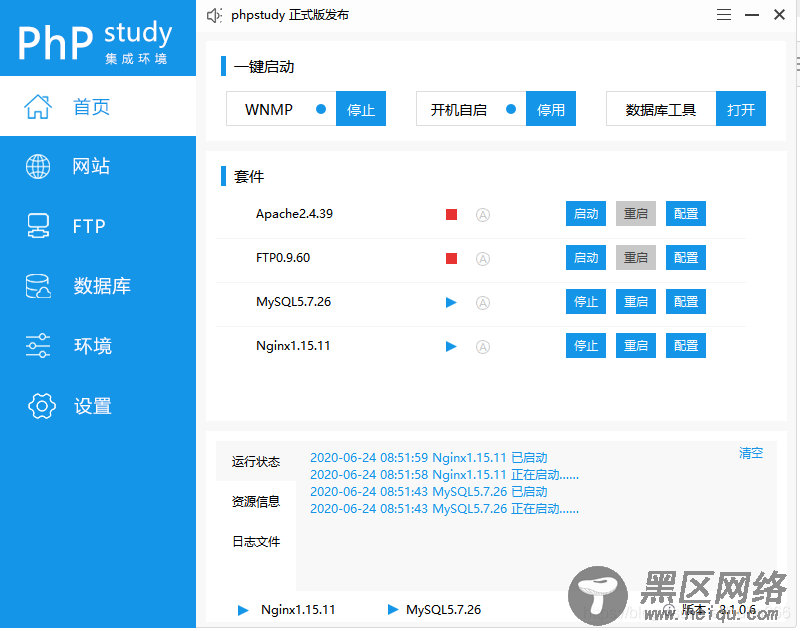
1.下载phpstudy(到官网下载),并安装后,启动phpstudy
2. 进入C:\Windows\System32\drivers\etc路径下的hosts文件,进行如下配置
127.0.0.1 xxxxadmin.com 127.0.0.1 xxxxpartneradmin.com 127.0.0.1 xxxxboadmin.com 127.0.0.1 xxxxbadmin.com
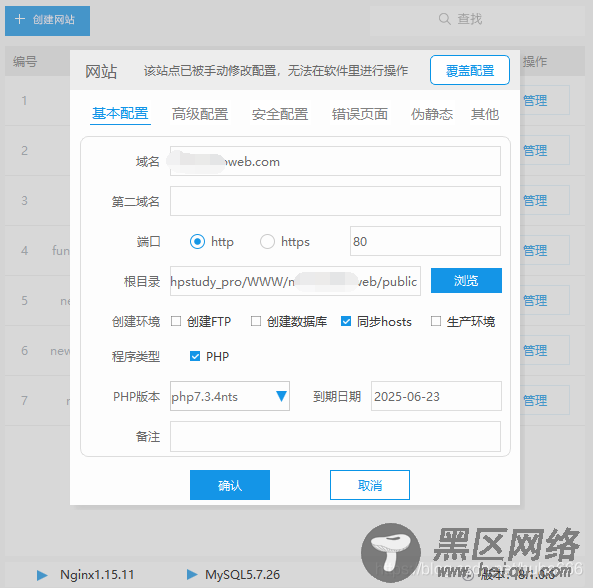
3.在面板的网站下,点击创建网站,如图所示
4.修改nginx文件配置

找到相对应的文件,修改如下(主要增加nginx环境配置伪静态去掉index.php)
server { listen 80; server_name newsaiboweb.com; root "E:/phpstudy_pro/WWW/new-saibo-web/public"; location / { index index.php index.html error/index.html; if (!-e $request_filename){ rewrite ^(.*)$ /index.php?s=$1 last; break; } error_page 400 /error/400.html; error_page 403 /error/403.html; error_page 404 /error/404.html; error_page 500 /error/500.html; error_page 501 /error/501.html; error_page 502 /error/502.html; error_page 503 /error/503.html; error_page 504 /error/504.html; error_page 505 /error/505.html; error_page 506 /error/506.html; error_page 507 /error/507.html; error_page 509 /error/509.html; error_page 510 /error/510.html; autoindex off; } location ~ \.php(.*)$ { fastcgi_pass 127.0.0.1:9000; fastcgi_index index.php; fastcgi_split_path_info ^((?U).+\.php)(/?.+)$; fastcgi_param SCRIPT_FILENAME $document_root$fastcgi_script_name; fastcgi_param PATH_INFO $fastcgi_path_info; fastcgi_param PATH_TRANSLATED $document_root$fastcgi_path_info; include fastcgi_params; } }
5.到此结束了,本地跑下试试!
到此这篇关于phpstudy2020搭建站点的实现示例的文章就介绍到这了,更多相关phpstudy2020搭建站点内容请搜索脚本之家以前的文章或继续浏览下面的相关文章希望大家以后多多支持脚本之家!
您可能感兴趣的文章: