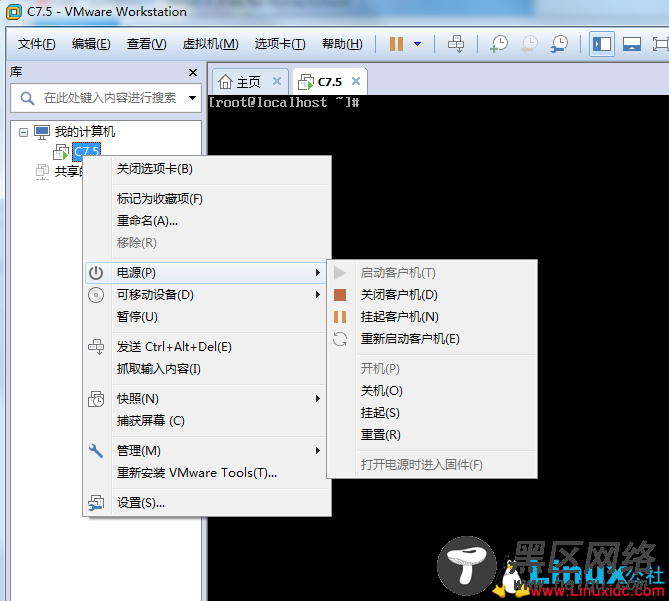
虚拟机--》鼠标右击--》电源--》重新启动客户机
8.查看selinux状态
[root@linuxidc ~]# getenforce Disabled 三、Selinux进阶---上下文提醒:如果想使用上下文,必须开启selinux才能有效,如果设置了上下文,却没有开启selinux,那等于白忙了。
这里举个例子:其他设置,类比就好
1.安装Apache服务
[root@linuxidc ~]# yum install -y httpd #提供网页服务
2.安装网络工具
[root@linuxidc ~]# yum install -y net-tools #提供查询系统网络状态的工具
3.启动网页服务并检查网站端口(默认端口为80)
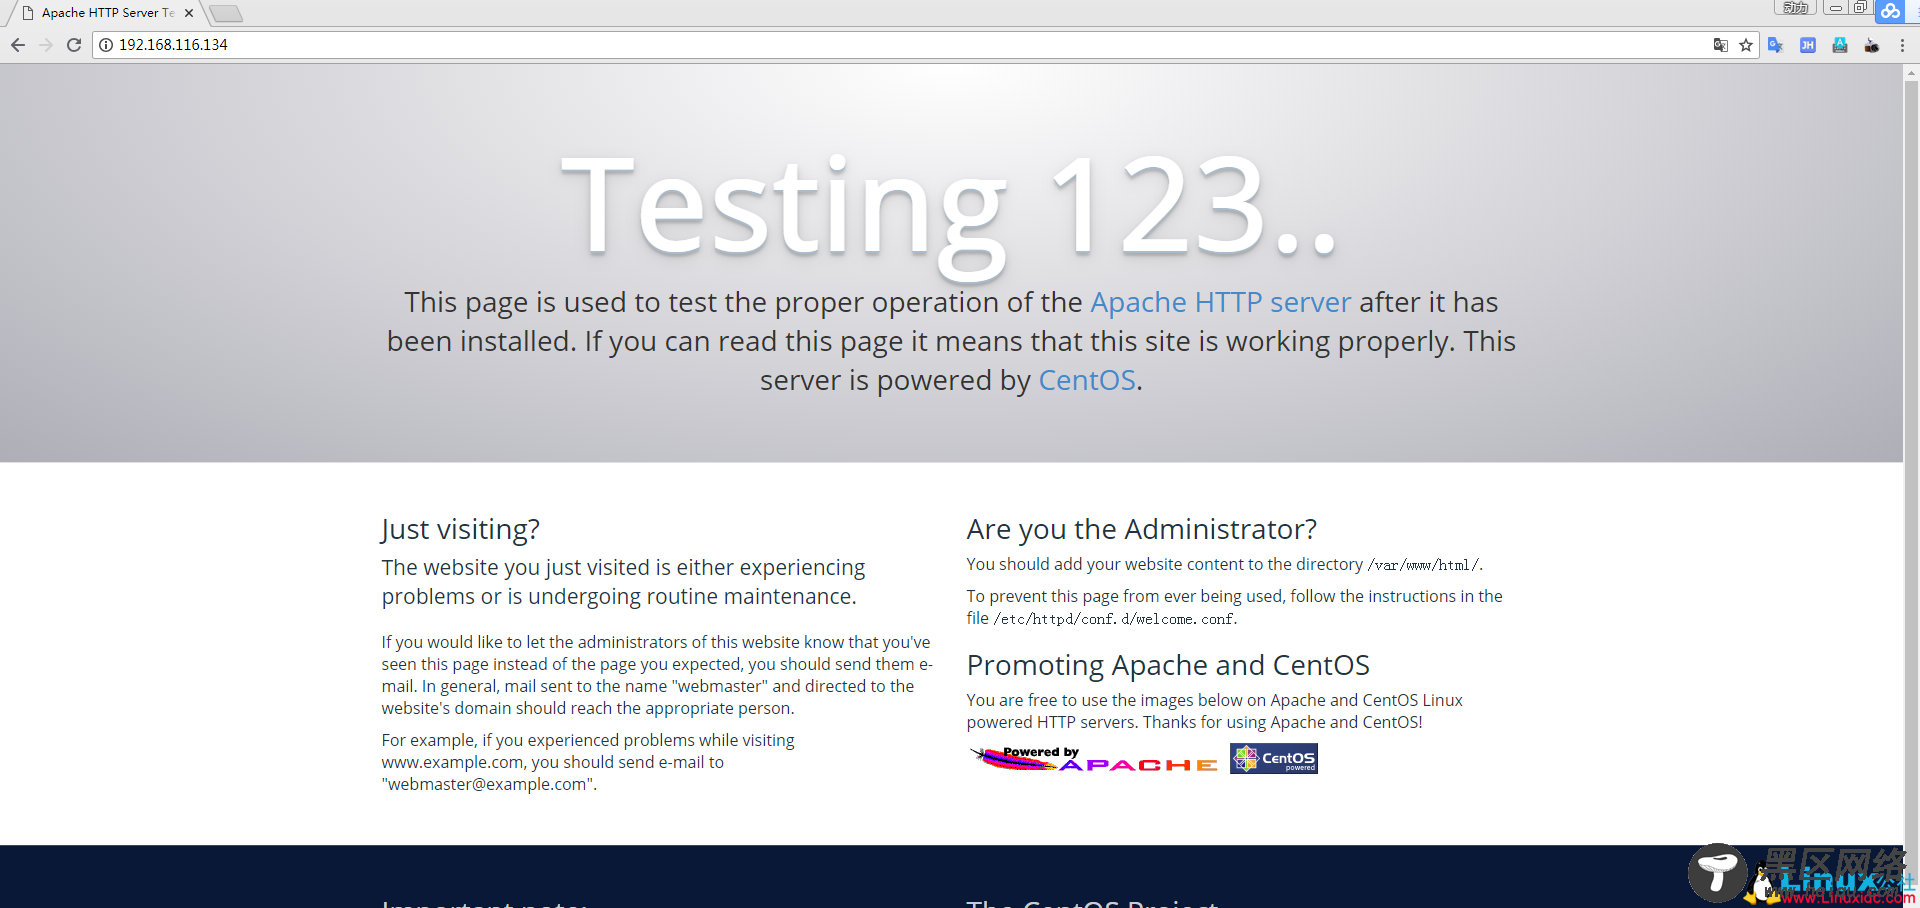
[root@linuxidc ~]# systemctl start httpd && netstat -tunlp |grep httpd tcp6 0 0 :::80 :::* LISTEN 1633/httpd [root@linuxidc ~]#4.访问网页(默认网页)
5.开启selinux
[root@linuxidc ~]# getenforce Enforcing [root@linuxidc ~]#6.设置自定义网页
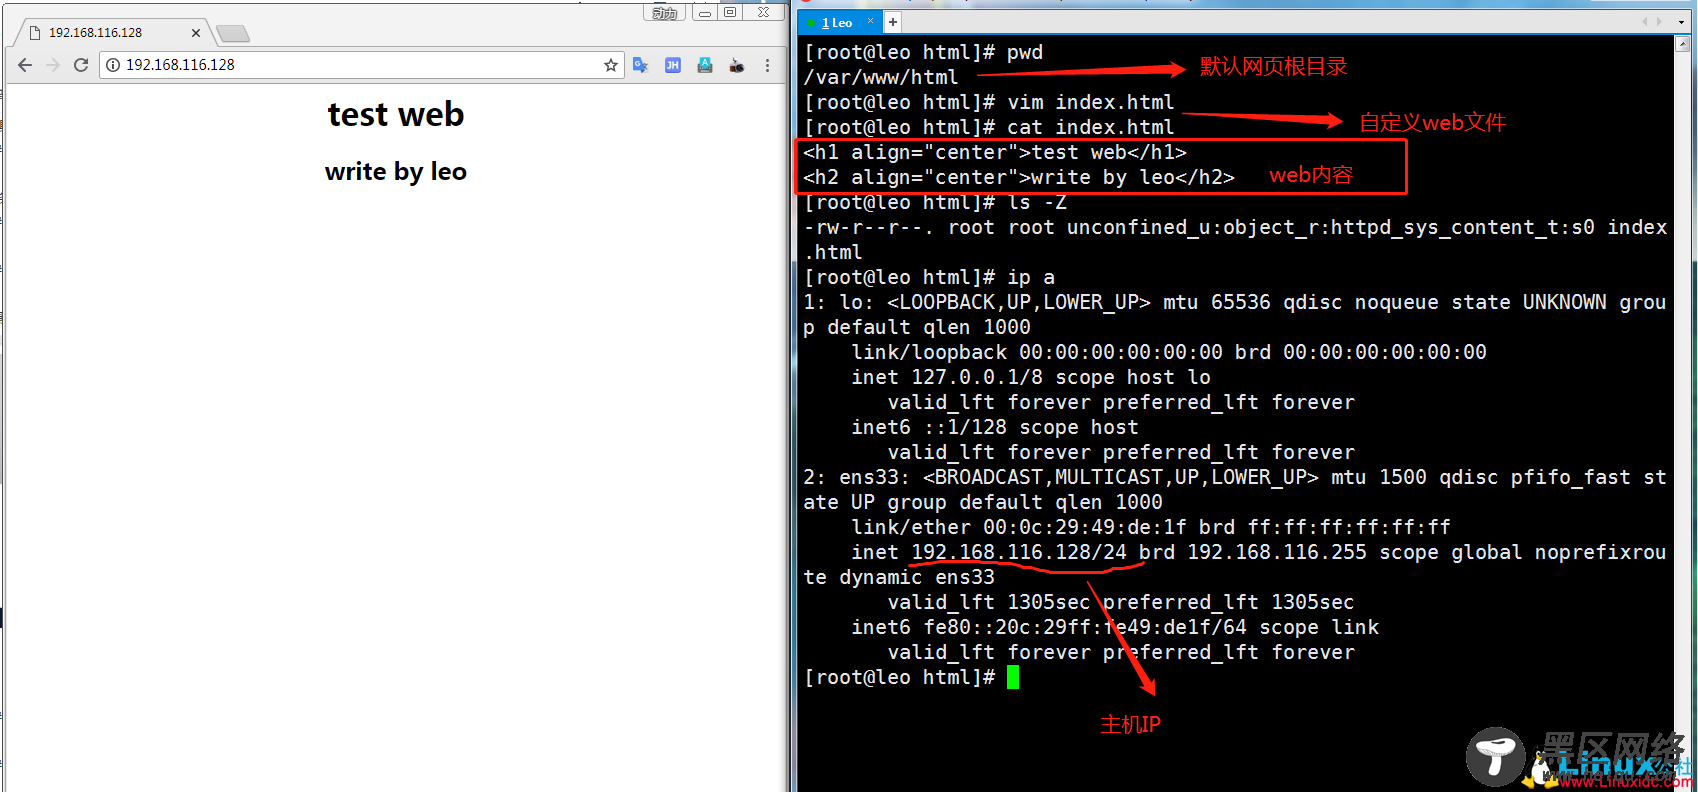
7.查看web上下文
[root@linuxidc html]# ls -Z -rw-r--r--. root root unconfined_u:object_r:httpd_sys_content_t:s0 index.html [root@linuxidc html]# 上下文为:httpd_sys_content_t8.在家目录创建网页文件,并移动到网站根目录
[root@linuxidc html]# cd [root@linuxidc ~]# vim linuxidc.html [root@linuxidc ~]# cat linuxidc.html <h1 align=center>test2 web</h1> <h2 align=center>linuxidc</h2> [root@linuxidc ~]# mv linuxidc.html /var/www/html/ [root@linuxidc ~]# cd /var/www/html/ [root@linuxidc html]# ls -Z -rw-r--r--. root root unconfined_u:object_r:httpd_sys_content_t:s0 index.html -rw-r--r--. root root unconfined_u:object_r:admin_home_t:s0 linuxidc.html [root@linuxidc html]#9.访问新创建的网页文件(显示没权限访问该文件)
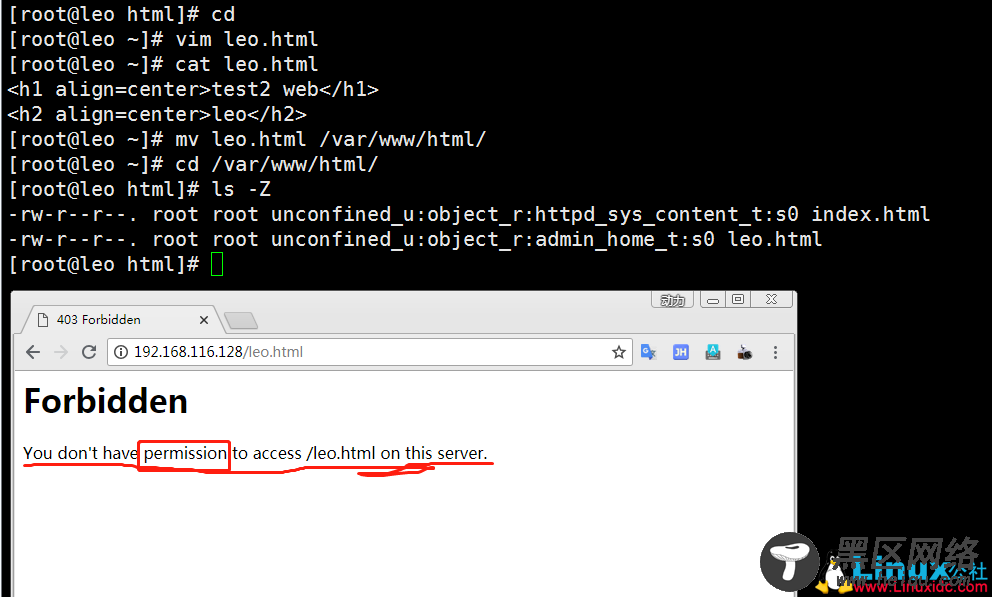
10.设置文件selinux,并访问网页(可正常访问该网页文件)
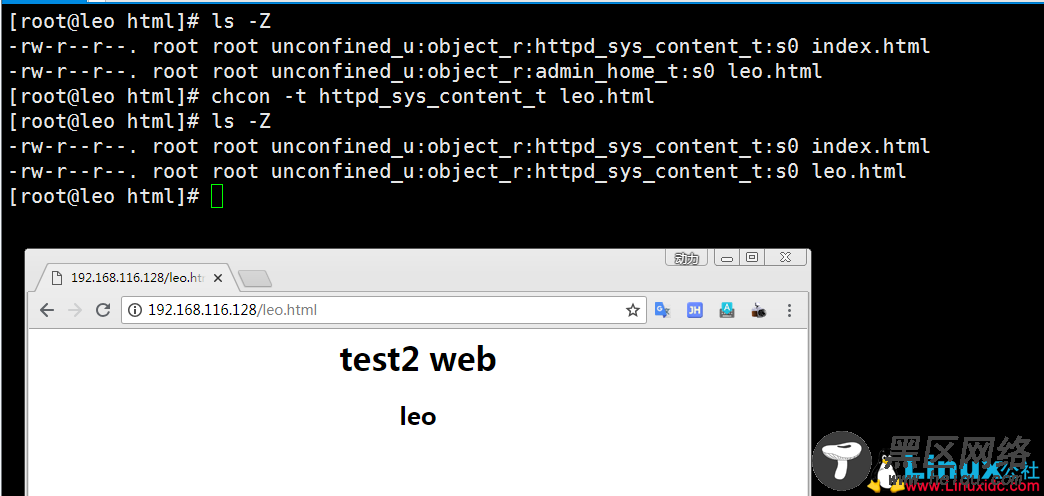
11.chcon命令掌握
[root@linuxidc html]# chcon --help Usage: chcon [OPTION]... CONTEXT FILE... or: chcon [OPTION]... [-u USER] [-r ROLE] [-l RANGE] [-t TYPE] FILE... or: chcon [OPTION]... --reference=RFILE FILE... 选项如下: --reference #引用其他文件上下文 --dereference #不引用其他文件上下文 -h, --no-dereference #影响符号链接而不是引用文件 -u, --user=USER #指定用户 -r, --role=ROLE #指定角色 -t, --type=TYPE #指定上下文 -l, --range=RANGE #指定上下文的范围 --no-preserve-root #不区分对待根目录 --preserve-root #区分对待根目录 --reference=RFILE #直接引用该文件的上下文 -R, --recursive #递归,一般用在目录 -v, --verbose #对每个文件输出信息
