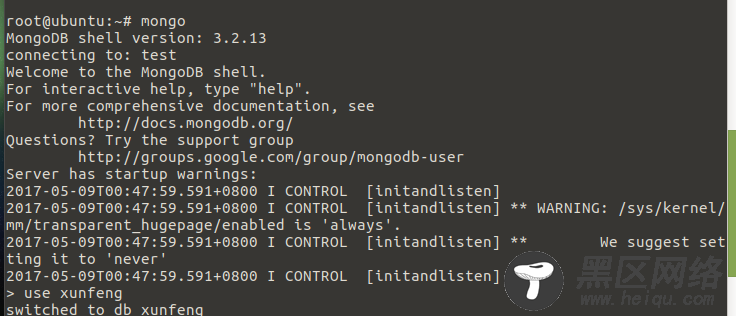
(5)目前巡风部署在3.2版本上,其他版本没有进行测试,为了稳定,这里不希望mongodb自己升级,故执行以下代码(不知道有没有理解对官网的意思,有不同意见的兄弟,可以跟我交流)
echo "mongodb-org hold" | sudo dpkg --set-selections echo "mongodb-org-server hold" | sudo dpkg --set-selections echo "mongodb-org-shell hold" | sudo dpkg --set-selections echo "mongodb-org-mongos hold" | sudo dpkg --set-selections echo "mongodb-org-tools hold" | sudo dpkg --set-selections
(6)创建一个系统服务的文件,默认装完,是不能直接运行service mongdb start
sudo nano /etc/systemd/system/mongodb.service
在里面输入
[Unit] Description=High-performance, schema-free document-oriented database After=network.target Documentation=https://docs.mongodb.org/manual [Service] User=mongodb Group=mongodb ExecStart=/usr/bin/mongod --quiet --config /etc/mongod.conf [Install] WantedBy=multi-user.target
保存并退出
(7)启动mongodb服务
sudo systemctl start mongodb
可以验证下mongodb是否正常开启
sudo systemctl status mongodb

PS:如果报错提示说地址已经被占用什么的,重启下系统再开启,应该就能成功。
(8)设置mongodb服务开机启动
sudo systemctl enable mongodb
#0x02部署和配置
mongodb添加认证
mongo > use xunfeng > db.createUser({user:'scan',pwd:'your password',roles:[{role:'dbOwner',db:'xunfeng'}]}) > exit
这里的 your password 需要更换为你的验证密码,笔者是DC老爷死忠粉,所以就用了batman


退出后切换到你的xunfeng/db路径下,导入数据库,执行(注意不要忘了最后的那个“.”)
mongorestore -h 127.0.0.1 --port 27017 -d xunfeng .

回到xunfeng路径下
cd .. nano Config.py
修改相关的配置文件,这里主要修改数据库的端口(mongodb默认端口号是27017)和你刚设置的数据库密码(笔者这里是batman)

还有Run.sh文件

完成后,启动即可
sh Run.sh

#0x03浏览器运行巡风
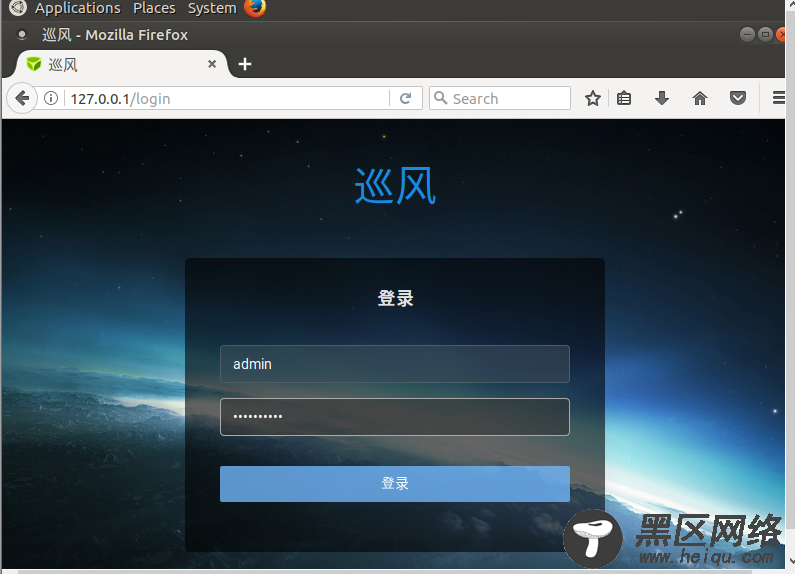
默认地址127.0.0.1,80端口,使用admin/xunfeng321登陆即可


安装步骤到此基本结束
使用方法的视频演示:https://sec-pic-ly.b0.upaiyun.com/xunfeng/xunfeng.mp4


