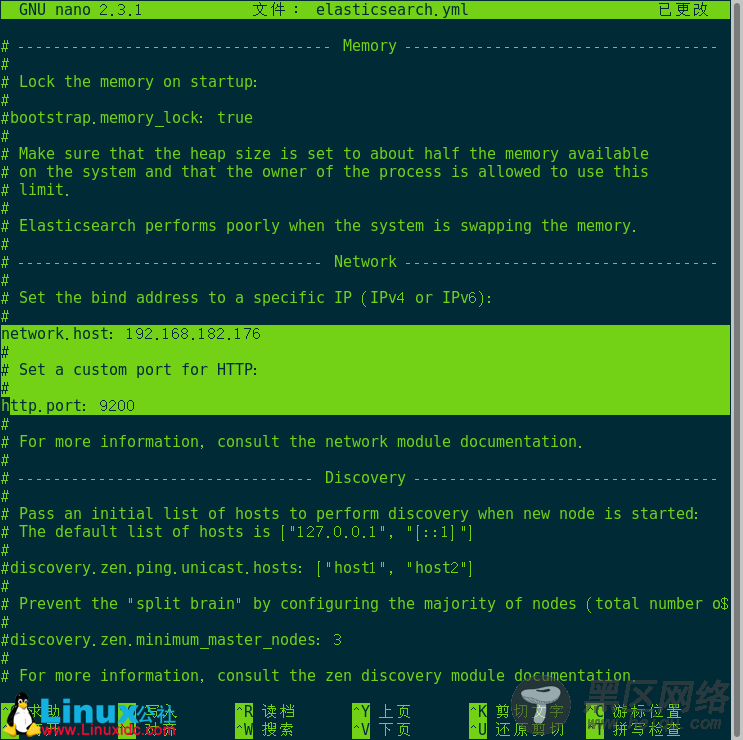
修改ES配置文件,使用cd命令进入到config 文件下,执行 nano elasticsearch.yml 命令,如图所示,本人没有配置集群,只是简单的配置了一下;详细说明可以参考官网;

启动ES
在新建的账号estest下启动ES。
在ES 的bin 文件所在的目录下执行以下命令即可
./elasticsearch -d
验证 ES 是否正常启动
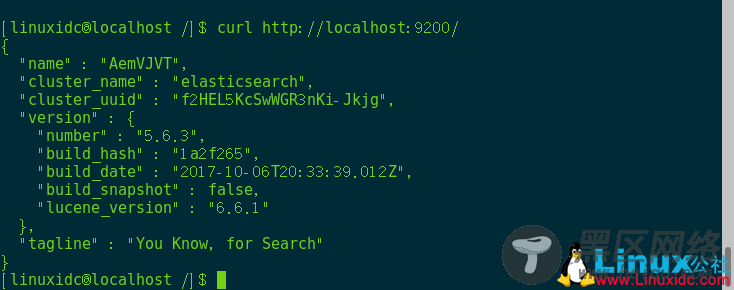
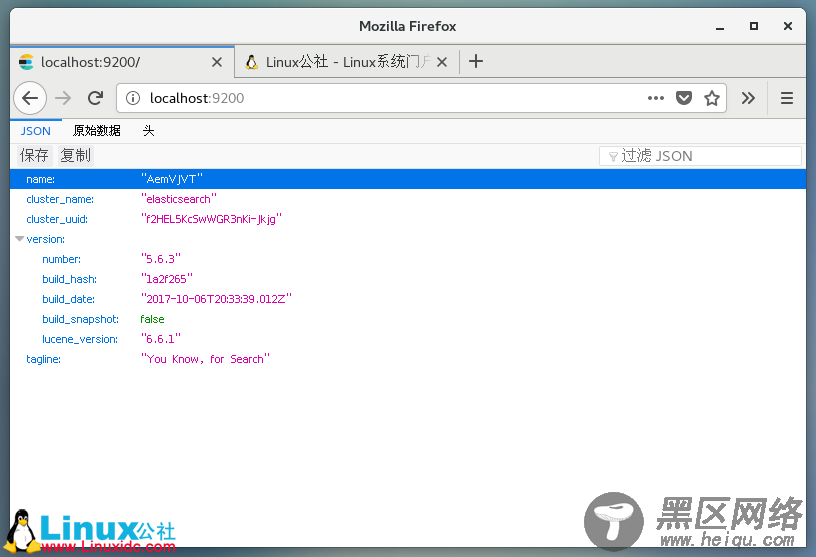
方法1. curl :9200/ 检查,显示以下信息证明已启动OK。


Elasticsearch 默认是rest-api的端口是9200,不支持IP地址,只能在本机使用:9200 来访问,如果需要完成访问,还需进行以下配置。
Step 1 修改elasticsearch.yml 文件中的network.host 和 http.port 参数
去除文件中network.host 和 http.port 参数前面的注释(#),且将network.host 的IP地址修改为本地的IP地址。
Step 2 .编辑/etc/security/limits.conf 文档,在文档中添加以下参数
sudo nano /etc/security/limits.conf
* soft nofile 65536
* hard nofile 131072
此参数主要解决以下错误:
max file descriptors [4096] for elasticsearch process is too low, increase to at least [65536]
需要退出当前用户,再次登录才能生效。
Step 3 . 编辑vim /etc/sysctl.conf 文档,在文档中添加以下参数
vm.max_map_count=655360
编辑保存后并执行命令: sysctl -p
此操作主要是解决以下问题
max virtual memory areas vm.max_map_count [65530] is too low, increase to at least [262144]
ps:别的机器进行访问时需要开放9200端口和9300端口,9200是http协议端口,9300是tcp协议端口,为java client服务的。我这里没有单独打开端口,只是关闭了防火强,CentOS7关闭防火墙和CentOS6不一样,7的防火墙是firewalld的服务,执行命令
//临时关闭
systemctl stop firewalld
//禁止开机启动
systemctl disable firewalld
Removed symlink /etc/systemd/system/multi-user.target.wants/firewalld.service.
Removed symlink /etc/systemd/system/dbus-org.Fedoraproject.FirewallD1.service.
集群时需要添加一些配置,如果搭三个虚拟机做集群,想cluster.name相同时发现并不是集群,在es配置文件中需要添加额外配置
discovery.zen.ping.unicast.hosts: ["xxx.xxx.xxx","xxx.xxx.xxx","xxx.xxx.xxx"]
discovery.zen.minimum_master_nodes: 3
解释说明:
bootstrap.memory_lock: false 这是锁定内存,在一篇调优文章中这个设置成true时会减少内存交换的消耗,这里先设置成false
bootstrap.system_call_filter: false 这个配置设置true在CentOS6或以上时会出现错误, 因为Centos6不支持SecComp

