相信使用过Open vSwitch的人都知道,Open vSwitch因为要替换一部分linux内核,所以在修改Open vSwitch源码的时候,每次都需要重新编译和安装,这个过程十分的机械和枯燥,所以写一个小脚本自动实现这个功能。
下面可以简单的分析下源码:
#remove the old ovs kill `cd /usr/local/var/run/openvswitch && cat ovsdb-server.pid ovs-vswitchd.pid` aptitude remove openvswitch-common openvswitch-datapath-dkms openvswitch-controller openvswitch-pki openvswitch-switch -y rmmod openvswitch #install the new ovs cd openvswitch-2.4.0 ./configure --prefix=/usr --with-linux=/lib/modules/`uname -r`/build make make install modprobe gre insmod datapath/linux/openvswitch.ko make modules_install modprobe openvswitch #disable openvswitch controller /etc/init.d/openvswitch-controller stop update-rc.d openvswitch-controller disable #start the new ovs /etc/init.d/openvswitch-switch start ovsdb-tool create /usr/local/etc/openvswitch/conf.db /usr/local/share/openvswitch/vswitch.ovsschema ovsdb-server --remote=punix:/usr/local/var/run/openvswitch/db.sock --remote=db:Open_vSwitch,Open_vSwitch,manager_options --pidfile --detach --log-file ovs-vsctl --no-wait init ovs-vswitchd --pidfile --detach
主要的过程为:
移除原来的OpenvSwitch的核以及库
安装编译新的OpenvSwitch
重新启动OpenvSwitch(包括数据库,主函数)
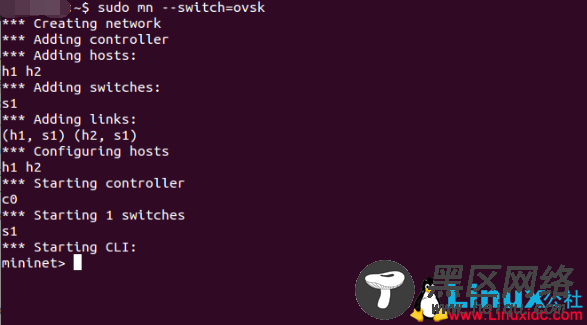
将这个脚本放在和OpenvSwitch同一个目录下,运行之后,就可以开始使用ovs了。如下图:


