
因为要学习faster r-cnn,在搭建环境的时,发现原本通过yum安装的protobuf没有安装Python版本以及其他一系列版本版本兼容性问题,导致我必须用编译方式重新安装protobuf2.5
下载源码首先,从github上下载protobuf的源码,地址:https://github.com/google/protobuf,我选择下载2.5.0版本。
编译protobuf然后将下载的压缩包解压缩
unzip protobuf-2.5.0.zip按照网上教程,应该执行./configure了,但是根目录下居然没有configure文件,却有一个autogen.sh,原来是因为protobuf的编译方式做了修改,要执行autogen.sh才会生成configure脚本。
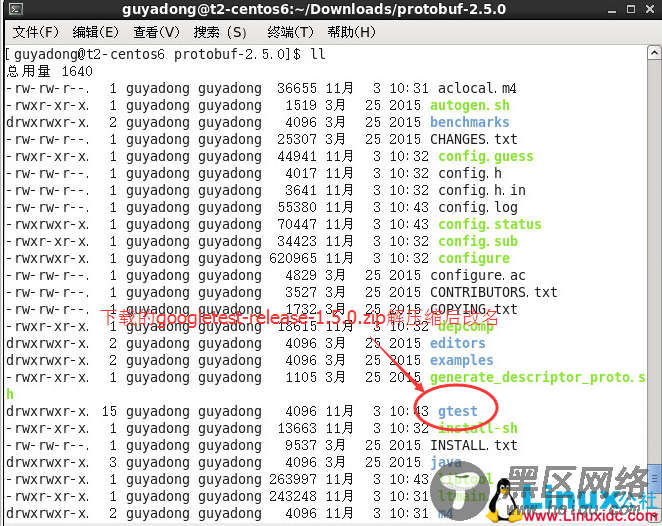
但在执行autogen.sh时出错了,因为google.com被墙了,我的虚拟机里无法下载gtest,于是手动下载googletest-release-1.5.0.zip,解压缩后,改名为gtest放在protobuf-2.5.0目录下
autogen.sh代码片段
# Check that gtest is present. Usually it is already there since the # directory is set up as an SVN external. # 判断是否存在gtest目录 if test ! -e gtest; then echo "Google Test not present. Fetching gtest-1.5.0 from the web..." #如果目录不存在则尝试从google.com下载并解压缩,如果google被墙则下载失败 curl 1.5.0.tar.bz2 | tar jx #将解压缩后的目录改名为gtest mv gtest-1.5.0 gtest figoogletest1.5.0可以到Linux公社资源站下载:
------------------------------------------分割线------------------------------------------
具体下载目录在 /2017年资料/3月/27日/CentOS6.5下Python版本的ProtoBuf编译及安装/
------------------------------------------分割线------------------------------------------
#解压缩 unzip gtest-1.5.0.zip mv gtest-1.5.0 gtest执行protobuf编译
#执行autogen.sh生成configure ./autogen.sh ./configure # -j8 多线程编译 make -j8 make check # 安装编译成功的protobuf sudo make install 安装python模块 cd python python setup.py build python setup.py test python setup.py install 验证Python模块验证Python模块是否被正确安装
如果没有报错,说明安装正常。
参考: