大部分情况下,我们的工作环境都是Windows,然后当我工作中有需要用到Linux环境的时候我们大多会选择选择虚拟机来安装Linux,这里我记录我在虚拟机里安装CentOS7过程,以便今后工作中参考。
涉及内容:
安装 VMware Workstation 12 PRO
配置 VMware Workstation 12 PRO
安装 CentOS 7 Minimal版
配置 CentOS 7
快速克隆虚拟机
一、安装 VMware
CentOS Minimal版安装包括安装和配置IP地址,主机名映射:
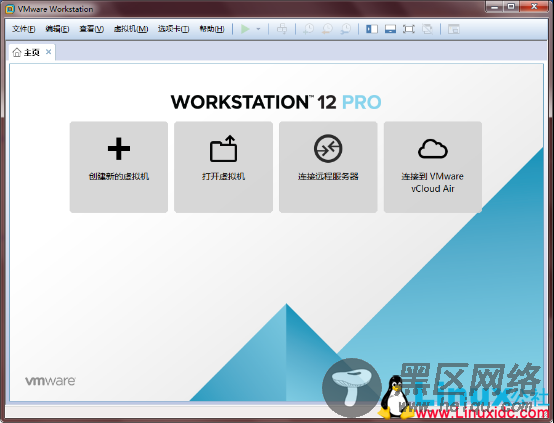
1.打开 VMware 12 ――》新建创建新的虚拟机:
2.然后选择“自定义” ――》 “下一步”:
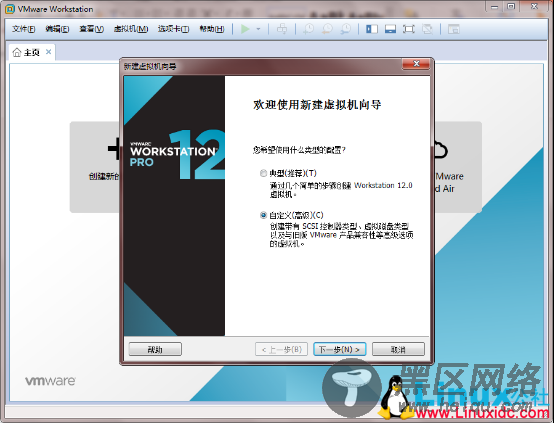
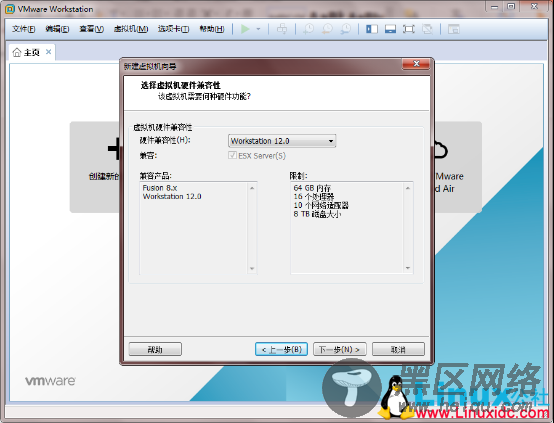
3.继续下一步:
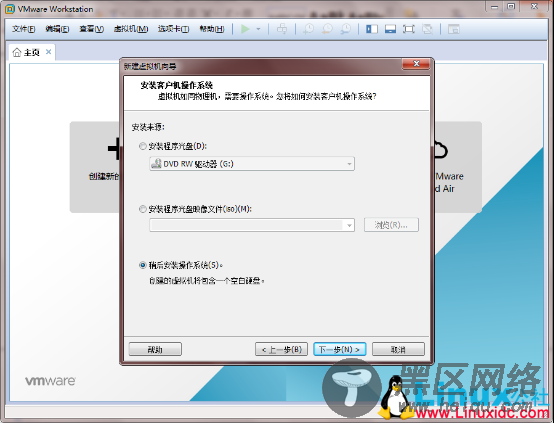
4.选择“稍后安装操作系统” ――》下一步
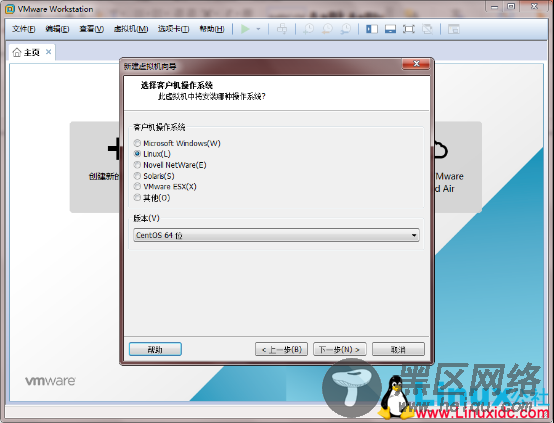
5.“客户机操作系统” 选择 “Linux” 、“版本”选择“CentOS 64位” ――》下一步:
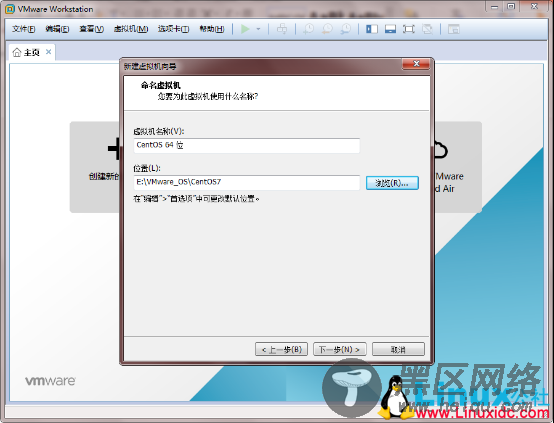
6.修改“虚拟机名称”和“位置”,也可以使用默认名称和路径。然后“下一步”
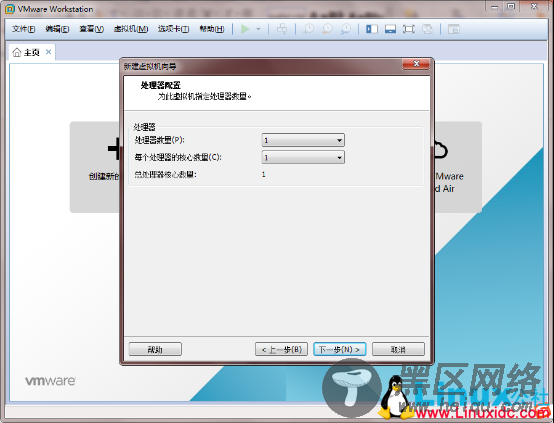
7.处理器配置默认的就可以了:
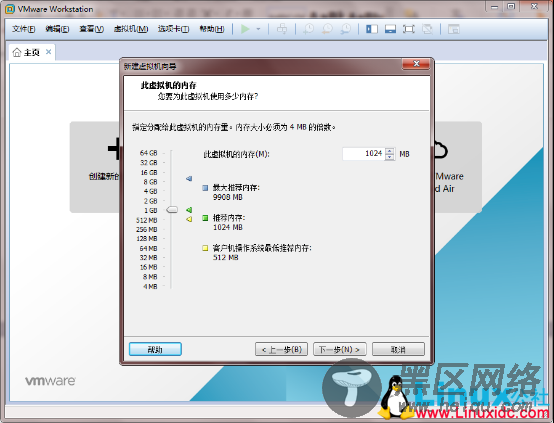
8.内存自定义,可以自己设置大点。不建议小于默认的内存大小。
9.“网络类型”选择“使用桥接网络”:

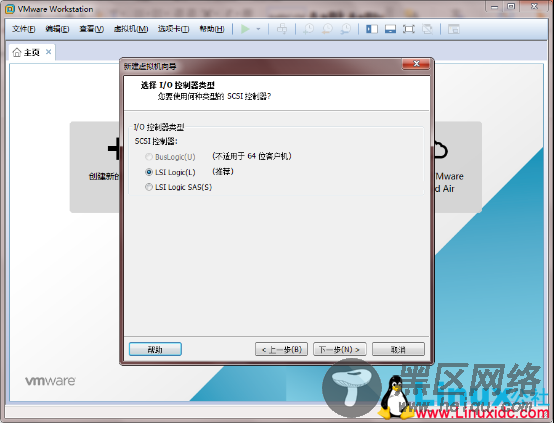
10.“I/O控制器类型” 选择推荐的“LSI Logic”,然后“下一步”
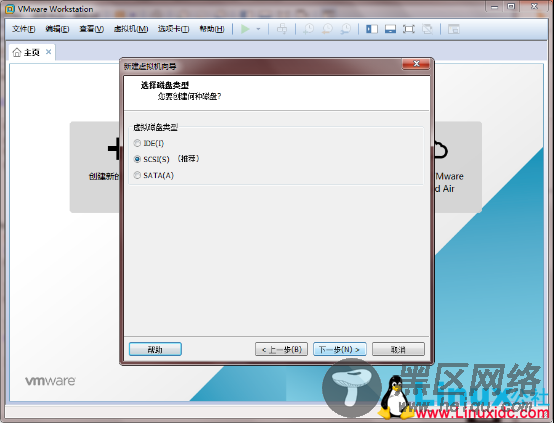
11.“虚拟磁盘类型”选择推荐的“SCSI”,然后“下一步”
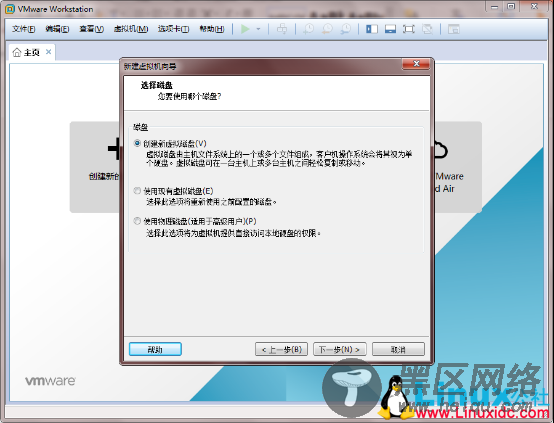
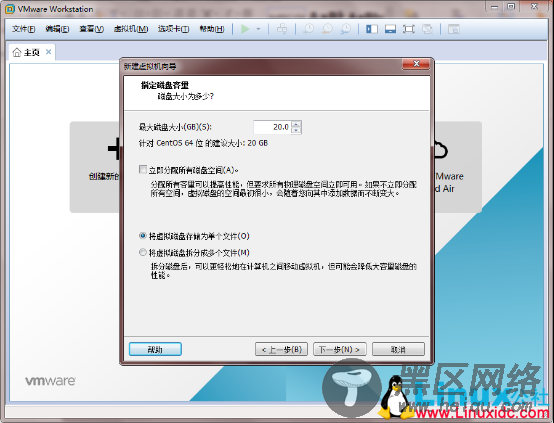
12.“磁盘”选择“创建新虚拟磁盘”
13.“指定磁盘容量”选择建议的大小,自己可以设置大点。然后选择“将虚拟磁盘存储为单个文件”
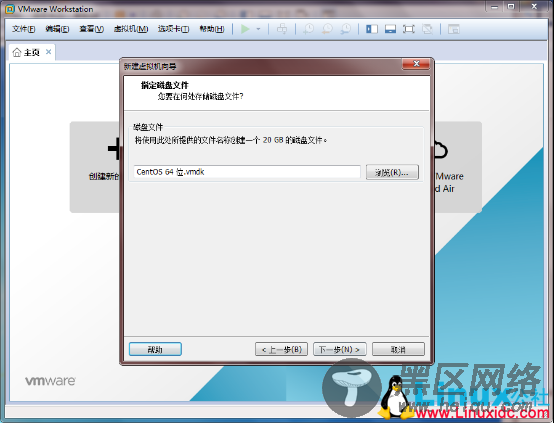
14.点击“完成”

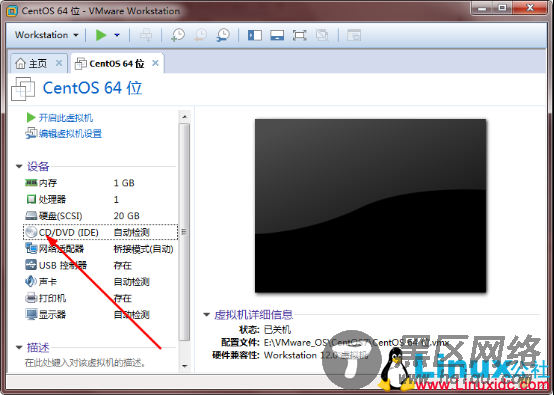
15.点击“CD/DVD (IDE)”:
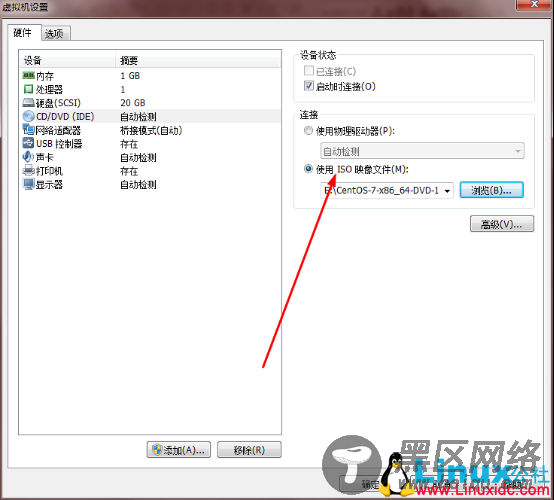
16.选择“使用ISO映像文件”,点击“浏览”,找到你安装盘所在位置:
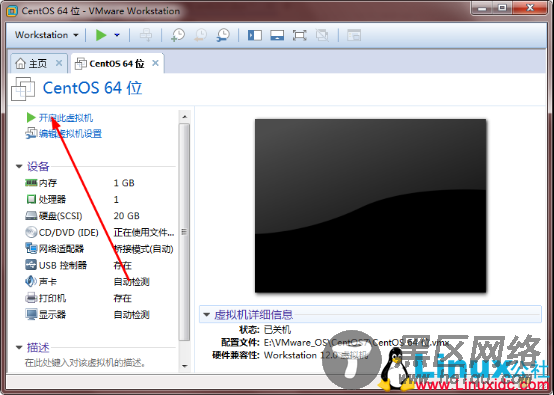
17.点击“开启此虚拟机”: