--4.查看agent状态:
XDSYDB:/app/oracle/agent/agent_13.2.0.0.0/bin>./emctl status agent
Oracle Enterprise Manager Cloud Control 13c Release 2
Copyright (c) 1996, 2016 Oracle Corporation. All rights reserved.
---------------------------------------------------------------
Agent Version : 13.2.0.0.0
OMS Version : 13.2.0.0.0
Protocol Version : 12.1.0.1.0
Agent Home : /app/oracle/agent/agent_inst
Agent Log Directory : /app/oracle/agent/agent_inst/sysman/log
Agent Binaries : /app/oracle/agent/agent_13.2.0.0.0
Core JAR Location : /app/oracle/agent/agent_13.2.0.0.0/jlib
Agent Process ID : 52953532
Parent Process ID : 7602548
Agent URL : https://XDSYDB:3872/emd/main/
Local Agent URL in NAT : https://XDSYDB:3872/emd/main/
Repository URL : https://myslb.oracle.com:4903/empbs/upload
Started at : 2018-10-17 13:12:42
Started by user : oracle
Operating System : AIX version 6.1 (ppc64)
Number of Targets : 3
Last Reload : (none)
Last successful upload : 2018-10-17 13:14:58
Last attempted upload : 2018-10-17 13:14:58
Total Megabytes of XML files uploaded so far : 0.21
Number of XML files pending upload : 0
Size of XML files pending upload(MB) : 0
Available disk space on upload filesystem : 63.59%
Collection Status : Collections enabled
Heartbeat Status : Ok
Last attempted heartbeat to OMS : 2018-10-17 13:14:57
Last successful heartbeat to OMS : 2018-10-17 13:14:57
Next scheduled heartbeat to OMS : 2018-10-17 13:15:57
---------------------------------------------------------------
Agent is Running and Ready
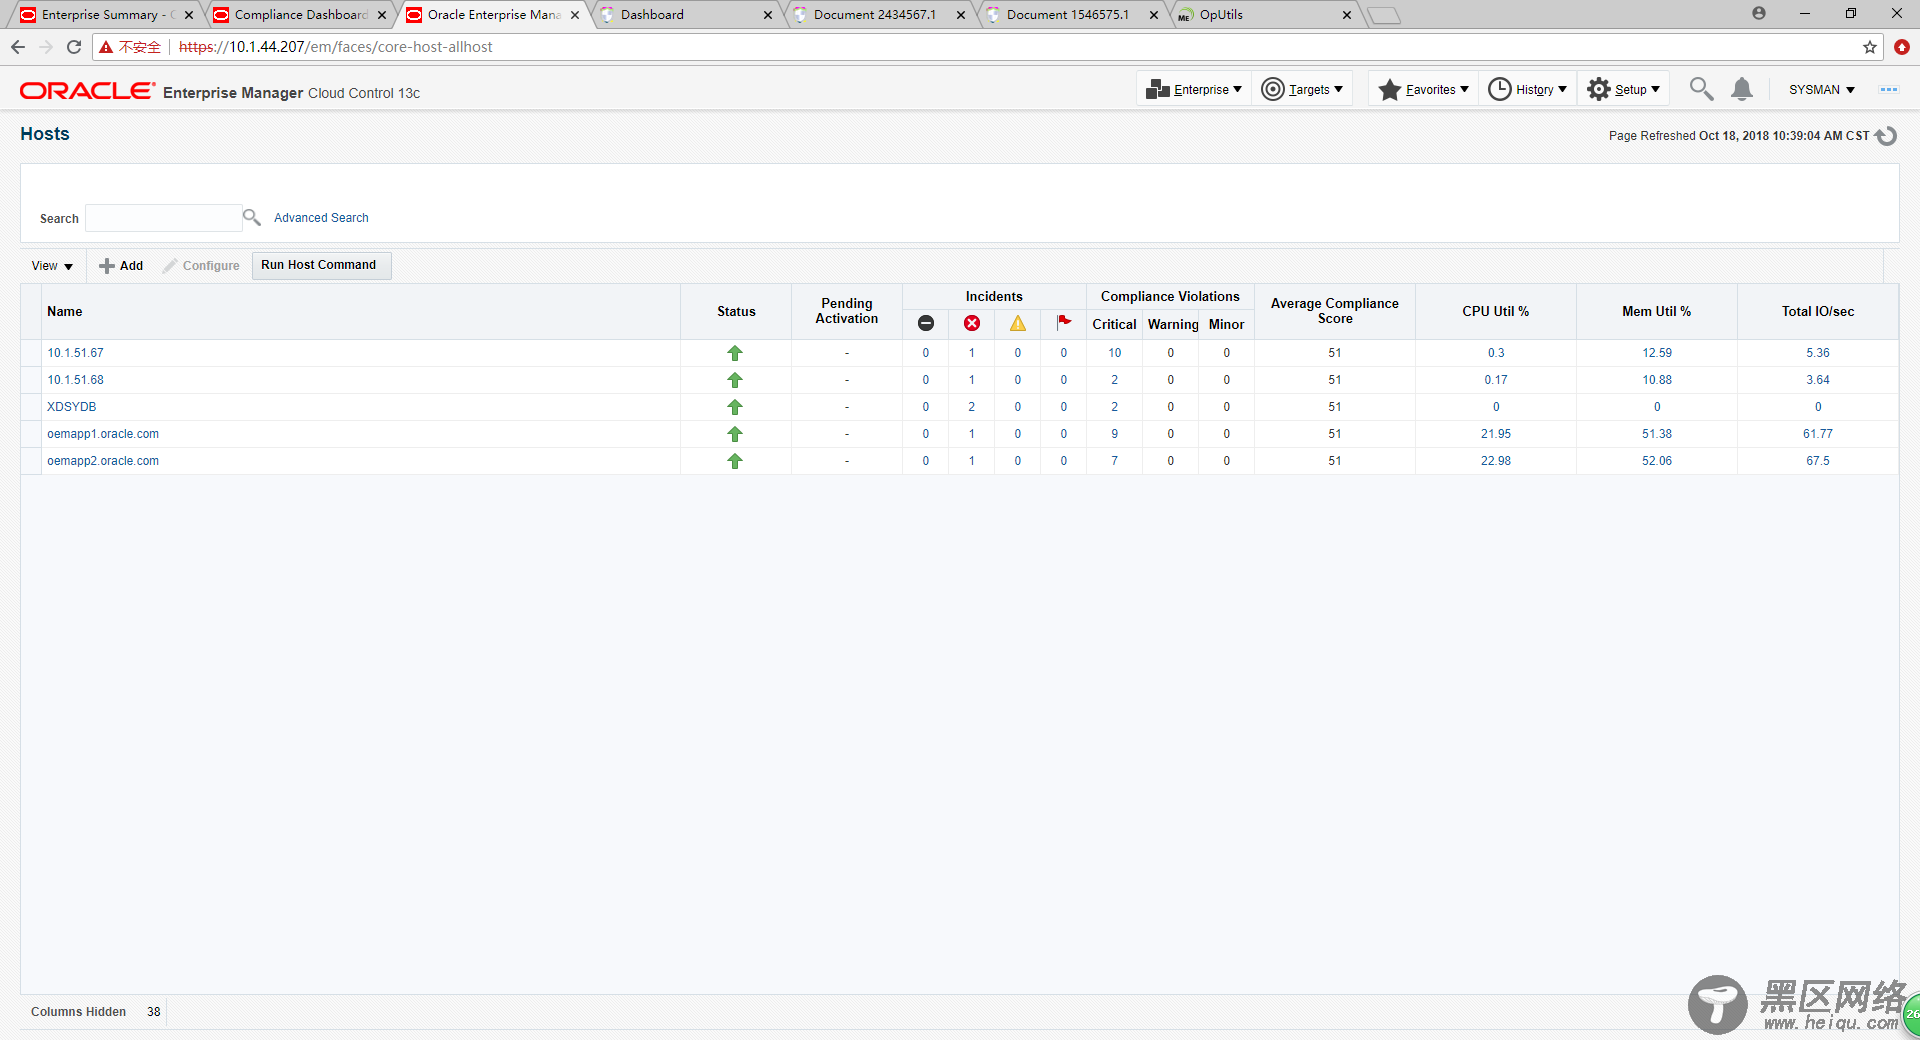
在OEMCC中确认agent状态正常:
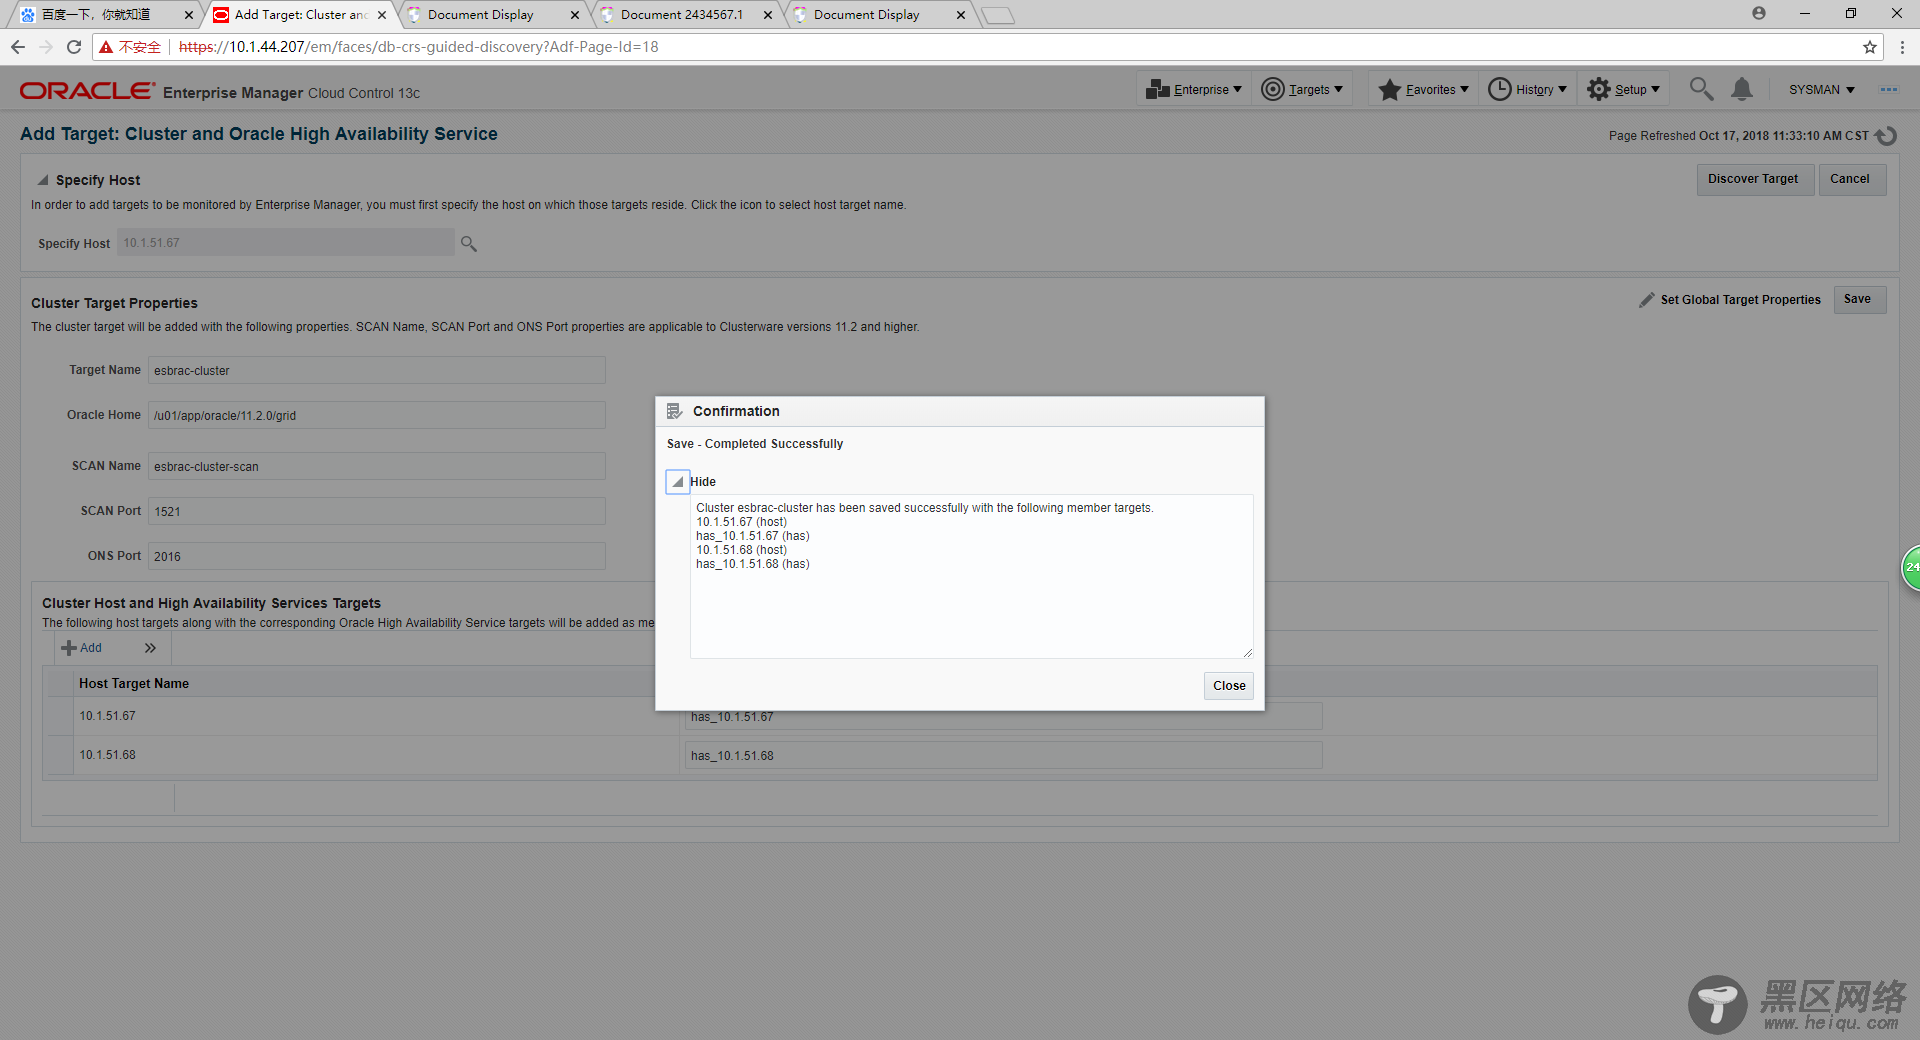
1)添加集群资源:从Setup -> Add Target -> Add Targets Manually进入,选择Add Using Guided Process -> Oracle Cluster and High Availability Service:
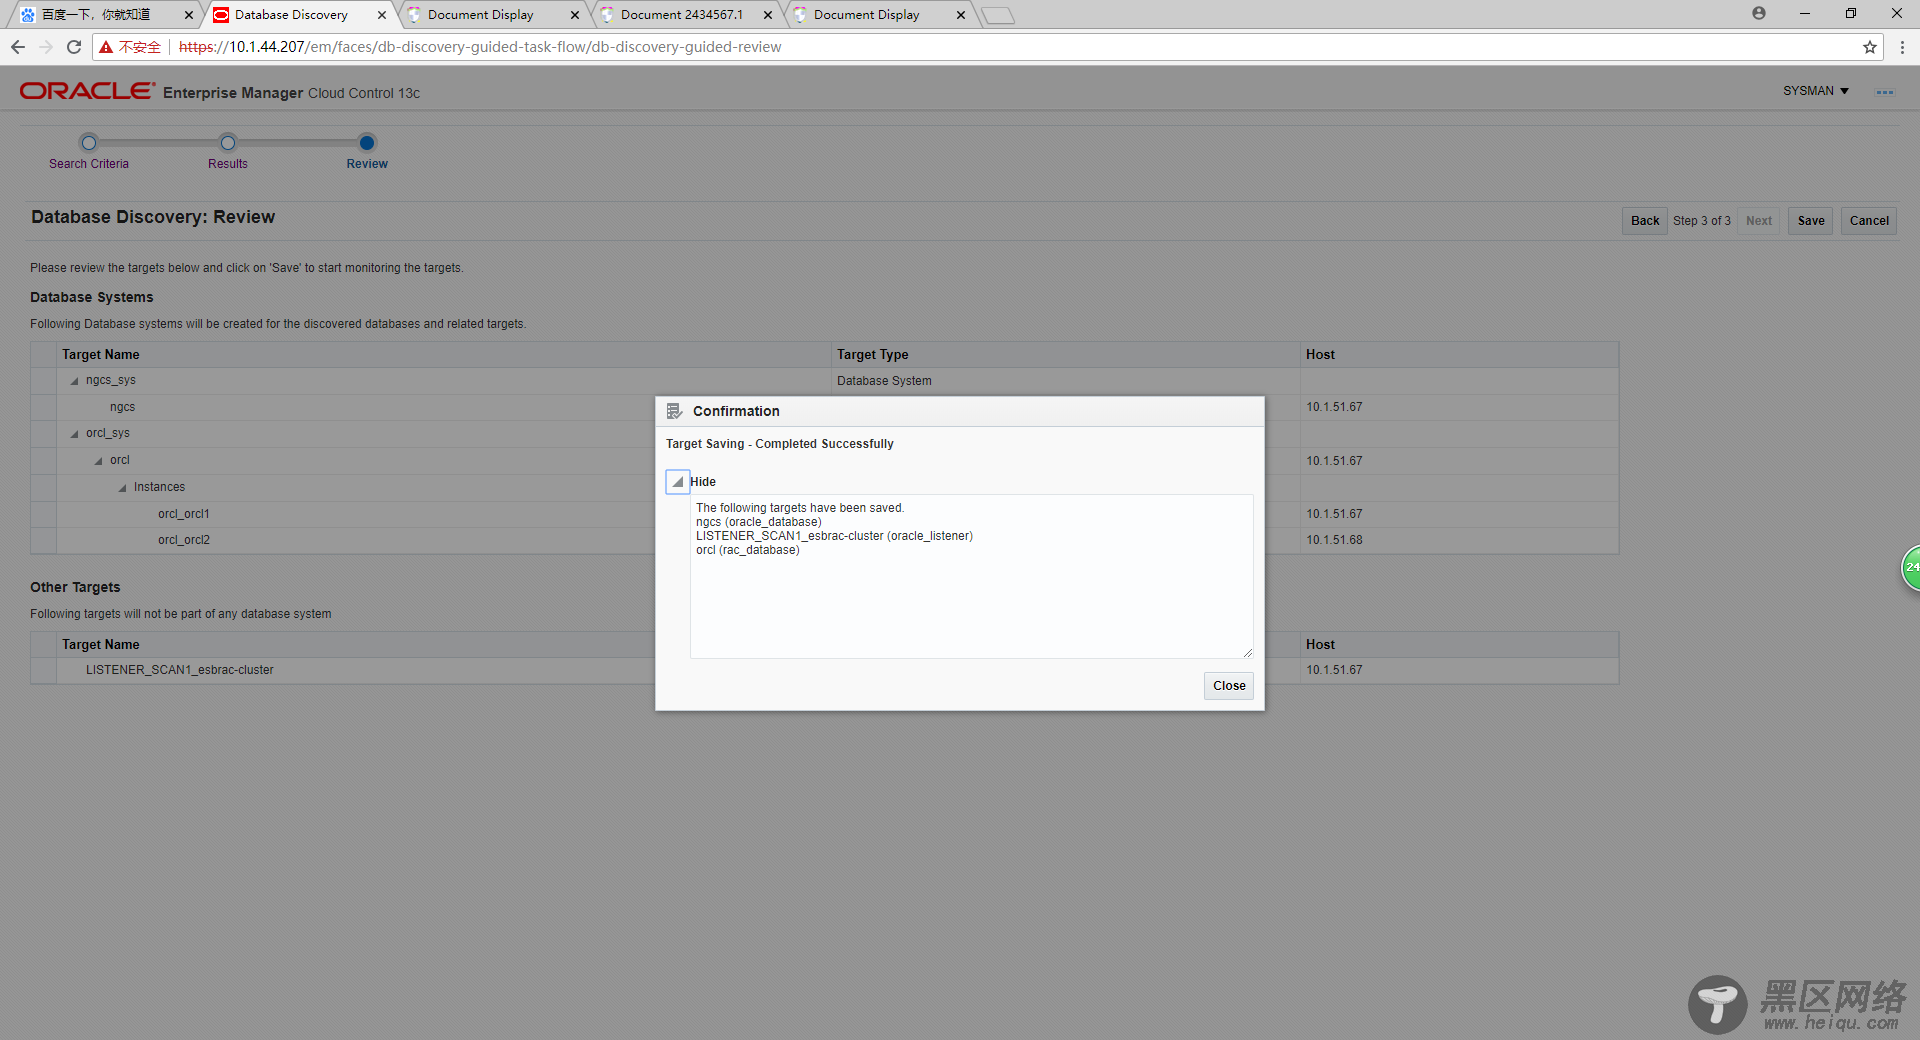
2)添加集群数据库:从Setup -> Add Target -> Add Targets Manually进入,选择Add Using Guided Process -> Oracle Database,Listener and Automatic Storage Management:

1)添加单实例数据库,从Setup -> Add Target -> Add Targets Manually进入,选择Add Target Declaratively -> Database Instance,示例如下:

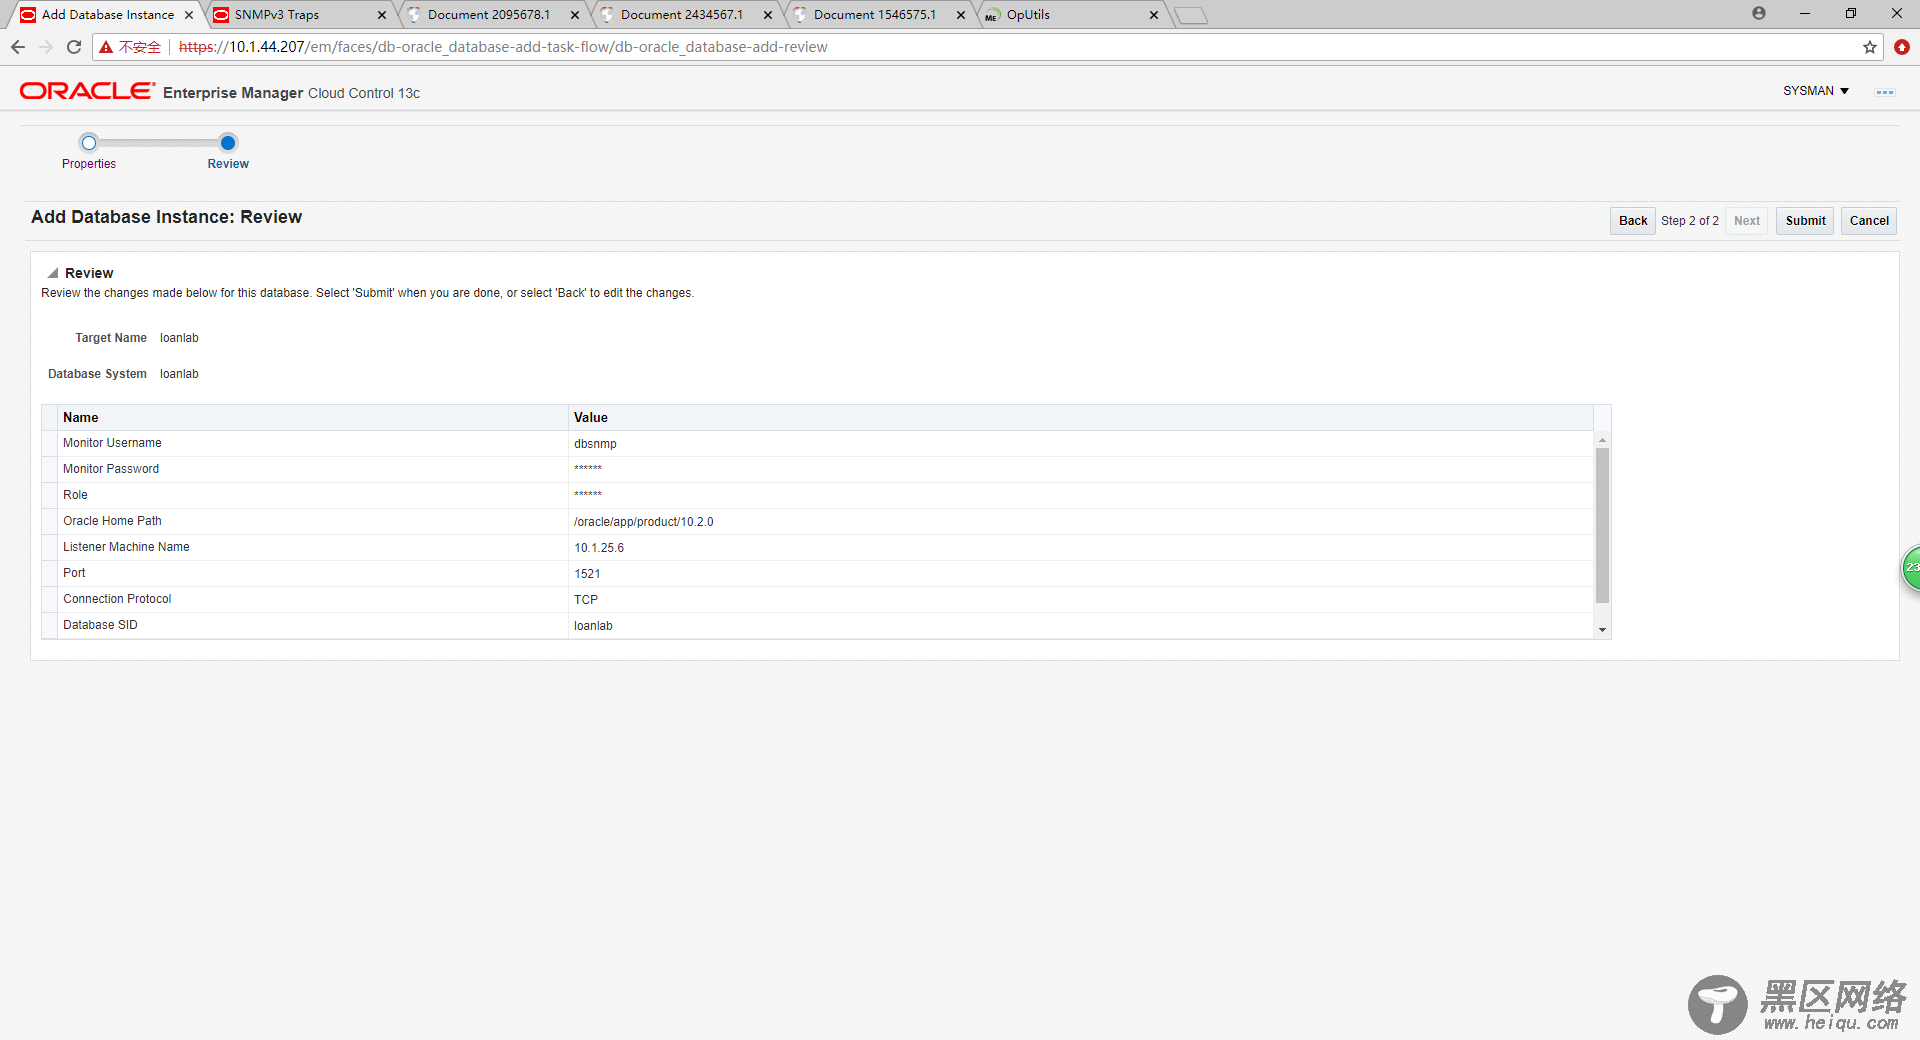
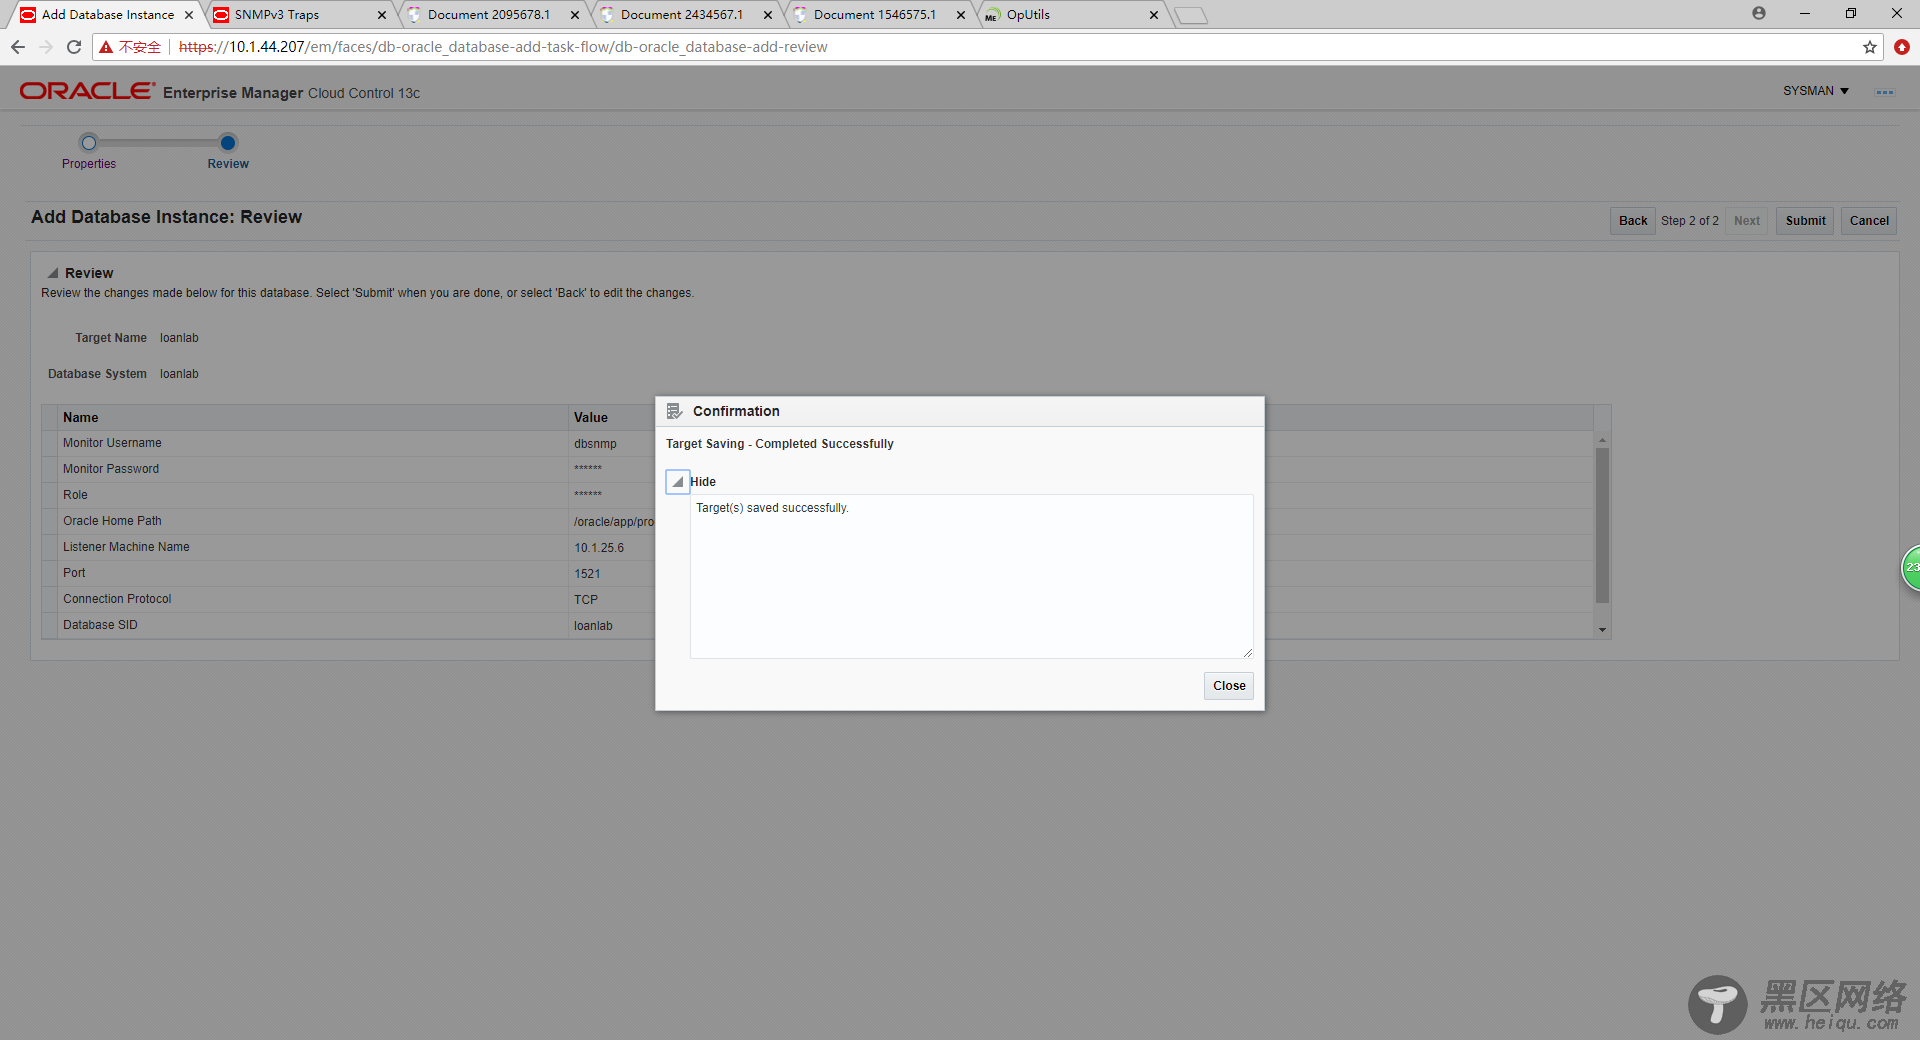
2)最终数据库添加成功,结果如下:

添加中间件监控目标:
1)从Setup -> Add Target -> Add Targets Manually进入,选择Add Using Guided Process -> Oracle Fusion Middleware/WebLogic Domain:

2)从填写weblogic的IP地址,端口,用户名和密码,Unique Domain Identifier填写自己可以识别的名称,这里以Farm01为例,Agent从可用列表中选择一个即可:


3)完成weblogic监控目标的添加:

到此,监控目标已完成添加,回到首页看下整体资源监控情况:

Linux公社的RSS地址:https://www.linuxidc.com/rssFeed.aspx

