
6)此时登出账号时,就没有注册用户的选项,只能用已有的账户登录
7)创建一个新用户时会受到邮件通知

8)创建不同的项目、组、账户,将特定用户放到特定的组,实现特定用户对某些项目有查看权限
9)返回到项目列表,并进入一个项目

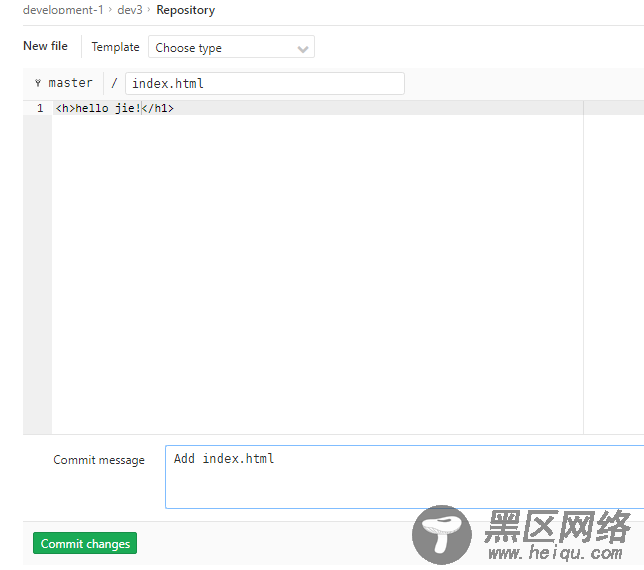
10)点击New file
11)输入一个索引测试页面,再点击提交
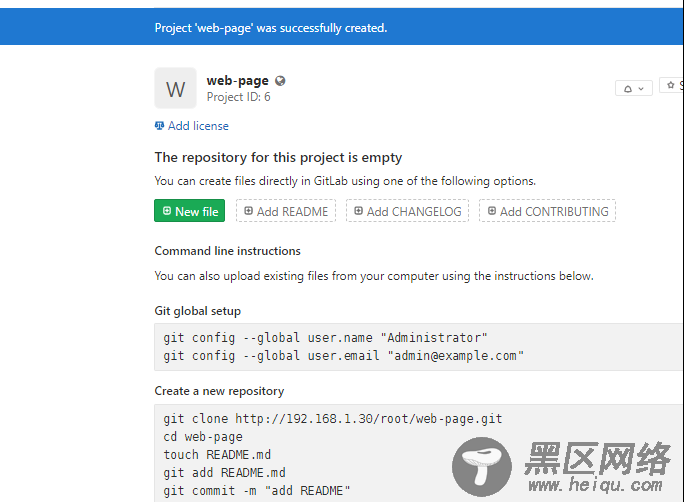
12)查看项目的clone地址

13)客户端clone
root@ubuntu1804:/data/src# git clone
Cloning into 'web-page'...
remote: Enumerating objects: 3, done.
remote: Counting objects: 100% (3/3), done.
remote: Total 3 (delta 0), reused 0 (delta 0)
Unpacking objects: 100% (3/3), done.
14)项目代码克隆成功
root@ubuntu1804:/data/src# ls
web-page
root@ubuntu1804:/data/src# cat web-page/index.html
<h>hello jie!</h1>
15)在客户端修改index.html
root@ubuntu1804:/data/src/web-page# cat index.html
<h>hello jie!</h1>
<h>hello kobe!</h1>
<h>hello curry!</h1>
<h>hello rose!</h1>
16)先添加到本地暂存区(提交代码到gitlab服务器时,命令都必须在克隆下来的文件夹环境中执行)
root@ubuntu1804:/data/src/web-page# git add index.html
17)在提到工作区
root@ubuntu1804:/data/src/web-page# git commit -m 'v6'
[master 1202723] v6
1 file changed, 4 insertions(+), 1 deletion(-)
18)然后在直接提交到gitlab仓库web端
root@ubuntu1804:/data/src/web-page# git push
#其中git pull为获取代码到本地
Username for 'http://192.168.1.30': root
#要求输入登录gitlab的web端的用户名
Password for 'http://root@192.168.1.30': #再输入登录gitlab的web端的用户密码
Counting objects: 3, done.
Delta compression using up to 4 threads.
Compressing objects: 100% (2/2), done.
Writing objects: 100% (3/3), 268 bytes | 268.00 KiB/s, done.
Total 3 (delta 0), reused 0 (delta 0)
To
ecc001d..1202723 master -> master
#提交完成
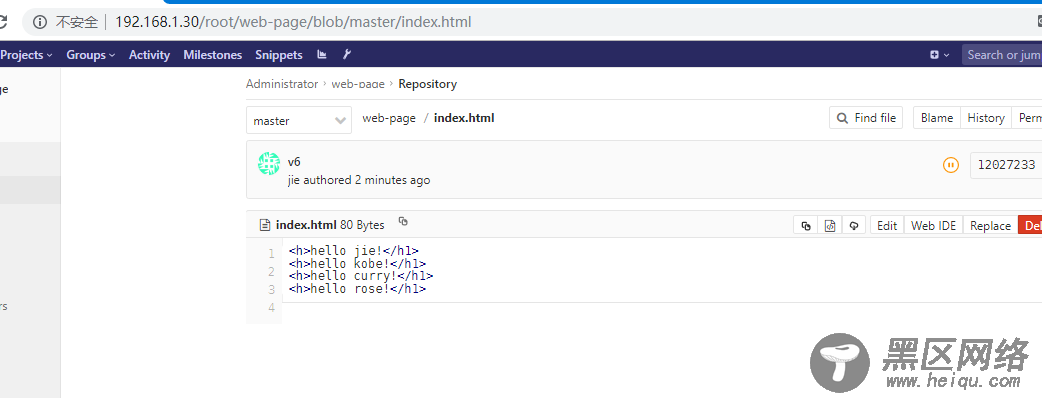
19)在web端gitlab仓库查看,项目index.html内容被更改,说明成功提交
20)再次修改index.html文件,然后在上传v7版本的index.html到gitlab的服务端

5.gitlab的一些基本命令操作(以下命令操作命令都必须在克隆下来的文件夹环境中执行,否则无法执行令)
1)客户端查看当前版本号为v7
root@ubuntu1804:/data/src/web-page# git reset --hard HEAD
HEAD is now at 952e66b v7
2)查看v7版索引
root@ubuntu1804:/data/src/web-page# cat index.html
<h>hello jie!</h1>
<h>hello kobe!</h1>
<h>hello curry!</h1>
<h>hello rose!</h1>
<h>hello jordan!</h1>
<h>hello jordan!</h1>
<h>hello howard!</h1>
3)若想回滚到v6版本,则操作如下命令进行回滚
root@ubuntu1804:/data/src/web-page# git reset --hard HEAD^
HEAD is now at 9cb6bf6 v6
4)再查看v6版本索引文件
root@ubuntu1804:/data/src/web-page# cat index.html
<h>hello jie!</h1>
<h>hello kobe!</h1>
<h>hello curry!</h1>
<h>hello rose!</h1>
<h>hello jordan!</h1>
<h>hello jordan!</h1>
5)查看每次提交的目标代码id号,
root@ubuntu1804:/data/src/web-page# git reflog
9cb6bf6 (HEAD -> master) HEAD@{0}: reset: moving to HEAD^
952e66b (origin/master, origin/HEAD) HEAD@{1}: reset: moving to HEAD
952e66b (origin/master, origin/HEAD) HEAD@{2}: commit: v7
9cb6bf6 (HEAD -> master) HEAD@{3}: commit: v6
03e27be (tag: v1.4) HEAD@{4}: commit: v7
1202723 HEAD@{5}: commit: v6
ecc001d HEAD@{6}: clone: from
6)也可指定目标代码id号,实现回滚
root@ubuntu1804:/data/src/web-page# git reset --hard 9cb6bf6
7)查看当前所属的分支,默认为master主分支
root@ubuntu1804:/data/src/web-page# git branch
* master
8)创建并切换到新分支
root@ubuntu1804:/data/src/web-page# git checkout -b operations
Switched to a new branch 'operations'
9)再次列出所有分支分支
root@ubuntu1804:/data/src/web-page# git branch
master
* operations
10)切换回到主分支
root@ubuntu1804:/data/src/web-page# git checkout master
Switched to branch 'master'
Your branch is behind 'origin/master' by 1 commit, and can be fast-forwarded.
(use "git pull" to update your local branch)
root@ubuntu1804:/data/src/web-page# git branch
* master
operations
6.数据备份
1)备份前先要暂停gitlab的两个数据服务,避免在备份时开发人员继续提交代码至gitlab中,导致数据不完整
root@ubuntu1804:~# gitlab-ctl stop sidekiq
ok: down: sidekiq: 0s, normally up
root@ubuntu1804:~# gitlab-ctl stop nunicorn
2)手动创建备份
root@ubuntu1804:~# gitlab-rake gitlab:backup:create
