但是,即使添加了这几句之后,再次查看apache访问日志会看到全是nginx内网地址访问记录。
root@Ubuntu2:~# less /var/log/apache2/access.log
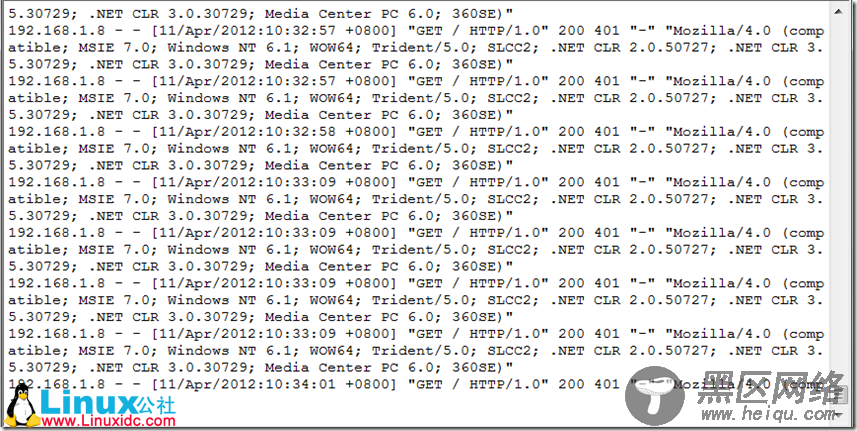
可见,nginx只是将真实的IP发送给了后端apache2,但是apache2并未接收,这里就需要安装一个apache2的模块功能来实现。即mod_rpaf
3.ubuntu10.10下apache2安装mod_rpaf模块
mod_rpaf 模块不是必须安装,因为在前端已经有 nginx 日志了,但是有时候确实有查看 apache 日志的需求,个人感觉还是非常有用的。
3.1 首先需要安装apache2的apxs
使用apt-get install apache2安装的apache默认是不带apxs的,但这里安装的mod需要apxs,可以通过安装apache2-dev实现。
命令如下:
root@ubuntu2:~# apt-get install apache2-dev
安装完后查看安装的路径:
root@ubuntu2:~# whereis apxs2
apxs2: /usr/bin/apxs2 /usr/share/man/man8/apxs2.8.gz
root@ubuntu2:~#
如果make过程出现这样到错误:fatal error: Python.h: No such file or directory 可以安装python2.6-dev解决
root@ubuntu2:~# apt-get install python2.6-dev