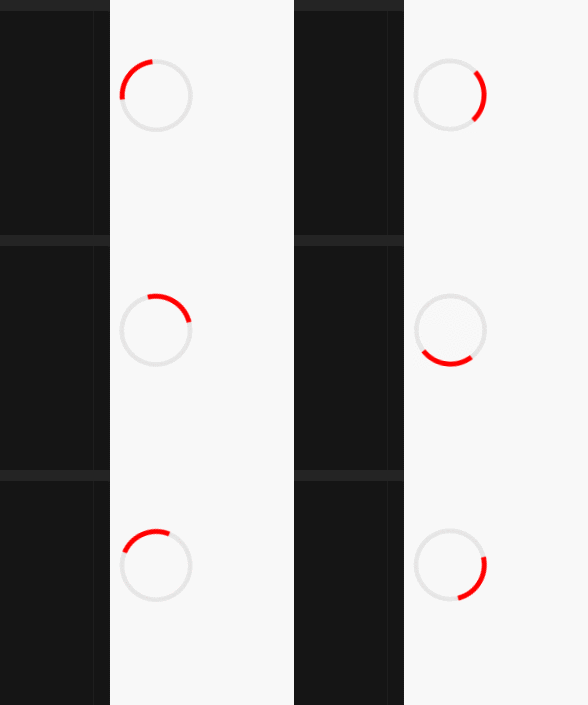
不管从0开始写起还是直接下载的Loading插件,都会抽象为一个组件,在用到的时候进行加载Loading,或者通过API手动进行show或者hide
<wait> </wait> ... this.$wait.show() await fetch('http://example.org') this.$wait.hide()
或者通过Loading状态进行组件间的切换
<loader v-if="isLoading"> </loader> <Main v-else> </Main>
。要想注册成全局状态,还需要给axios类的网络请求包添加拦截器,然后设置一个全局Loading状态,每次有网络请求或者根据已经设置好的URL将Loading状态设置为加载,请求完成后在设置为完成。
注册axios拦截器:
let loadingUrls = [ `${apiUrl}/loading/`, `${apiUrl}/index/`, `${apiUrl}/comments/`, ... ] axios.interceptors.request.use((config) => { let url = config.url if (loadingUrls.indexOf('url') !== -1) { store.loading.isLoading = true } }) axios.interceptors.response.use((response) => { let url = response.config.url if (loadingUrls.indexOf('url') !== -1) { store.loading.isLoading = false } })
使用时在每个组件下获取出loading状态,然后判断什么时候显示loading,什么时候显示真正的组件。
<template> <div> <loader v-if="isLoading"> </loader> <Main v-else> </Main> </div> </template> <script> ... components: { loader }, computed: { isLoading: this.$store.loading.isLoading }, async getMainContent () { // 实际情况下State仅能通过mutations改变. this.$sotre.loading.isLoading = false await axios.get('...') this.$sotre.loading.isLoading = false }, async getMain () { await getMainContent() } ... </script>
在当前页面下只有一个需要Loading的状态时使用良好,但如果在同一个页面下有多个不同的组件都需要Loading,你还需要根据不同组件进行标记,好让已经加载完的组件不重复进入Loading状态...随着业务不断增加,重复进行的Loading判断足以让人烦躁不已...
整理思路
Loading的核心很简单,就是请求服务器时需要显示Loading,请求完了再还原回来,这个思路实现起来并不费力,只不过使用方式上逃不开上面的显式调用的方式。顺着思路来看,能进行Loading设置的地方有,
设置全局拦截,请求开始前设置状态为加载。
设置全局拦截,请求结束后设置状态为完成。
在触发请求的函数中进行拦截,触发前设置为加载,触发后设置为完成。
判断请求后的数据是否为非空,如果非空则设置为完成
最终可以实现的情况上,进行全局拦截设置,然后局部的判断是最容易想到也是最容易实现的方案。给每个触发的函数设置before和after看起来美好,但实现起来简直是灾难,我们并没有before和after这两个函数钩子来告诉我们函数什么时候调用了和调用完了,自己实现吧坑很多,不实现吧又没得用只能去原函数里一个个写上。只判断数据局限性很大,只有一次机会。
既然是即插即用的插件,使用起来就得突出一个简单易用,基本思路上也是使用全局拦截,但局部判断方面与常规略有不同,使用数据绑定(当然也可以再次全局响应拦截),咱们实现起来吧~。
样式
Loading嘛,必须得有一个转圈圈才能叫Loading,样式并不是这个插件的最主要的,这里直接用CSS实现一个容易实现又不显得很糙的:
<template> <div> </div> </template> ... <style scoped> .loading { width: 50px; height: 50px; border: 4px solid rgba(0,0,0,0.1); border-radius: 50%; border-left-color: red; animation: loading 1s infinite linear; } @keyframes loading { 0% { transform: rotate(0deg) } 100% { transform: rotate(360deg) } } </style>
固定大小50px的正方形,使用border-radius把它盘得圆润一些,border设置个进度条底座,border-left-color设置为进度条好了。

绑定数据与URL
提供外部使用接口
上面思路中提到,这个插件是用全局拦截与数据绑定制作的:
暴露一个 source 属性,从使用的组件中获取出要绑定的数据。
暴露一个 urls 属性,从使用的组件中获取出要拦截的URL。
<template> ... </template> <script> export default { props: { source: { require: true }, urls: { type: Array, default: () => { new Array() } } }, data () { return { isLoading: true } }, watch: { source: function () { if (this.source) { this.isLoading = false } } } } </script> <style scoped> .... </style>
不用关心source是什么类型的数据,我们只需要监控它,每次变化时都将Loading状态设置为完成即可,urls我们稍后再来完善它。
设置请求拦截器
拦截器中需要的操作是将请求时的每个URL压入一个容器内,请求完再把它删掉。
