<html>
<title>
This is a HTML page
</title>
<body>
Real ServerC<br><br>
<img src="https://www.linuxidc.com/Linux/2019-02/1.jpg" alt="1" />
<img src="https://www.linuxidc.com/Linux/2019-02/2.jpg" alt="2" />
<img src="https://www.linuxidc.com/Linux/2019-02/3.png" alt="3" />
<img src="https://www.linuxidc.com/Linux/2019-02/4.gif" alt=“4" /><br><br>
This is a HTML page !
</body>
</html>
5、在 WebD 的站点根目录添加 index.html 文件,内容如下:
<html>
<title>
This is a HTML page
</title>
<body>
Real ServerD<br><br>
<img src="https://www.linuxidc.com/Linux/2019-02/1.jpg" alt="1" />
<img src="https://www.linuxidc.com/Linux/2019-02/2.jpg" alt="2" />
<img src="https://www.linuxidc.com/Linux/2019-02/3.png" alt="3" />
<img src="https://www.linuxidc.com/Linux/2019-02/4.gif" alt=“4" /><br><br>
This is a HTML page !
</body>
</html>
文件添加和上传完成,下面我们开始验证我们配置的动静分离和负载均衡是否成功。
七、验证动静分离和负载均衡
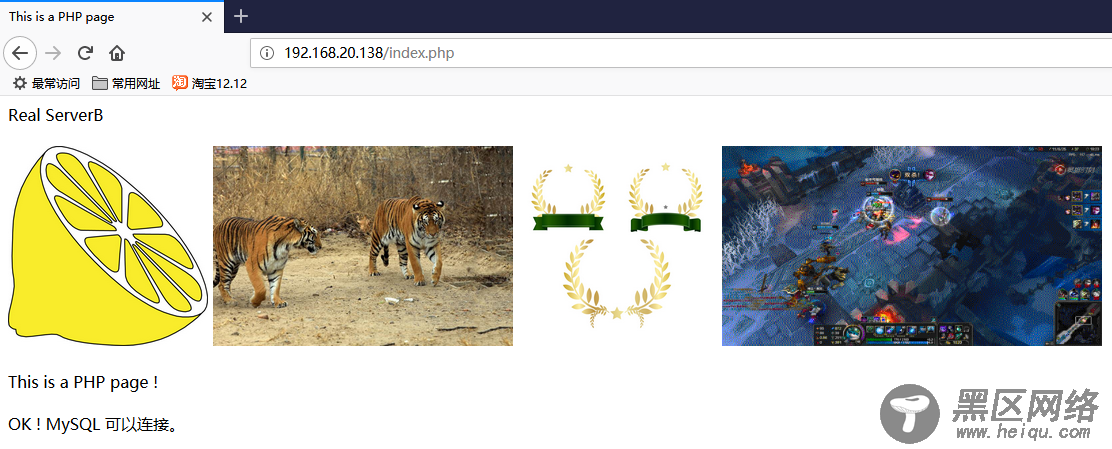
1、在浏览中打开 ,效果如下图:


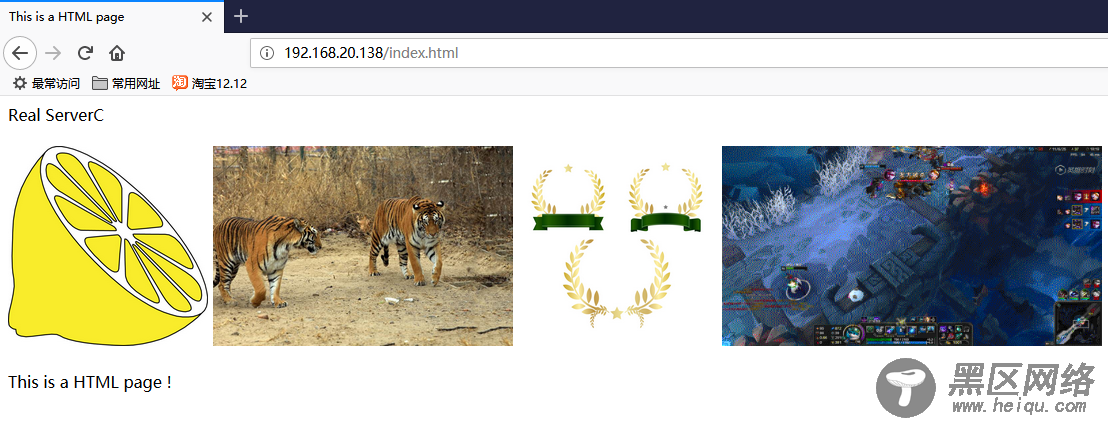
2、在浏览器 ,效果如下图:


3、查看 Nginx 负载均衡器的 Nginx 日志。
访问 日志如下图:


