
[root@CentOS6 conf.d]# cat /etc/nginx/conf.d/default.conf
#
# The default server
#
server {
listen 80;
server_name wordpress.linux.com;
root /data/web;
location / {
index index.php;
}
location ~ \.php$ {
fastcgi_pass 127.0.0.1:9000; # 运行php-fpm进程的ip和端口
fastcgi_index index.php; # 定义网页的入口文件
fastcgi_param SCRIPT_FILENAME $document_root$fastcgi_script_name;
include /etc/nginx/fastcgi_params;
}
}
⑥ 测试LNMP架构是否成功
在nginx服务器的/data/web/(由root指令决定)目录下,创建index.php文件,写入连接数据库和php的测试代码
[root@CentOS6 ~]# cd /data/web
[root@CentOS6 web]# cat index.php
<?php
$link=mysql_connect("192.168.239.129","wordpress","centos");
# 三个参数分别为运行数据库服务的IP地址,用户,密码
if ($link)
echo "success";
else
echo "failed";
phpinfo();
?>
在windows的hosts文件中添加记录,
192.168.239.129 wordpress.linux.com
然后在浏览器中出现如下如所示的界面,表示LNMP架构已经搭建完成。

利用LNMP架构搭建博客,下载wordpress,将解压后的所有文件放在/data/web/目录下,需要保持这些文件的用户和用户组和nginx进程的保持一致,因此设置这些文件的用户和组为nobody。
[root@CentOS6 web]# chown -R nobody.nobody /data/web/*

然后修改其中的wp-config.php文件,该文件主要用于连接数据库配置,主要修改的内容如下,
/** The name of the database for WordPress */
define('DB_NAME', 'wordpress');
/** MySQL database username */
define('DB_USER', 'wordpress');
/** MySQL database password */
define('DB_PASSWORD', 'centos');
/** MySQL hostname */
define('DB_HOST', '192.168.239.129');
最后在浏览器中输入wordpress.linux.com,首次访问需要完成安装的步骤,按照指示一步步完成即可。最后再次访问该域名,出现如下界面表示博客搭建成功。这样LNMP的一个实际应用就已经实现了。
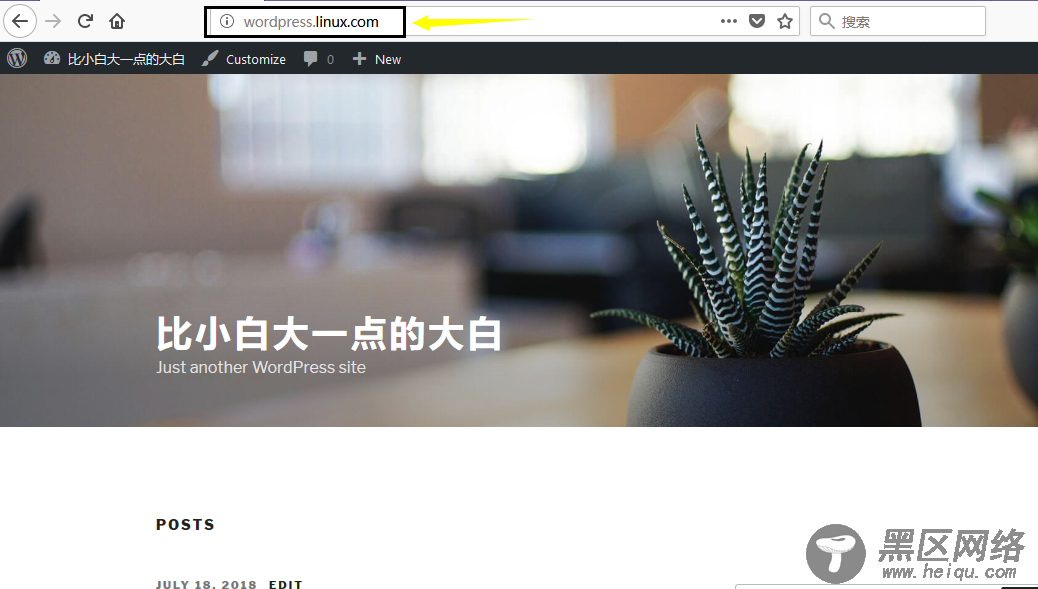
LNMP搭建网站的时候,首次都需要连接数据库的步骤,该步骤的完成通常都是修改源码中的config.php文件来完成的(例如该例中的wp-config.php),该文件中一般定义了要连接的数据库的名称,用户和用户口令等信息。
LNMP和LAMP的区别:
LAMP中的php是作为Apache的一个模块存在的,所以php和Apache共存亡;LNMP中的php是作为一个单独的服务存在的,通过php-fpm进行管理。
5.状态监控页面
Nginx内置了StubStatus的工作模块,该模块可以监控Nginx的工作状态。监控页面完成通过一个location就可以完成,location的配置如下,
location /status {
stub_status on; # 开启状态监控的功能
access_log /var/log/nginx/status.log; # 定义状态页面的访问日志
# 采用auth_basic认证机制
auth_basic "NginxStatus"; # 定义状态页面的名称
auth_basic_user_file /etc/nignx/conf.d/htpasswd; # 指定密码文件
}
其实只需要stub_status on就可以开启Nginx的状态监控功能,和上边的区别就是没有日志记录文件,没有密码认证的功能。
另外auth_basic认证机制的密码文件需要Apache的htpasswd命令生成。
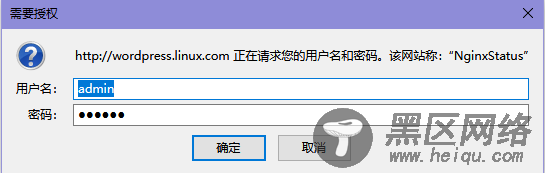
[root@CentOS6 default.d]# htpasswd -c /etc/nignx/conf.d/htpasswd admin
# 允许登录的用户为admin,然后根据指示设置密码
# 因为nginx的工作进程为nobody,因此需要将密码文件对nobody用户有r--权限
[root@CentOS6 default.d]# chown nobody.nobody /etc/nignx/conf.d/htpasswd
[root@CentOS6 conf.d]# chmod 400 htpasswd
[root@CentOS6 conf.d]# ll htpasswd
-r--------. 1 nobody nobody 20 Jul 19 03:03 htpasswd
然后在浏览器中输入wordpress.linux.com/status,输入正确的用户名和密码后,就可以看到状态页面。
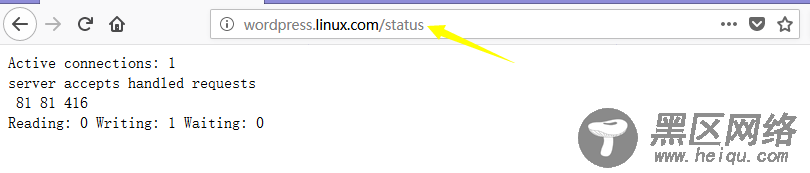
Nginx的状态页面的参数含义:
Active connections 当前活动的客户端连接数
accepts 已经累计收到的客户端连接数量
handled 已经处理的客户端连接数量
requests 客户端的总的请求数量
accepts/handled/requests这三个参数的区别是: