root@localhost ~]# sh /home/oracle/app/oraInventory/orainstRoot.sh
Changing permissions of /home/oracle/app/oraInventory.
Adding read,write permissions for group.
Removing read,write,execute permissions for world.
Changing groupname of /home/oracle/app/oraInventory to oracle.
The execution of the script is complete.
[root@localhost ~]# sh /home/oracle/app/oracle/product/12.2.0/dbhome_1/root.sh
Performing root user operation.
The following environment variables are set as:
ORACLE_OWNER= oracle
ORACLE_HOME= /home/oracle/app/oracle/product/12.2.0/dbhome_1
Enter the full pathname of the local bin directory: [/usr/local/bin]: 回车
Copying dbhome to /usr/local/bin ...
Copying oraenv to /usr/local/bin ...
Copying coraenv to /usr/local/bin ...
Creating /etc/oratab file...
Entries will be added to the /etc/oratab file as needed by
Database Configuration Assistant when a database is created
Finished running generic part of root script.
Now product-specific root actions will be performed.
Do you want to setup Oracle Trace File Analyzer (TFA) now ? yes|[no] :
yes
Installing Oracle Trace File Analyzer (TFA).
Log File: /home/oracle/app/oracle/product/12.2.0/dbhome_1/install/root_localhost.localdomain_2018-04-17_17-02-45-547313350.log
37、结束安装

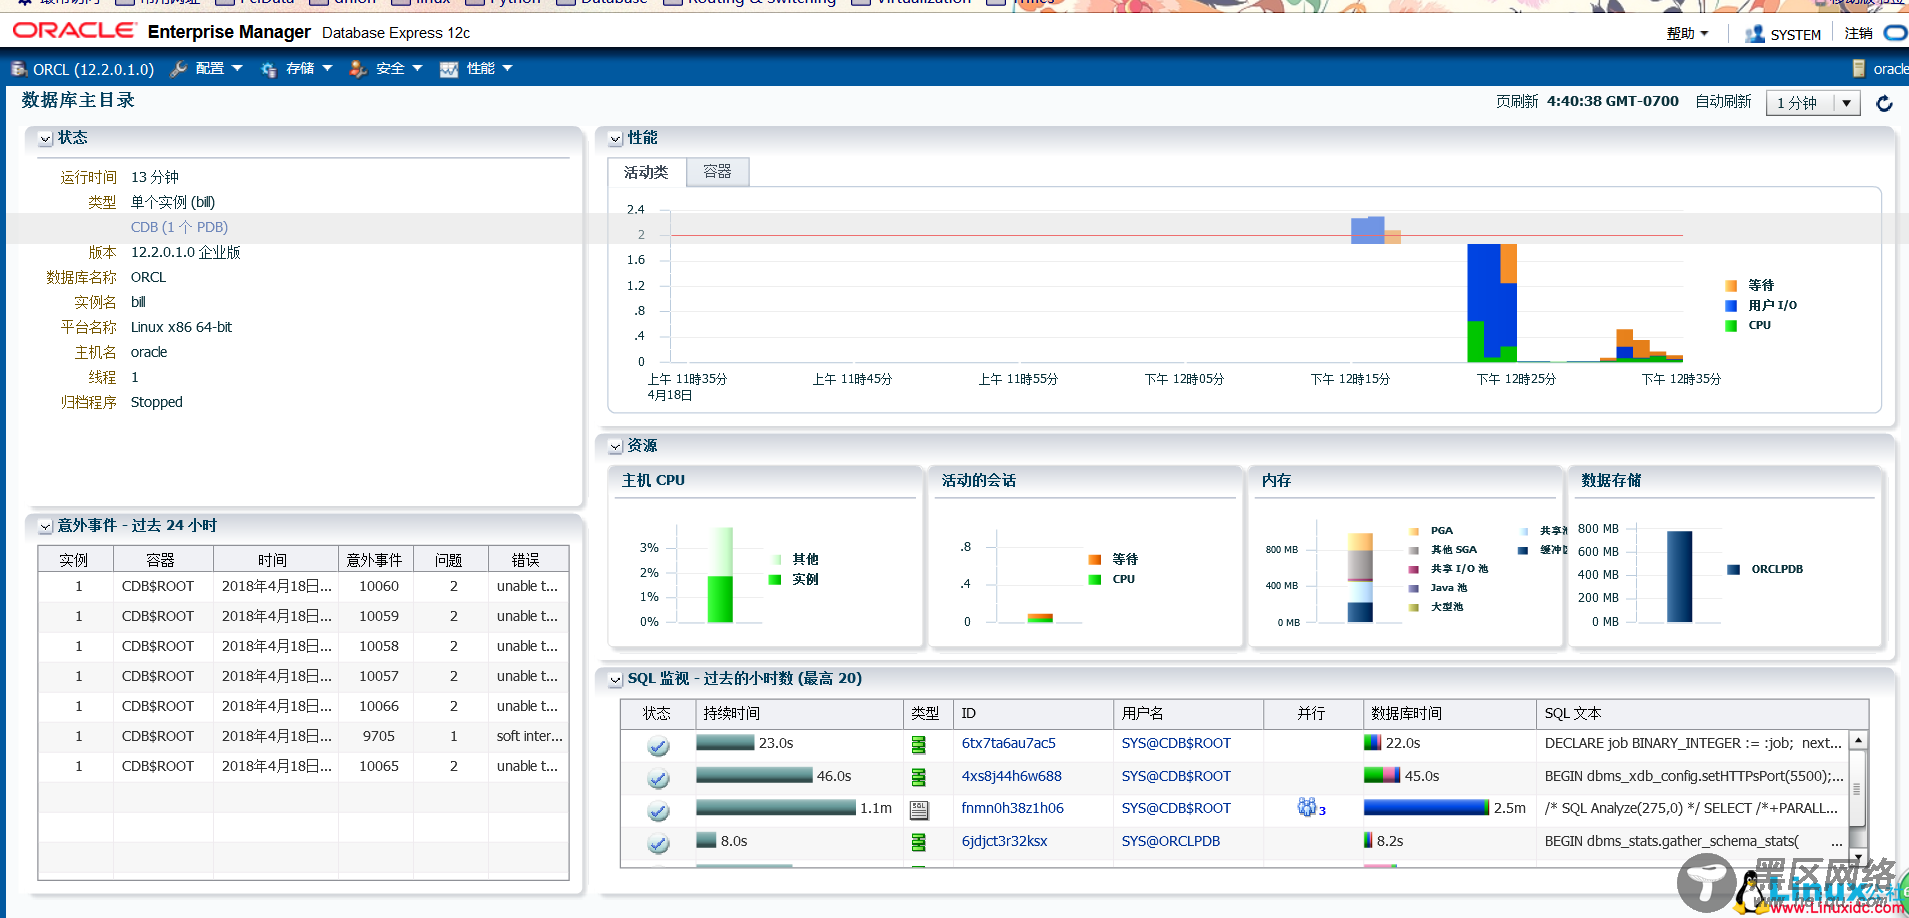
38、浏览器登录,地址根据提示输入。账号: system 我的密码:Oracle123


总结:安装期间出现一次报错
[INS-20802] Oracle Database Configuration Assistant 失败,我重新安装第二次就可以了。

