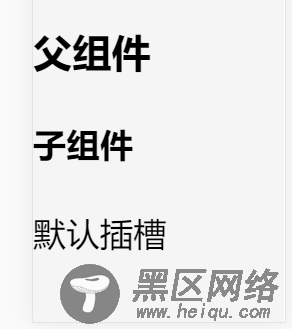
插槽分为默认插槽和具名插槽:
默认插槽:
//父组件 <div> <h3>父组件</h3> <testChild> <div>默认插槽</div> </testChild> </div> //子组件 <div> <h4>子组件</h4> <slot></slot> </div>
具名插槽:
注意:具名插槽需要包裹在 template 标签中,否则会报错
//父组件 <div> <h3>父组件</h3> <testChild> <template v-slot:test>//v-slot: + 插槽名 <ul> <li v-for="item in list">{{item.name}}</li> </ul> </template> </testChild> </div> //子组件 <div> <h4>子组件</h4> <slot></slot> //name="插槽名" </div>
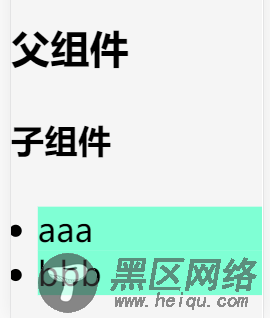
子组件向父组件传参:
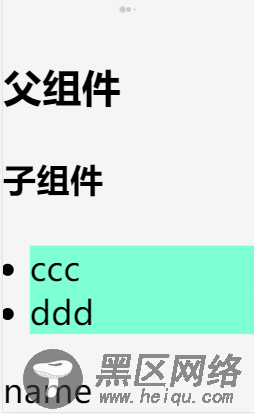
//父组件 <div> <h3>父组件</h3> <testChild> <template v-slot:test="data">//具名插槽,v-slot: +插槽名+ ="自定义数据名",子组件所传参数都是其属性 <ul> <li v-for="item in data.list2">{{item.name}}</li> </ul> </template> <template v-slot="dataDefalut">//默认插槽 {{dataDefalut.sName}} </template> </testChild> </div> //子组件 <template> <div> <h4>子组件</h4> <slot :list2="list2"></slot> <slot :sName="name"></slot> </div> </template> <script> export default { name: "testChild", data(){ return { list2:[ {name:'ccc'}, {name:'ddd'} ], name:'name' } } } </script>
结果:
补充:vue 利用slot向父组件传值
闲话不多说,上代码
子组件,里面有slot插槽,并在slot上绑定了text值
<template> <div @click="$emit('change',checked+1)"> <slot :text="text"></slot> </div> </template> <script> export default{ data(){ return { text:"我是子组件" } }, props:["checked"], model:{ prop: 'checked', event: 'change' } } </script>
父组件通过slot-scope就可以拿到子组件slot上绑定的值,并且2.5.0版本可以用于任意元素上
<template> <div> <img src="https://www.jb51.net/article/assets/logo.png"> <!--<router-view/>--> <car v-model="index"> <div slot="icon" slot-scope="props"> {{props.text}} </div> </car> </div> </template>
这样,就可以拿到子组件里面的text值。
总结
以上所述是小编给大家介绍的vue slot与传参实例代码讲解,希望对大家有所帮助,如果大家有任何疑问欢迎给我留言,小编会及时回复大家的!
您可能感兴趣的文章: