import Vue from 'vue' import App from './App.vue' import router from './router' import store from './store' //引入状态管理 store Vue.config.productionTip = false new Vue({ router, store,//注册store(这可以把 store 的实例注入所有的子组件) render: h => h(App) }).$mount('#app')
views/home.vue:
<template> <div> <!--在前端HTML页面中使用 count--> <HelloWorld :msg="count"/> </div> </template> <script> import HelloWorld from '@/components/HelloWorld.vue' import {mapActions, mapState} from 'vuex' //注册 action 和 state export default { name: 'home', computed: { //在这里映射 store.state.count,使用方法和 computed 里的其他属性一样 ...mapState([ 'count' ]), }, created() { this.incrementStep(); }, methods: { //在这里引入 action 里的方法,使用方法和 methods 里的其他方法一样 ...mapActions([ 'incrementStep' ]), }, components: { HelloWorld } } </script>
② router (路由):
vue cli 2 :“ router/index.js ”
vue cli 3:“router.js”(用法和做的事都一样)
③ 去掉 static 、 新增 public 文件夹
vue cli 2 :static 是 webpack 默认存放静态资源的文件夹,打包时会直接复制一份到dist文件夹不会经过 webpack 编译
vue cli 3 :摒弃 static 新增了 public 。vue cli 3 中“静态资源”两种处理方式:
经webpack 处理:在 JavaScript 被导入或在 template/CSS 中通过“相对路径”被引用的资源会被编译并压缩
不经webpack 处理:放置在 public 目录下或通过绝对路径被引用的资源将会“直接被拷贝”一份,不做任何编译压缩处理
④ index.html :
vue cli 2 :“index.html ”
vue cli 3 :“public/index.html ”此模板会被 html-webpack-plugin 处理的
⑤ src/views:
vue cli 3 的 src文件夹 新增 views文件夹 用来存放 “页面”,区分 components(组件)
⑥ 去掉 build(根据config中的配置来定义规则)、config(配置不同环境的参数)文件夹 :
vue cli 3 中 ,这些配置 你可以通过 命令行参数、或 vue.config.js (在根目录 新建一个 vue.config.js 同名文件)里的 字段配置开发服务器
⑦ babel.config.js:
配置Babel 。Vue CLI 使用了 Babel 7 中的新配置格式 babel.config.js。和 .babelrc 或 package.json 中的 babel 字段不同,这个配置文件不会使用基于文件位置的方案,而是会一致地运用到项目根目录以下的所有文件,包括 node_modules 内部的依赖。官方推荐在 Vue CLI 项目中始终使用 babel.config.js 取代其它格式。
⑧ 根目录的一些其他文件的改变:
之前所有的配置文件都在vue create 搭建时preset预设 或者 后期可以通过 命令参数 、 vue.config.js 中配置
根据需要在根目录下新建 vue.config.js自行配置,eg:(简单配置,更多配置详情参见官网:https://cli.vuejs.org/zh/config/)
module.exports = { baseUrl: 'https://www.jb51.net/',// 部署应用时的根路径(默认'https://www.jb51.net/'),也可用相对路径(存在使用限制) outputDir: 'dist',// 运行时生成的生产环境构建文件的目录(默认''dist'',构建之前会被清除) assetsDir: '',//放置生成的静态资源(s、css、img、fonts)的(相对于 outputDir 的)目录(默认'') indexPath: 'index.html',//指定生成的 index.html 的输出路径(相对于 outputDir)也可以是一个绝对路径。 pages: {//pages 里配置的路径和文件名在你的文档目录必须存在 否则启动服务会报错 index: {//除了 entry 之外都是可选的 entry: 'src/index/main.js',// page 的入口,每个“page”应该有一个对应的 JavaScript 入口文件 template: 'public/index.html',// 模板来源 filename: 'index.html',// 在 dist/index.html 的输出 title: 'Index Page',// 当使用 title 选项时,在 template 中使用:<title><%= htmlWebpackPlugin.options.title %></title> chunks: ['chunk-vendors', 'chunk-common', 'index'] // 在这个页面中包含的块,默认情况下会包含,提取出来的通用 chunk 和 vendor chunk }, subpage: 'src/subpage/main.js'//官方解释:当使用只有入口的字符串格式时,模板会被推导为'public/subpage.html',若找不到就回退到'public/index.html',输出文件名会被推导为'subpage.html' }, lintOnSave: true,// 是否在保存的时候检查 productionSourceMap: true,// 生产环境是否生成 sourceMap 文件 css: { extract: true,// 是否使用css分离插件 ExtractTextPlugin sourceMap: false,// 开启 CSS source maps loaderOptions: {},// css预设器配置项 modules: false// 启用 CSS modules for all css / pre-processor files. }, devServer: {// 环境配置 host: 'localhost', port: 8080, https: false, hotOnly: false, open: true, //配置自动启动浏览器 proxy: {// 配置多个代理(配置一个 proxy: 'http://localhost:4000' ) '/api': { target: '<url>', ws: true, changeOrigin: true }, '/foo': { target: '<other_url>' } } }, pluginOptions: {// 第三方插件配置 // ... } };
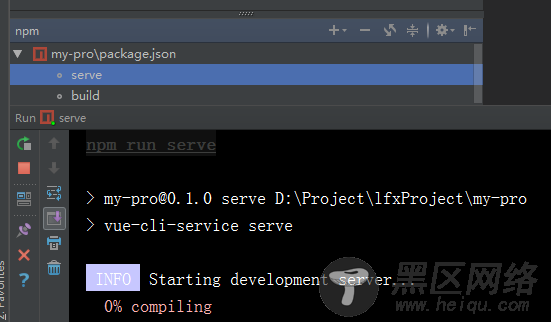
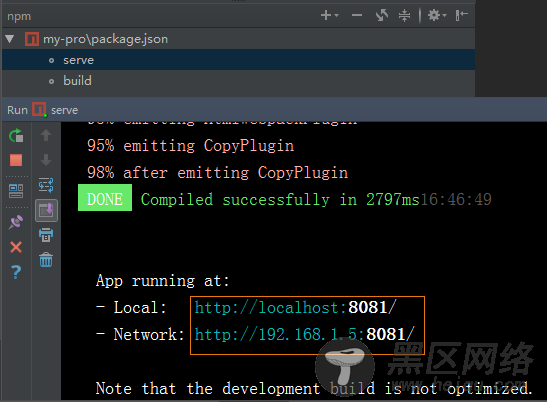
(3)npm run serve 跑起来~


