Heartbeat + http 高可用
一,试验拓扑:
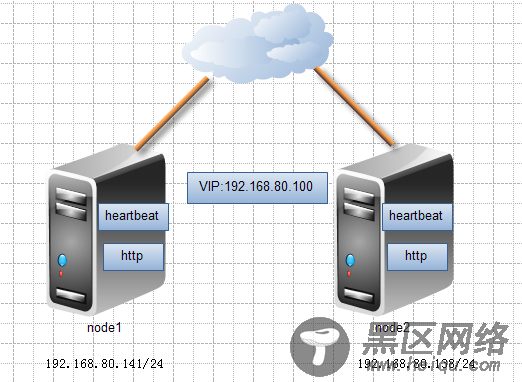
二,两节点基本配置:
(这里我先配置的node1,node2也是一样的)
1、修改主机名
# vim /etc/sysconfig/network
HOSTNAME=node1
2、修改hosts,这里没做DNS所以写hosts
# vim /etc/hosts
192.168.80.141 node1
192.168.80.138 node2
3、配置http服务相关信息
# yum -y install httpd
# echo "node1" > /var/www/html/index.html
# chkconfig httpd off (这里设置成不启动,因为要使用heartbeat启动)
4、配置ssh双机互信
# ssh-keygen -t rsa
# ssh-copy-id -i .ssh/id_rsa.pub root@node1
注:需要注意2节点的时间不要相差太多
三,安装heartbeat
这里使用的rpm安装的:
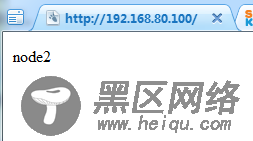
# yum -y --nogpgcheck localinstall heartbeat-2.1.4-9.el5.i386.rpm heartbeat-pils-2.1.4-10.el5.i386.rpm heartbeat-stonith-2.1.4-10.el5.i386.rpm libnet-1.1.4-3.el5.i386.rpm # cd /usr/share/doc/heartbeat-2.1.4/ # cp ha.cf authkeys haresources /etc/ha.d/ # chmod 600 authkeys # vim authkeys (添加如下内容md5后面的是个加密的随机数通过dd if=/dev/urandom count=512 bs=1 | md5sum最后一行产生的) auth 1 1 md5 3c41810e230a997444836b164ddb7978 # egrep -v "^#|^$" /etc/ha.d/ha.cf logfacility local0 keepalive 2 心跳检查时间 deadtime 30 防止分裂 bcast eth1 # Linux 指定网卡 auto_failback on 是重新抢回资源 node node1 节点名称与hosts对称 node node2 ping 192.168.80.1 指定仲裁 compression bz2 指定压缩 compression_threshold 2 2K以上压缩 # vim /etc/ha.d/haresources 最后添加 node1 192.168.80.100/24/eth1/192.168.80.255 httpd # scp -p authkeys ha.cf haresources node2:/etc/ha.d # service heartbeat start # ssh node2 '/etc/rc.d/init.d/heartbeat start'下面访问下: 【Linux公社 】

之后可以通过执行cd /usr/share/heartbeat/下的
# ./hb_standby
2012/08/03_00:41:33 Going standby [all].
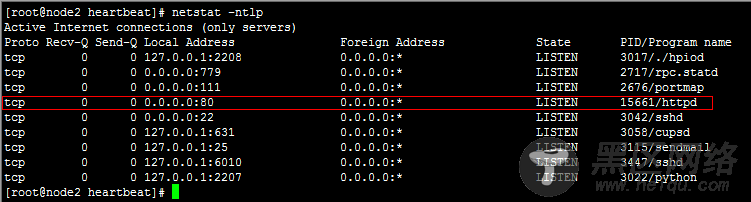
进行手动切换,在访问下,而且也可以可能到80的进程