// The Vue build version to load with the `import` command // (runtime-only or standalone) has been set in webpack.base.conf with an alias. import Vue from 'vue' import App from './App' import router from './router' import Axios from 'axios' import QS from 'qs' Vue.prototype.$axios=Axios //原型链配置 Vue.config.productionTip = false //axios拦截器 // 超时时间 Axios.defaults.timeout = 5000; // http请求拦截器 Axios.interceptors.request.use(config => { if(config.method=='post'){ config.data=QS.stringify(config.data);//防止post请求参数无法传到后台 } return config }, error => { Message.error({ message: '加载超时' }); return Promise.reject(error) }); // http响应拦截器 Axios.interceptors.response.use(data => { return data }, error => { Message.error({ message: '加载失败' }); return Promise.reject(error) }); // 注册一个全局自定义指令 `v-focus` Vue.directive('focus', { // 当被绑定的元素插入到 DOM 中时…… inserted: function (el) { // 聚焦元素 el.focus() } }) /* eslint-disable no-new */ new Vue({ el: '#app', router, components: { App }, template: '<App/>' })
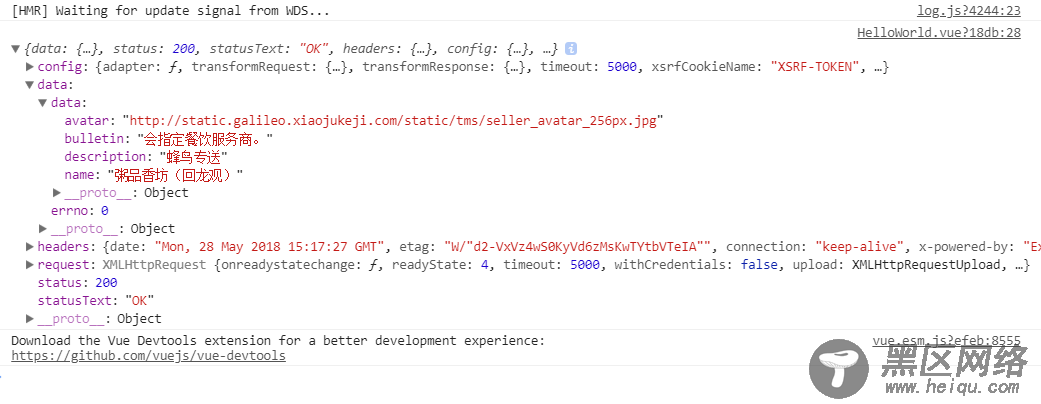
本地成功请求数据效果:
<span> </span>
总结
以上所述是小编给大家介绍的vue 使用axios 数据请求第三方插件的使用教程详解,希望对大家有所帮助,如果大家有任何疑问请给我留言,小编会及时回复大家的。在此也非常感谢大家对脚本之家网站的支持!
如果你觉得本文对你有帮助,欢迎转载,烦请注明出处,谢谢!
您可能感兴趣的文章: