这篇文章主要为大家详细介绍了JS实现图片切换特效,文中示例代码介绍的非常详细,具有一定的参考价值,感兴趣的小伙伴们可以参考一下
本文实例为大家分享了JS实现图片切换的具体代码,供大家参考,具体内容如下
知识点:
1.window.onload网页全部加载完后再执行
2.获取元素 设置属性
3.临界情况判断
运行效果:
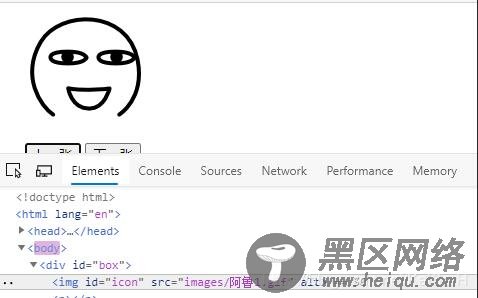
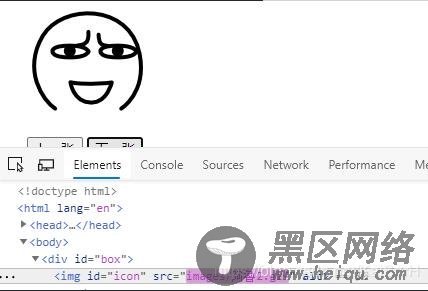
点击上一张下一章切换图片
代码:
<!DOCTYPE html> <html lang="en"> <head> <meta charset="UTF-8"> <title>Title</title> </head> <style> #box{ width: 1200px; margin: 0 auto; } </style> <body> <div> <img src="https://www.jb51.net/images/阿鲁1.gif" alt=""> <p></p> <button>上一张</button> <button>下一张</button> </div> <script> window.onload = function (ev) { // 1. 获取标签 var prep = document.getElementById('prep'); var next = document.getElementById('next'); var icon = document.getElementById('icon'); // 2. 点击 var currentIndex = 1, minIndex=1, maxIndex=10; prep.onclick = function (ev1) { if (currentIndex === minIndex){ currentIndex = maxIndex; }else{ currentIndex--; } icon.setAttribute('src','images/阿鲁'+ currentIndex +'.gif'); }; next.onclick = function (ev1) { if (currentIndex === maxIndex){ currentIndex = minIndex; }else { currentIndex++; } icon.setAttribute('src','images/阿鲁'+ currentIndex +'.gif'); } } </script> </body> </html>
以上就是本文的全部内容,希望对大家的学习有所帮助,也希望大家多多支持脚本之家。
您可能感兴趣的文章: