在从服务器上:
redis-cli -h 192.168.199.130 -p 6379
192.168.199.130:6379> get name2
"test2" #如果无法连接或无法同步就重启两边的群集服务和redis服务
五 部署MySQL主从同步
在主服务器上:
vim /etc/my.cnf #配置主MySQL的配置文件
[mysqld]
binlog-ignore-db=mysql,information_schema
character_set_server=utf8
log_bin=mysql_bin
server_id=1
log_slave_updates=true
sync_binlog=1
systemctl restart mariadb.service #重新启动mariadb数据库使配置文件生效
netstat -ntap | grep 3306
mysql -u root -p #登录数据库
MariaDB [(none)]> show master status; #查看日志文件名称和偏移量
MariaDB [(none)]> grant replication slave on *.* to 'rep'@'192.168.199.%' identified by '123456'; #给从数据库授权
MariaDB [(none)]> flush privileges; #刷新权限
在从服务器上:
vim /etc/my.cnf
[mysqld]
binlog-ignore-db=mysql,information_schema
character_set_server=utf8
log_bin=mysql_bin
server_id=2 #id值不能与主服务器相同
log_slave_updates=true
sync_binlog=1
systemctl restart mariadb.service #重新启动数据库,使配置文件生效
netstat -ntap | grep 3306
mysql -u root -p
MariaDB [(none)]> change master to master_host='192.168.199.129',master_user='rep',master_password='123456',master_log_file='mysql_bin.000001',master_log_pos=473; #设置主服务器的日志文件名称和偏移量
MariaDB [(none)]> start slave; #开启同步
MariaDB [(none)]> show slave status\G; #查看同步状态
Slave_IO_Running: Yes
Slave_SQL_Running: Yes #这两条信息都显示Yes表示同步成功
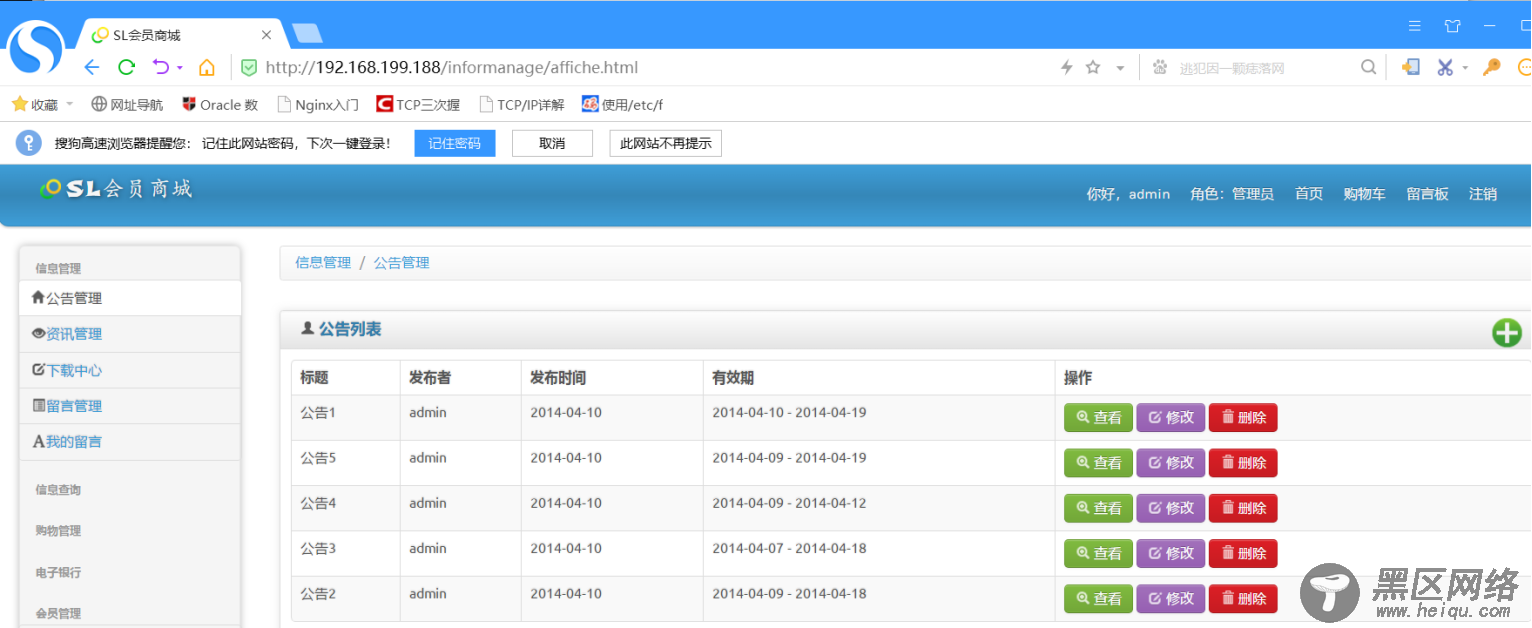
六 登录验证(登录用户名为admin)

在主服务器上:
redis-cli -h 192.168.199.188 -p 6379
192.168.199.188:6379> info
keyspace_hits:4
#对命中数进行查看
到此百万PV网站架构搭建完成
Linux公社的RSS地址:https://www.linuxidc.com/rssFeed.aspx

