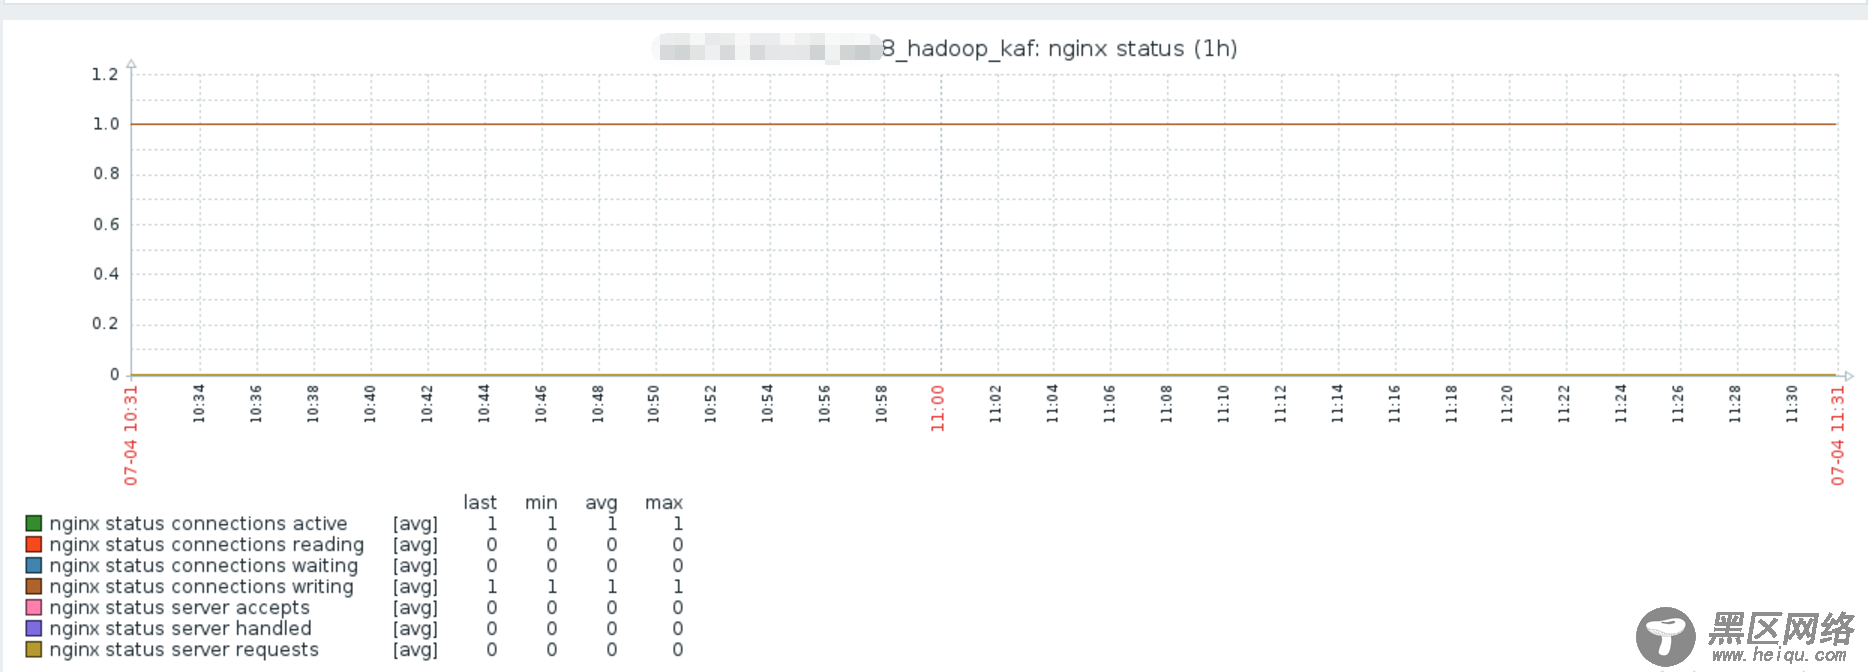
nginx和php-fpm一样内建了一个状态页,对于想了解nginx的状态以及监控nginx非常有用,为了后续的zabbix监控,我们需要先启用nginx状态页
1. 启用nginx status配置
在默认主机里面加上location或者你希望能访问到的主机里面。
server {
location /ngx_status
{
stub_status on;
access_log off;
allow 127.0.0.1;
deny all;
}
}
示例:
upstream lvs_server{
server 10.27.13.215:8555; #hd_lvs_voice01
server 10.26.114.166:8555; #hd_lvs_voice02
server 10.27.62.9:8555; #hd_lvs_voice03
server 10.30.196.175:8555; #hd_lvs_voice04
#server 10.30.196.157:8555; #hd_lvs_voice05
}
server {
listen 8555;
access_log /var/log/nginx/voice_lvs.access.log main;
error_log /var/log/nginx/voice_lvs.error.log;
location / {
proxy_pass ;
}
location /index {
proxy_set_header Host $http_host;
proxy_set_header X-Real-Ip $remote_addr;
proxy_set_header X-Forwarded-For $remote_addr;
proxy_set_header Content-Type application/octet-stream;
proxy_pass ;
}
location /ngx_status {
stub_status on;
access_log off;
allow 127.0.0.1;
#deny all;
}
}
2. 重载nginx
# nginx -t
# service nginx reload
3. 打开status页面
# curl 127.0.0.1:8555/ngx_status
Active connections: 2
server accepts handled requests
3091 3091 3254
Reading: 0 Writing: 1 Waiting: 1
# curl 127.0.0.1:8555/ngx_status
Active connections: 2
server accepts handled requests
3092 3092 3255
Reading: 0 Writing: 1 Waiting: 1
4. nginx status详解
active connections – 活跃的连接数量
server accepts handled requests — 总共处理了11989个连接 , 成功创建11989次握手, 总共处理了11991个请求
reading — 读取客户端的连接数.
writing — 响应数据到客户端的数量
waiting — 开启 keep-alive 的情况下,这个值等于 active – (reading+writing), 意思就是 Nginx 已经处理完正在等候下一次请求指令的驻留连接.
以上为nginx性能计数,我们除了监控以上数据,还需要监控nginx进程状态,并且配置触发器
zabbix客户端配置
编写客户端脚本nginx_status.sh
# 检测nginx性能
mkdir -p /usr/local/zabbix-agent/scripts
vim /usr/local/zabbix-agent/scripts/nginx_status.sh
#!/bin/bash
HOST="127.0.0.1"
PORT="8555"
# 检测nginx进程是否存在
function ping {
/sbin/pidof nginx | wc -l
}
# 检测nginx性能
function active {
/usr/bin/curl "http://$HOST:$PORT/ngx_status/" 2>/dev/null| grep 'Active' | awk '{print $NF}'
}
function reading {
/usr/bin/curl "http://$HOST:$PORT/ngx_status/" 2>/dev/null| grep 'Reading' | awk '{print $2}'
}
function writing {
/usr/bin/curl "http://$HOST:$PORT/ngx_status/" 2>/dev/null| grep 'Writing' | awk '{print $4}'
}
function waiting {
/usr/bin/curl "http://$HOST:$PORT/ngx_status/" 2>/dev/null| grep 'Waiting' | awk '{print $6}'
}
function accepts {
/usr/bin/curl "http://$HOST:$PORT/ngx_status/" 2>/dev/null| awk NR==3 | awk '{print $1}'
}
function handled {
/usr/bin/curl "http://$HOST:$PORT/ngx_status/" 2>/dev/null| awk NR==3 | awk '{print $2}'
}
function requests {
/usr/bin/curl "http://$HOST:$PORT/ngx_status/" 2>/dev/null| awk NR==3 | awk '{print $3}'
}
# 执行function
$1
添加脚本执行权限
# chmod +x /usr/local/zabbix-agent/scripts/nginx_status.sh
zabbix客户端配置
将自定义的UserParameter加入配置文件,然后重启agentd,如下:
# vim /etc/zabbix/zabbix_agentd.conf
UserParameter=nginx.status[*],/usr/local/zabbix-agent/scripts/nginx_status.sh $1
重启zabbix-agent
/etc/init.d/zabbix-agent restart
zabbix_get获取数据
此步骤可以跳过,但是最好是测试一下,因为通过此命令我们可以检测配置是否正确
# zabbix_get -s ip -p 10050 -k 'nginx.status[accepts]'
3101
# zabbix_get -s ip -p 10050 -k 'nginx.status[ping]'
1
zabbix web端配置
导入Template App NGINX模板
Link NGINX模板
到了最后一个阶段,登陆zabbix管理端,link模板到nginx服务器:configuration->hosts->点击nginx所在服务器->点击template->Link new templates输入"Template App NGINX"->Add->最后点击update
监控效果

监控模板:zbx3_export_templates.xml

