<footer> <hr> <!-- Purchase a site license to remove this link from the footer: --> <p>A <a href="https://www.portnine.com/bootstrap-themes" target="_blank">Free Bootstrap Theme</a> by <a href="https://www.portnine.com" target="_blank">Portnine</a></p> <p>© 2014 <a href="https://www.portnine.com" target="_blank">Portnine</a></p> </footer>
2.通过NUGET安装font-awesome字体图标,font-awesome是一个优秀的字体图标库,想了解更多的请参考官网 。

3.在项目的BundleConfig文件中,把相关的css和js文件添加进去。
// 有关绑定的详细信息,请访问 ?LinkId=301862 public static void RegisterBundles(BundleCollection bundles) { bundles.Add(new ScriptBundle("~/bundles/jquery").Include( "~/Scripts/jquery-{version}.js")); bundles.Add(new ScriptBundle("~/bundles/jqueryval").Include( "~/Scripts/jquery.validate*")); // 使用要用于开发和学习的 Modernizr 的开发版本。然后,当你做好 // 生产准备时,请使用 上的生成工具来仅选择所需的测试。 bundles.Add(new ScriptBundle("~/bundles/modernizr").Include( "~/Scripts/modernizr-*")); bundles.Add(new ScriptBundle("~/bundles/bootstrap").Include( "~/Scripts/bootstrap.js", "~/Scripts/respond.js")); bundles.Add(new StyleBundle("~/Content/css").Include( "~/Content/bootstrap.css", "~/Content/site.css" , "~/Content/theme.css", "~/Content/css/font-awesome.min.css" )); }
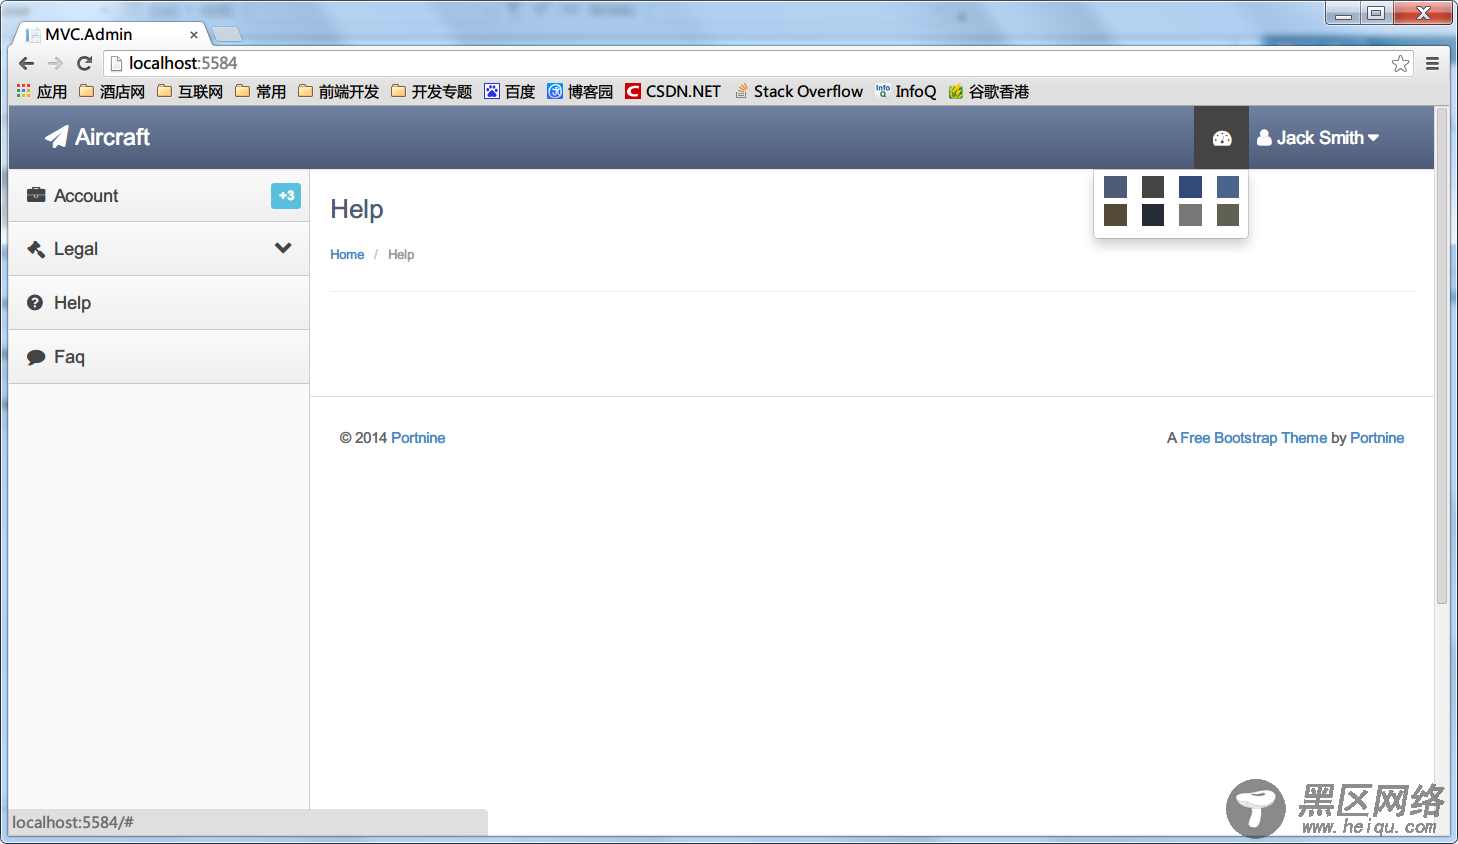
4.添加LayoutAdmin母版页并修改Index首页内容,将Index母版页指向LayoutAdmin
@{ Layout = "~/Views/Shared/_LayoutAdmin.cshtml"; ViewBag.Title = "Home Page"; } <div> <h1>Help</h1> <ul> <li><a href="#">Home</a> </li> <li>Help</li> </ul> </div> <div> <div> </div> @Html.Partial("_FooterPartial") </div>
这样,通过简单的几步就搭好了一个简洁大方的ASP.NETMVC后台管理模板页,半个小时就搞定了,怎么样,效率很高吧!这里我顺便把里面的主题样式加到首页顶部菜单,通过简单切换即可选择顶部样式,大家也可以在theme.css里面扩展你的主题。