<siteMapNode url="~/AdvancedDAL/Default.aspx" title="Advanced DAL Scenarios" description="Explore a number of advanced Data Access Layer scenarios."> <siteMapNode url="~/AdvancedDAL/NewSprocs.aspx" title="Creating New Stored Procedures for TableAdapters" description="Learn how to have the TableAdapter wizard automatically create and use stored procedures." /> <siteMapNode url="~/AdvancedDAL/ExistingSprocs.aspx" title="Using Existing Stored Procedures for TableAdapters" description="See how to plug existing stored procedures into a TableAdapter." /> <siteMapNode url="~/AdvancedDAL/JOINs.aspx" title="Returning Data Using JOINs" description="Learn how to augment your DataTables to work with data returned from multiple tables via a JOIN query." /> <siteMapNode url="~/AdvancedDAL/AddingColumns.aspx" title="Adding DataColumns to a DataTable" description="Master adding new columns to an existing DataTable." /> <siteMapNode url="~/AdvancedDAL/ComputedColumns.aspx" title="Working with Computed Columns" description="Explore how to work with computed columns when using Typed DataSets." /> <siteMapNode url="~/AdvancedDAL/EncryptingConfigSections.aspx" title="Protected Connection Strings in Web.config" description="Protect your connection string information in Web.config using encryption." /> <siteMapNode url="~/AdvancedDAL/ManagedFunctionsAndSprocs.aspx" title="Creating Managed SQL Functions and Stored Procedures" description="See how to create SQL functions and stored procedures using managed code." /> </siteMapNode>
更新Web.sitemap文件后,花点时间在浏览器里查看,左边的菜单将包括本部分的内容.

图3:网站地图现在包含了不部分的页面
第二步:设置TableAdapter创建新的存储过程
我们在~/App_Code/DAL文件夹里创建一个类型化的DataSet,名称为NorthwindWithSprocs.xsd.由于我们在以前的教程里已经详细探讨了创建细节,因此我们这里一笔带过,如果你想知道详细的创建过程请参阅前面的第1章《创建一个数据访问层》在DAL文件夹上右击鼠标选“添加新项”,选DataSet模板,如图4所示.
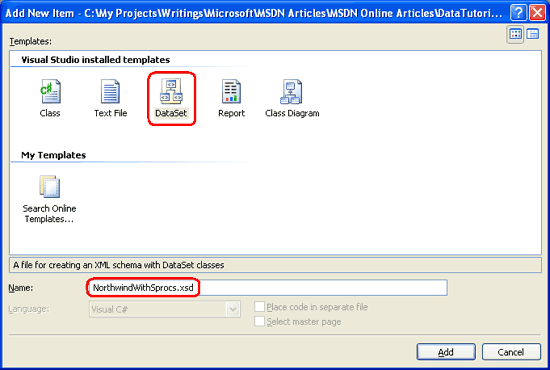
图4:新建一个名为NorthwindWithSprocs.xsd的数据集
这样将会创建一个新的类型化的DataSet,打开设计器,创建一个新的TableAdapter,展开TableAdapter设置向导.向导的第一步是让我们选择要连接的数据库.在下拉列表里有一个连接到Northwind数据库的连接字符串,选中它,再点下一步。接下来的界面让我们选择TableAdapter以哪种方式访问数据库.在以前的教程里我们选择的是“Use SQL statements”,不过在本文我们选第二项:“Create new stored procedures”,点下一步.

图5:设置TableAdpater创建新的存储过程
接下来,我们要指定主查询(main query).我们将创建一个存储过程来包含SELECT查询.
使用下面的SELECT查询:
SELECT ProductID, ProductName, SupplierID, CategoryID, QuantityPerUnit, UnitPrice, UnitsInStock, UnitsOnOrder, ReorderLevel, Discontinued FROM Products

图6:键入SELECT查询
注意:在名为Northwind的数据集里的ProductsTableAdapter的主查询与上面本文定义的主查询有所不同。那个主查询还返回了每个产品的category名称和company名称.不过在后面的文章我们将对本文的TableAdapter添加这些相关的代码.再点“Advanced Options”按钮.我们可以指定是否让向导为TableAdapter自动生成insert, update和delete statements;是否使用开发式并发操作(optimistic concurrency);是否完成inserts 和 update操作后刷新数据表.在默认情况下,自动选中“Generate Insert, Update and Delete statements”选项。另外,本文不用选择“Use optimistic concurrency”项.当选择自动创建存储过程时,“Refresh the data table”项将被忽略掉.不管是否选中该项,最终的insert 和update存储过程都会检索刚添加或刚更新(just-inserted or just-updated record)的记录,我们将在第三步看到.