using System; using System.Configuration; using System.Data.SqlClient; namespace HelloWorld { class MainClass { public static void Main(string[] args) { string connStr = ConfigurationManager.ConnectionStrings["ConnStr"].ConnectionString; string sql = "select name from sysobjects"; SqlConnection conn = null; SqlDataReader reader = null; try { conn = new SqlConnection(connStr); conn.Open(); SqlCommand comm = new SqlCommand(sql, conn); reader = comm.ExecuteReader(System.Data.CommandBehavior.CloseConnection); while (reader.Read()) { Console.WriteLine(reader["name"]); } } catch (Exception ex) { Console.WriteLine(ex.Message); } finally { if (reader != null) reader.Close(); if (conn != null) conn.Close(); } } } }
ADO.NET测试代码

运行结果如下:

哈哈。有点儿意思 我的哥~
5. 测试ASP.NET MVC
趁热打铁,继续搞。
右键解决方案,添加项目:

选择Other - ASP.NET MVC Project,点击Next下一步:

然后配置项目,选择是否创建WebAPI和单元测试,然后Next:

然后配置项目名称、路径等,然后点击Create即可创建:

创建完成之后,本来以为完事儿了,可是却弹出一个提示:

大概意思也就是说,项目需要下列这些玩意儿,你需要点击接受安装,才能完事儿。
没招,点呗,不然MVC相关的东西,例如Controller等都用不了。
点击Accept,上面显示Adding Packages...(正在添加组件):

稍等十秒左右,提示Packages successfully added.(添加完成):
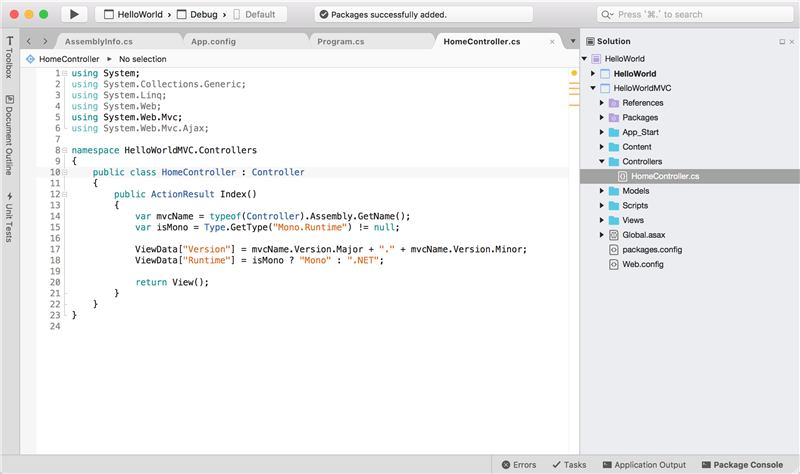
大概看一下右侧的项目结构,同样的,和咱们平时的项目结构无异。
Controllers中是控制器,Views是视图,Models是模型,Scripts是脚本,。。。不用说了吧。
所以说,上手还是挺快的,呵呵。
直接点击运行,看一下效果:

呵呵,有点儿意思。。
在Models中添加User模型类:
using System; namespace HelloWorldMVC { public class User { public int Id { get; set; } public string Name { get; set; } public string Email { get; set; } } }
修改Controllers/HomeController.cs控制器代码,创建User数组并存入ViewBag中: