人工用某种颜色对图像举办着色大概会有用,要么突出显示图像的特定区域,要么只是使灰度图像活跃化。 本示例通过缩放RGB值并通过调解HSV颜色空间中的颜色来演示图像着色。
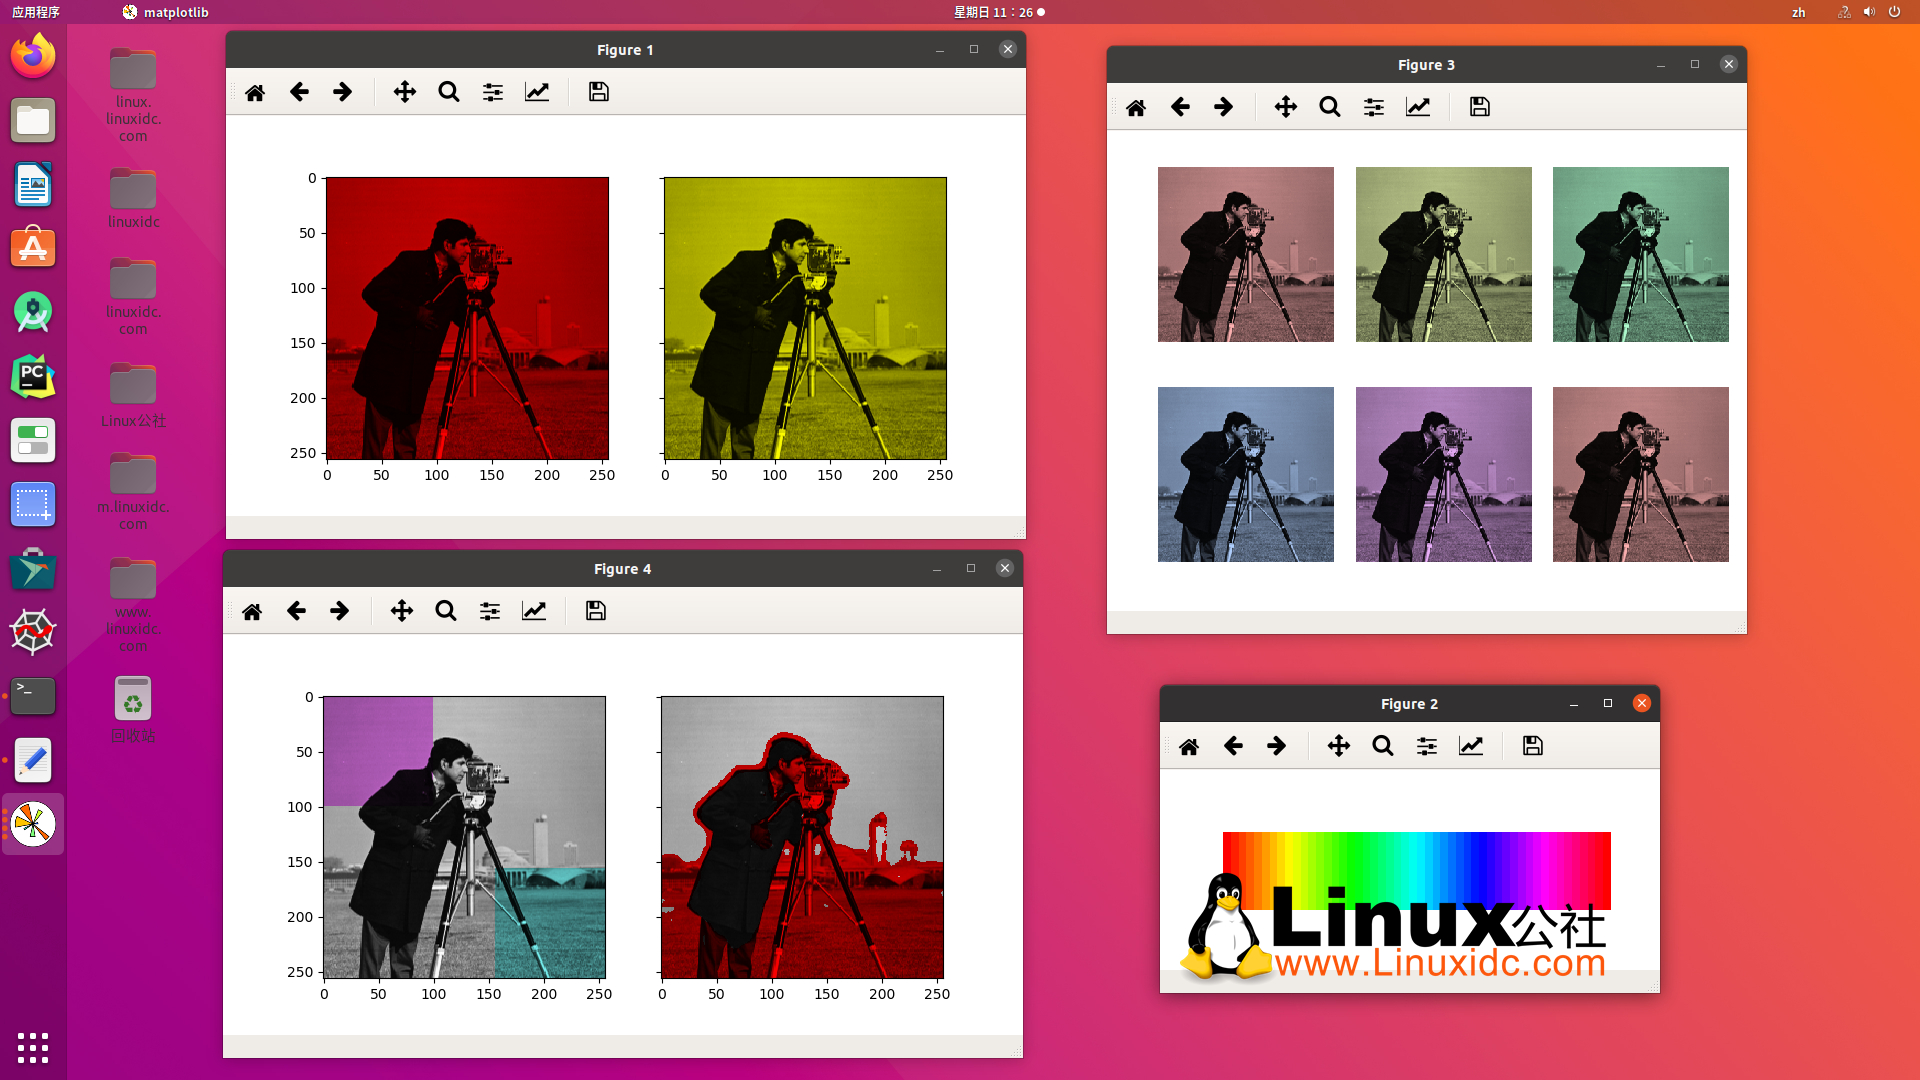
在2D中,彩色图像凡是以RGB-3层2D阵列暗示,个中3层暗示图像的(R)ed,(G)reen和(B)lue通道。 获取着色图像的最简朴要领是将每个RGB通道配置为通过每个通道的差异乘数缩放的灰度图像。 譬喻,将绿色和蓝色通道乘以0仅留下赤色通道并发生豁亮的赤色图像。 同样,将蓝色通道归零后,仅留下赤色和绿色通道,它们归并形成黄色。
import matplotlib.pyplot as plt
from skimage import data
from skimage import color
from skimage import img_as_float
grayscale_image = img_as_float(data.camera()[::2, ::2])
image = color.gray2rgb(grayscale_image)
red_multiplier = [1, 0, 0]
yellow_multiplier = [1, 1, 0]
fig, (ax1, ax2) = plt.subplots(ncols=2, figsize=(8, 4),
sharex=True, sharey=True)
ax1.imshow(red_multiplier * image)
ax2.imshow(yellow_multiplier * image)
在很多环境下,处理惩罚RGB值大概不是抱负的选择。 因此,尚有很多其他颜色空间可用来暗示彩色图像。 一种风行的色彩空间称为HSV,它代表色调(~the color颜色),饱和度(~colorfulness色度)和值(~brightness亮度)。 譬喻,颜色(hue))大概是绿色,但其饱和度是绿色的强烈水平- 橄榄色在低端,霓虹色在高端。
在某些实现中,HSV中的色相从0变为360,因为色相环抱成一个圆圈。 可是,在scikit图像中,色相是从0到1的浮点值,因此色相,饱和度和值都共享沟通的比例。
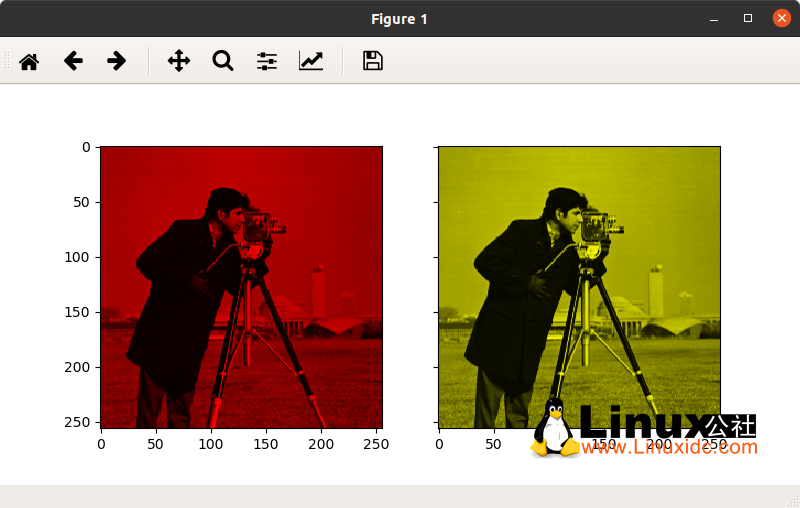
下面,我们在色相中绘制线性渐变,饱和度和值一直向上调:
import numpy as np
hue_gradient = np.linspace(0, 1)
hsv = np.ones(shape=(1, len(hue_gradient), 3), dtype=float)
hsv[:, :, 0] = hue_gradient
all_hues = color.hsv2rgb(hsv)
fig, ax = plt.subplots(figsize=(5, 2))
# Set image extent so hues go from 0 to 1 and the image is a nice aspect ratio.
ax.imshow(all_hues, extent=(0, 1, 0, 0.2))
ax.set_axis_off()
请留意,最左边和最右边的颜色是沟通的。 这反应了色相像色轮一样缠绕的事实(有关更多信息,请拜见HSV)。
此刻,让我们建设一个实用东西来拍摄RGB图像,然后:
1、将RGB图像转换为HSV 2,配置色相和饱和度3,将HSV图像转换回RGB。
def colorize(image, hue, saturation=1):
"""将给定色相的颜色添加到RGB图像中。
默认环境下,将饱和度配置为1,以便弹出颜色!
"""
hsv = color.rgb2hsv(image)
hsv[:, :, 1] = saturation
hsv[:, :, 0] = hue
return color.hsv2rgb(hsv)
留意,我们需要提高饱和度。 零饱和度的图像是灰度图像,因此我们需要一个非零值才气实际看到我们配置的颜色。
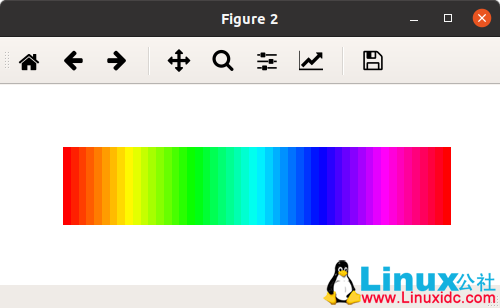
利用上面的函数,我们绘制了六个图像,这些图像的色调呈线性梯度且饱和度为非零:
hue_rotations = np.linspace(0, 1, 6)
fig, axes = plt.subplots(nrows=2, ncols=3, sharex=True, sharey=True)
for ax, hue in zip(axes.flat, hue_rotations):
# Turn down the saturation to give it that vintage look.
tinted_image = colorize(image, hue, saturation=0.3)
ax.imshow(tinted_image, vmin=0, vmax=1)
ax.set_axis_off()
fig.tight_layout()
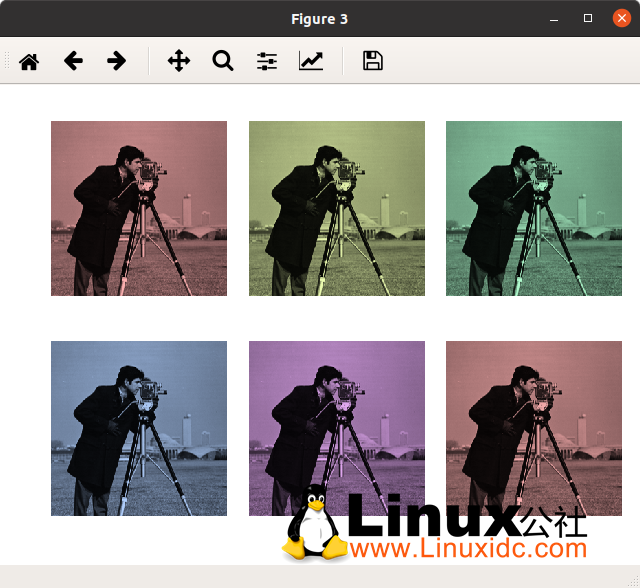
您可以将此着色结果与numpy切片和花式索引团结利用,以有选择地对图像举办着色。 在下面的示例中,我们利用切片配置某些矩形的色相,并缩放通过阈值找到的某些像素的RGB值。 在实践中,您大概想基于支解功效或黑点检测要领界说要着色的区域。
from skimage.filters import rank
# Square regions defined as slices over the first two dimensions.
top_left = (slice(100),) * 2
bottom_right = (slice(-100, None),) * 2
sliced_image = image.copy()
sliced_image[top_left] = colorize(image[top_left], 0.82, saturation=0.5)
sliced_image[bottom_right] = colorize(image[bottom_right], 0.5, saturation=0.5)