Directive指令:减少DOM操作的重复
Vue实例/组件用于数据绑定、事件监听、DOM更新
Vue指令主要目的就是原生DOM操作
减少重复
两种声明方式
方法一:声明一个全局指令
Vue.directive('x', directiveOptions)
方法二:声明一个局部指令
在options里写,只能被那个Vue实例/组件使用
new Vue({ ..., directives:{ "x":directiveOptions } })
关于directiveOptions
directiveOptions是个对象,里面有五个函数属性
bind(el, info, vnode, oldVnode)★
类似created,只调用一次,指令第一次绑定到元素时调用。
参数都是vue给我们的
① el绑定指令的那个元素
② info是个对象,我们想要的信息基本都在里面
③ vnode虚拟节点
④ oldVnode之前的虚拟节点
inserted(参数同上)★
类似mounted,被绑定元素插入父节点时调用 (仅保证父节点存在,但不一定已被插入文档中)。
update(参数同上)
类似 updated
componentUpdated(参数同上)
用得不多,见文档
unbind(参数同上)★
类似destroyed,当元素要消亡时调用。
Mixins混入:复制
减少重复
directives的作用是减少DOM操作的重复
mixins的作用是减少data、methods、钩子的重复
options里的构造选项都可以先放到一个js文件,之后哪个实例/组件需要就导入并且用mixins使用就行。
写在了共同东西里的东西被组件引用了之后,组件还可以覆盖他们,Vue会智能合并
:不推荐
Extends 继承、扩展
extends是比mixins更抽象一点的封装
如果你嫌写五次mixins麻烦,可以考虑extends一次
不过实际工作中用得很少
你可以使用Vue.extend或options.extends
provide & inject:提供&注入
祖先提供东西,后代注入东西
作用是大范围、隔N代共享信息(data、methods等)
总结
directive指令
全局用Vue.directive('x', {...})
局部用options.directives
作用是减少DOM操作相关重复代码
mixins混入
全局用Vue.mixin({..})
局部用options.mixins: [mixin1, mixin2]
作用是减少options里的重复
extends继承/扩展
全局用Vue.extend({.})
局部用options.extends: {...}
作用跟mixins差不多,只是形式不同
provide | inject提供和注入
祖先提供东西,后代注入东西
作用是大范围、隔N代共享信息
补充知识:表单和 v-model
思维导图

form 做表单一定要用 form+button组合
<template> <div> 登录 <form @submit.prevent="onSubmit"> //.prevent阻止默认动作 <label> <span>用户名</span> <input type="text" v-model="user.username"/> </label> <label> <span>密码</span> <input type="password" v-model="user.password"/> </label> <button type="submit"> 登录 </button> </form> </div> </template> <script> export default { name: 'App', data() { return { user: { username: '', password: '' }, x: '' } }, methods: { onSubmit() { console.log(this.user) } }, components: {} } </script>
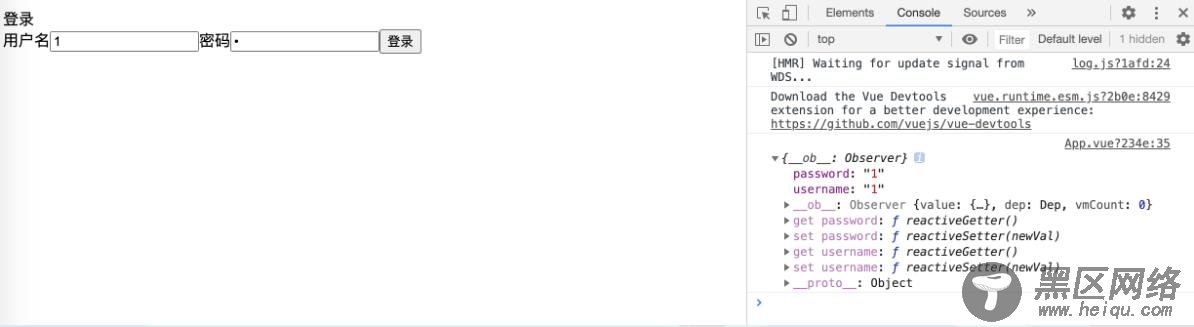
v-model
<label> <span>用户名</span> <input type="text" v-model="user.username"/> </label>
上面的v-model等价于
<label> <span>用户名</span> <input type="text" :value="user.username" @input = "user.username = $event.target.value"/> </label>
自己封装一个
<template> <div> <input :value="value" @input="$emit('input',$event.target.value)"/> </div> </template> <script> export default { name: 'MyInput', props: { value: { type: String } }, } </script> <style scoped> .red { background: red; } .wrapper{ display: inline-block; } </style>
以上这篇Vue 构造选项 - 进阶使用说明就是小编分享给大家的全部内容了,希望能给大家一个参考,也希望大家多多支持脚本之家。
您可能感兴趣的文章: