因为Ubuntu Server 10.10 是没有图形界面,并且纯命令行底下的 svn 工具,因而想使用 google code 无望,偶尔间发现 Github,能很好的在 shell 中就可以实现代码同步管理,因而选择 Github 作为代码管理的平台。
首先登录 网站注册一个免费的帐号(可以无限创建repo 和不限容量,前提是公开啦)
注册完在首页的左下方你会发现有

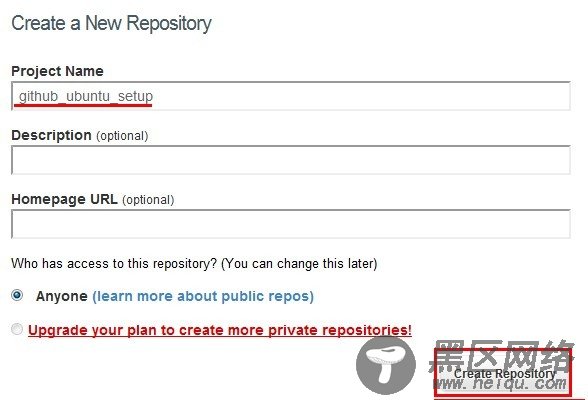
Create a Repository ,点击到创建页面

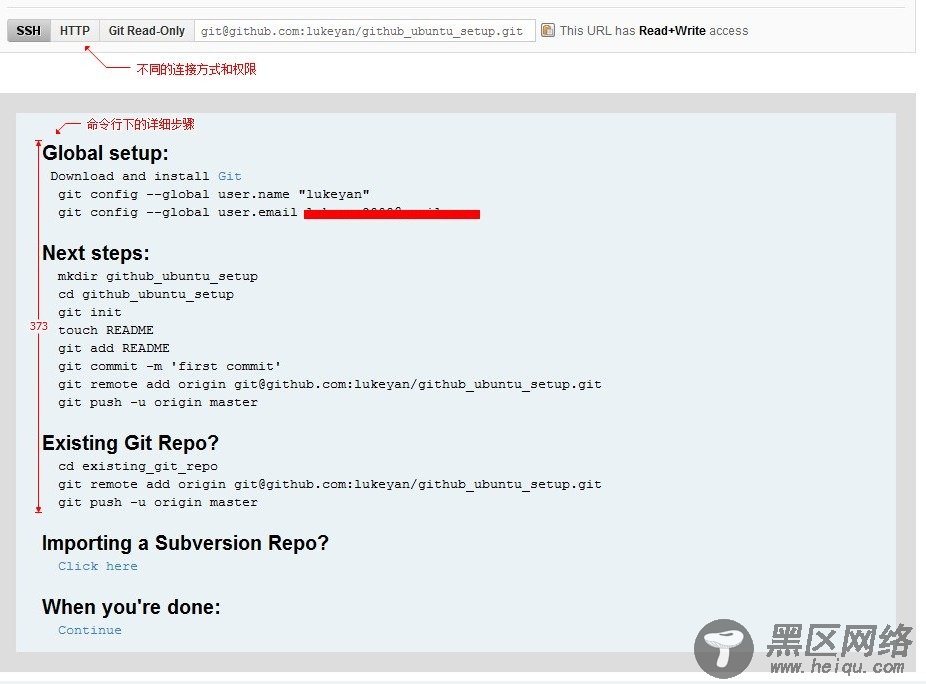
填写好基本的信息后 Create, 会将你带来到详细的操作方法页面,这个设置页面在你设置好本地之后会消失。

OK。
下面一步步在 Ubuntu Server 下实现,
首先安装 git
$ sudo apt-get install git git-core git-doc
设置好在Github显示的个人信息
$ git config --global user.name "lukeyan"
$ git config --global user.email xxx@gmail.com
创建本地用来做 repo 的目录
$ mkdir github_ubuntu_setup
$ cd github_ubuntu_setup
$ git init // 初始化目录
$ touch xx.txt // 新建文件 同样也可以用 vim xx.tx 来创建啦
$ echo 'xxxxxxx content ' > xx.txt // 将内容写进 xx.txt 中去
$ git status -s // 可以看到 xx.txt 文件前有两个 ?? 说明是新的文件,repo 中没有
$ git add xx.tx // 将 xx.txt 添加到 repo 中,以待upload
$ git commit -m 'xxx content' // 就是对 xx.txt 的一些简介
$ git remote add origin git@github.com:lukeyan/github_ubuntu_setup.git // 设定好要upload的地址, 地址可以在新建的 repository 页面上方看的到。
$ git push -u origin master // 将本地文件upload 到Github
3. 命令行下 Github 的基础使用
官方 PDF版 Github 的基础使用说明下载在这里。
