Windows 监控端配置
安装NSClient,进入安装目录修改配置文件NSC.ini,将[module]下所有库文件的注释删去。运行nsclient。
Linux 监控端配置
1.添加nagios用户
useradd nagios2.编译安装nagios-plugin
tar zxf nagios-plugins-1.4.15.tar.gz cd nagios-plugins-1.4.15 ./configure --with-nagios-user=nagios --with-nagios-group=nagios make && make install3.编译安装nrpe
yum install openssl-devel #先安装openssl解决依赖 tar -zxvf nrpe-2.12.tar.gz cd nrpe-2.12.tar.gz ./configure --enable-ssl --with-ssl-lib=/usr/lib/ make all && make install-plugin && make install-daemon && make install-daemon-config #编译安装4.配置并启用nrpe
vim /usr/local/nagios/etc/nrpe.cfg allowed_hosts=192.168.0.71 #监控端的IP /usr/local/nagios/bin/nrpe -c /usr/local/nagios/etc/nrpe.cfg –d #开启进程监控端重启nagios服务
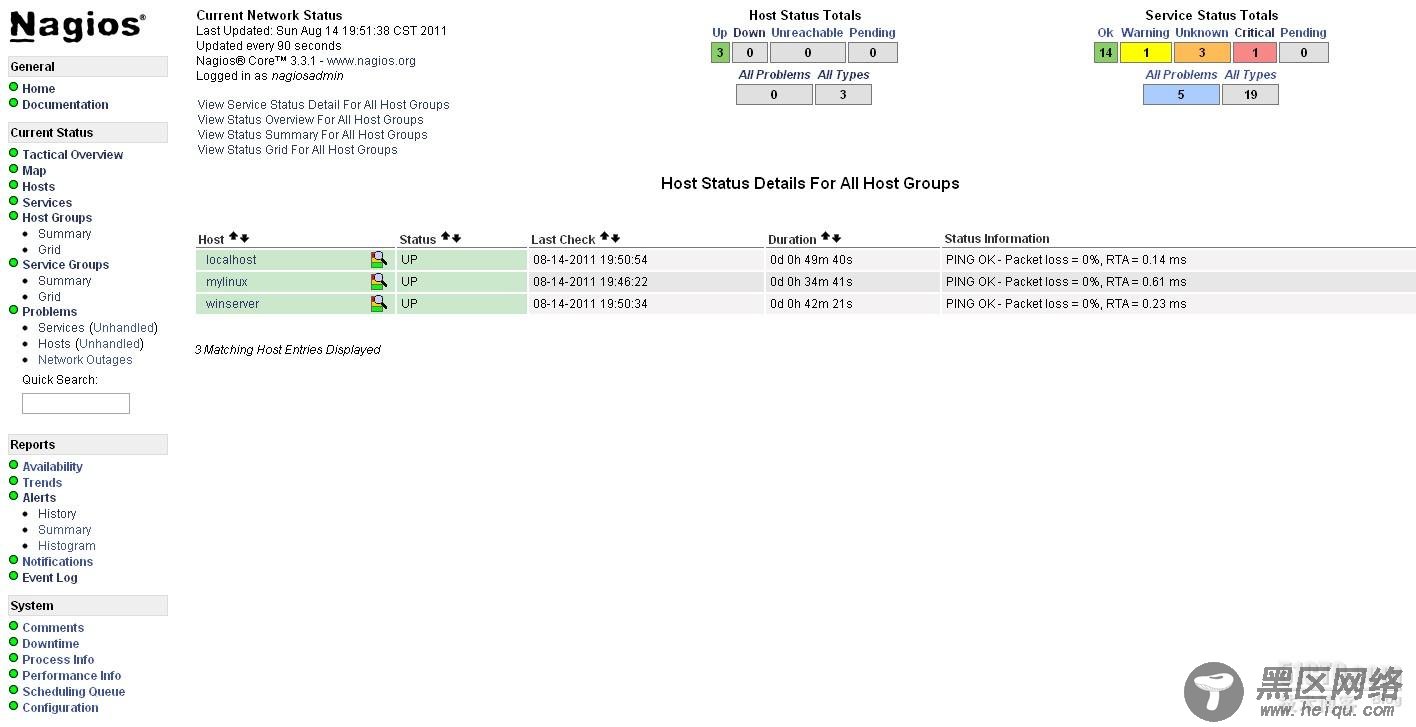
service nagiso restart浏览器刷新页面,即出现windows和linux被监控主机
监控服务的添加
下面就添加被监控主机mysql服务为例进行说明
1.被监控机(192.168.0.72)安装mysql并创建监控用户
yum install mysql mysql-server #简单起见yum安装mysql service mysqld start #启动mysql mysqladmin -uroot -p password '123456' #给root用户创建mysql密码 mysql -uroot -p #进入mysql mysql> create database nagios; #创建数据库 mysql> grant select on nagios.* to nagios@'%' identified by 'RedHat'; #给nagios用户赋予查询权限 mysql> flush privileges; #刷新特权表2.监控机(192.168.0.71)修改相关配置文件
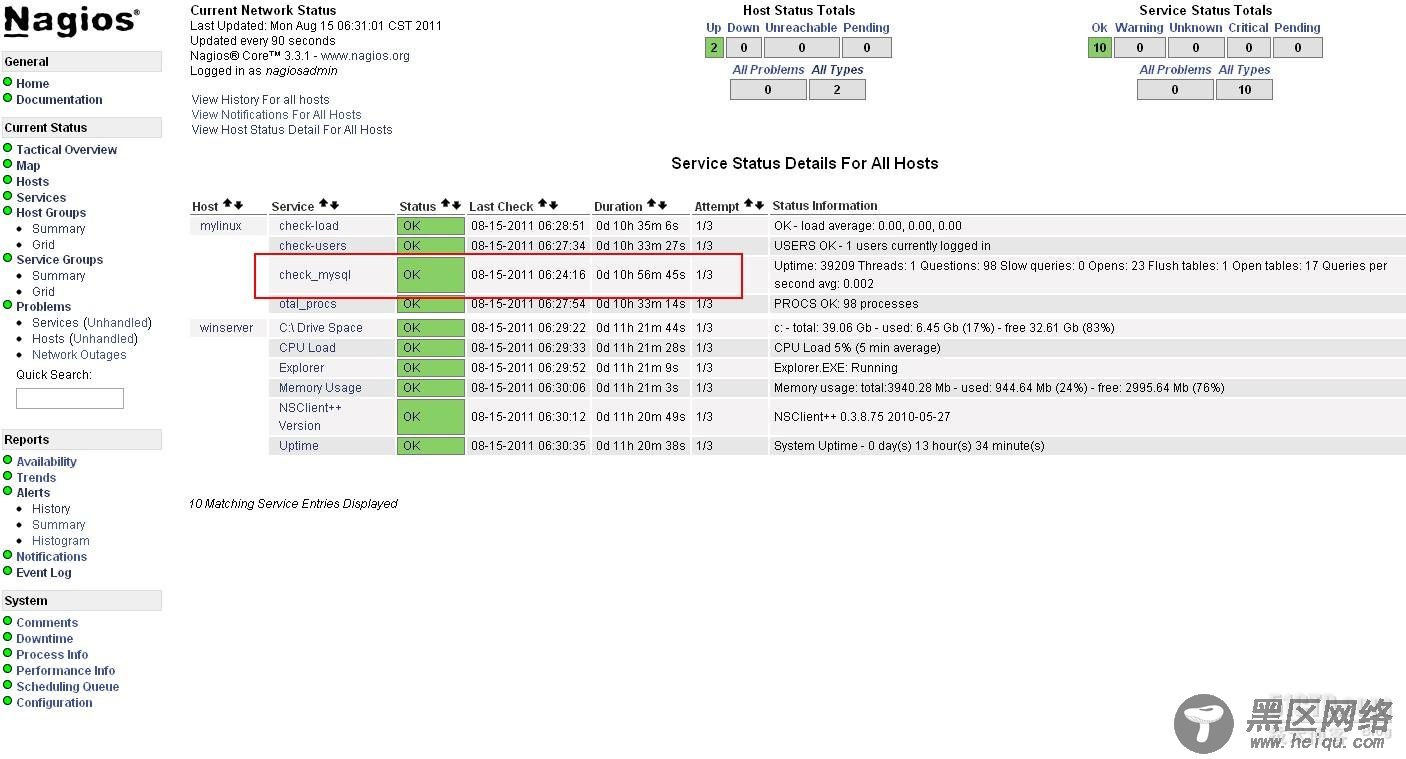
vim /usr/local/nagios/etc/objects/command.cfg #check mysql define command{ command_name check_mysql command_line $USER1$/check_mysql -H 192.168.0.72 -u nagios -d nagios -p redhat } #在命令配置文件中添加这些字段 vim /usr/local/nagios/etc/objects/mylinux.cfg define service{ use generic-service host_name mylinux service_description check_mysql check_command check_mysql } #在linux主机配置文件中定义服务重启服务
service nagios restart刷新浏览器页面
异常报警
这里选用飞信作为异常报警手段,异常事件出发直接以短信形式通知运维人员
1.飞信的安装
unzip fetion.zipcd ../fetion mv fetion /usr/bin/ #将飞信脚本放在/usr/lib chmod +x /usr/bin/fetion #添加执行权限 mv ./* /usr/lib #将剩余所有库文件移动到/usr/libPs:飞信程序下载地址:
用户名与密码都是
具体下载目录在 /pub/2011/09/14/Nagios远程监控软件的安装与配置详解/
2.修改nagios相关配置文件
vim /usr/local/nagios/etc/templates.cfg define contact{ name generic-contact service_notification_period 24x7 host_notification_period 24x7 service_notification_options w,u,c,r,f,s host_notification_options d,u,r,f,s service_notification_commands notify-service-by-fetion host_notification_commands notify-host-by-fetion register 0 } #修改成上面字段 vim /usr/local/nagios/etc/commands.cfg commands.cfg define command{ command_name notify-service-by-fetion command_line /usr/bin/fetion --mobile 您的手机号 --pwd 您的飞信密码 --to 您的手机号 --msg-tpye=0 --msg-utf8 $HOSTNAME } #添加这些字段重启服务使配置文件生效
关于nagios的配置流程以及应用添加就先写到这里,以上内容在您实现过程中出现的任何问题,欢迎在此交流; 并请各位高手前辈大神达人予以批评指正,谢谢!