Ubuntu目前有个项目叫Ubuntu for Android(),看起来非常cool:
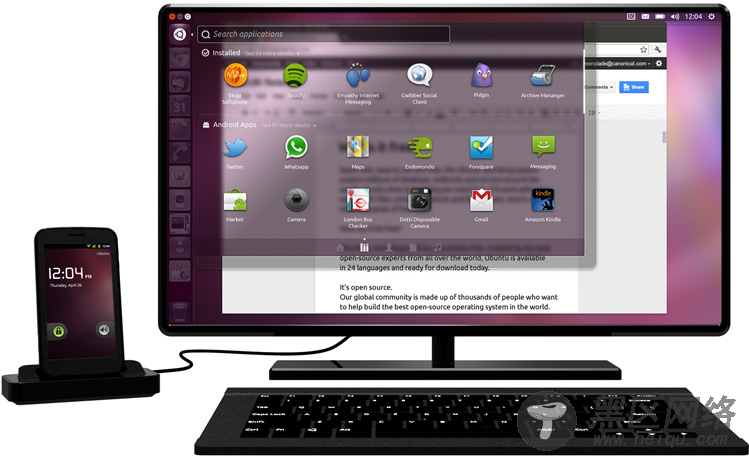
它的原理在并无介绍。但是我们猜测可以用chroot配合实现一个最简单的Ubuntu for Android。
我们为Andriod编写一个脚本Ubuntu.sh,在该脚本中启动Ubuntu的文件系统,透过chroot进行:
#!/system/bin/sh if [ `id -u` != "0" ] then echo -e "\033[33m Becoming root \033[0m" su -c bu exit 1 fi echo -e "\033[33m Setting some stuff up..\033[0m " export bin=/system/bin export mnt=/data/local/ubuntu export PATH=$bin:/usr/bin:/usr/sbin:/bin:$PATH export TERM=linux export HOME=/root if [ ! -d $mnt ] then mkdir $mnt fi echo -e "\033[33m Mounting the Linux Image \033[0m" #replace /dev/block/mmcblk1p2 by the partition Ubuntu image is replaced #it might be a loop image busybox mount -t ext4 -o noatime,nodiratime /dev/block/mmcblk1p2 $mnt busybox mount -t devpts devpts $mnt/dev/pts busybox mount -t proc proc $mnt/proc busybox mount -t sysfs sysfs $mnt/sys echo -e "\033[33m Setting Up Networking\033[0m" sysctl -w net.ipv4.ip_forward=1 echo "nameserver 8.8.8.8" >> $mnt/etc/resolv.conf echo "nameserver 8.8.4.4" >> $mnt/etc/resolv.conf echo "127.0.0.1 localhost" > $mnt/etc/hosts echo -e "\033[33m Mounting sdcard in /mnt/sdcard\033[0m" if [ ! -d $mnt/mnt/sdcard ] then mkdir $mnt/mnt/sdcard fi busybox mount --bind /mnt/sdcard/ $mnt/mnt/sdcard echo -e "\033[33m Entering CHROOT \033[0m" echo " " chroot $mnt /bin/bash echo " " echo -e "\033[33m Shutting down CHROOT\033[0m" echo -e "\033[33m umount $mnt/mnt/sdcard\033[0m" busybox umount $mnt/mnt/sdcard sysctl -w net.ipv4.ip_forward=0 echo -e "\033[33m umount $mnt/dev/pts\033[0m" busybox umount $mnt/dev/pts echo -e "\033[33m umount $mnt/proc\033[0m" busybox umount $mnt/proc echo -e "\033[33m umount $mnt/sys\033[0m" busybox umount $mnt/sys echo -e "\033[33m umount $mnt\033[0m" busybox fuser -k $mnt busybox umount $mnt
其中的一行:busybox mount -t ext4 -o noatime,nodiratime /dev/block/mmcblk1p2 $mnt
是为了mount Ubuntu的rootfs,我们的实验中Ubuntu的rootfs存放在/dev/block/mmcblk1p2。该文件系统通过rootstack得到:sudo rootstock -f ubuntu -l <yourname> -p <yourpassword> -i 1G --seed linux-image-omap,build-essential,tightvncserver, lxde
将得到的tgz包解压到我们sd卡的分区2。
运行Ubuntu.sh,进入到了Ubuntu的根文件系统,并执行了bash,之后我们开一个vncserver:
export USER=root vncserver -geometry 800x480