<link type="text/css" href="https://www.jb51.net/bootstrap.min.css"> <style type="text/css"> html { font-family: Arial; } form { margin: 50px auto; width: 400px; } input { width: 300px; padding: 4px; } #uploadBtn { margin-top: -3px; margin-left: 5px; width: 60px; height: 30px; font-weight: bold; font-size: 12px; } #fileTest { display: inline-block; border: 1px solid #ccc; border-radius: 3px; } .file-temp { position: relative; display: none; width: 300px; height: 31px; } .file-temp-item { position: absolute; top: 4px; height: 24px; } .item-more-btn { display: inline-block; position: absolute; top: 18px; right: 0.5%; width: 10px; height: 10px; color: #777; cursor: pointer; } .item-more-btn:hover { border-top-color: #aaa; } .file-temp-name { display: inline-block; overflow: hidden; width: 90%; height: 26px; padding: 2px 15px 2px 5px; border-radius: 2px; background-color: #eaeaf3; text-overflow: ellipsis; white-space: nowrap; } .file-temp-btn { position: absolute; display: inline-block; top: 4px; right: 11%; width: 18px; height: 18px; line-height: 18px; text-align: center; border: 1px solid #ddd; background-color: #ccc; border-radius: 50%; color: #fff; font-size: 18px; cursor: pointer; } .item-more { position: absolute; overflow-y: auto; display: none; padding-left: 0; width: 300px; max-height: 150px; list-style: none; } .item-more li { position: relative; padding: 5px; border: 1px solid #ccc; border-top: none; } .item-more li:hover { background-color: #f5f5f9; } .file-item-more-name { display: inline-block; width: 90%; overflow: hidden; text-overflow: ellipsis; white-space: nowrap; } .file-item-more-btn { position: absolute; display: inline-block; top: 8px; right: 2%; width: 18px; height: 18px; line-height: 18px; text-align: center; border: 1px solid #ddd; background-color: #ddd; border-radius: 50%; color: #fff; font-size: 18px; cursor: pointer; } .file-item-more-btn:hover { background-color: #ccc; } .upload-tip { display: none; margin: 50px auto; text-align: center; font-size: 12px; } </style>
2. 脚本的处理
下面,着重介绍JS脚本的处理
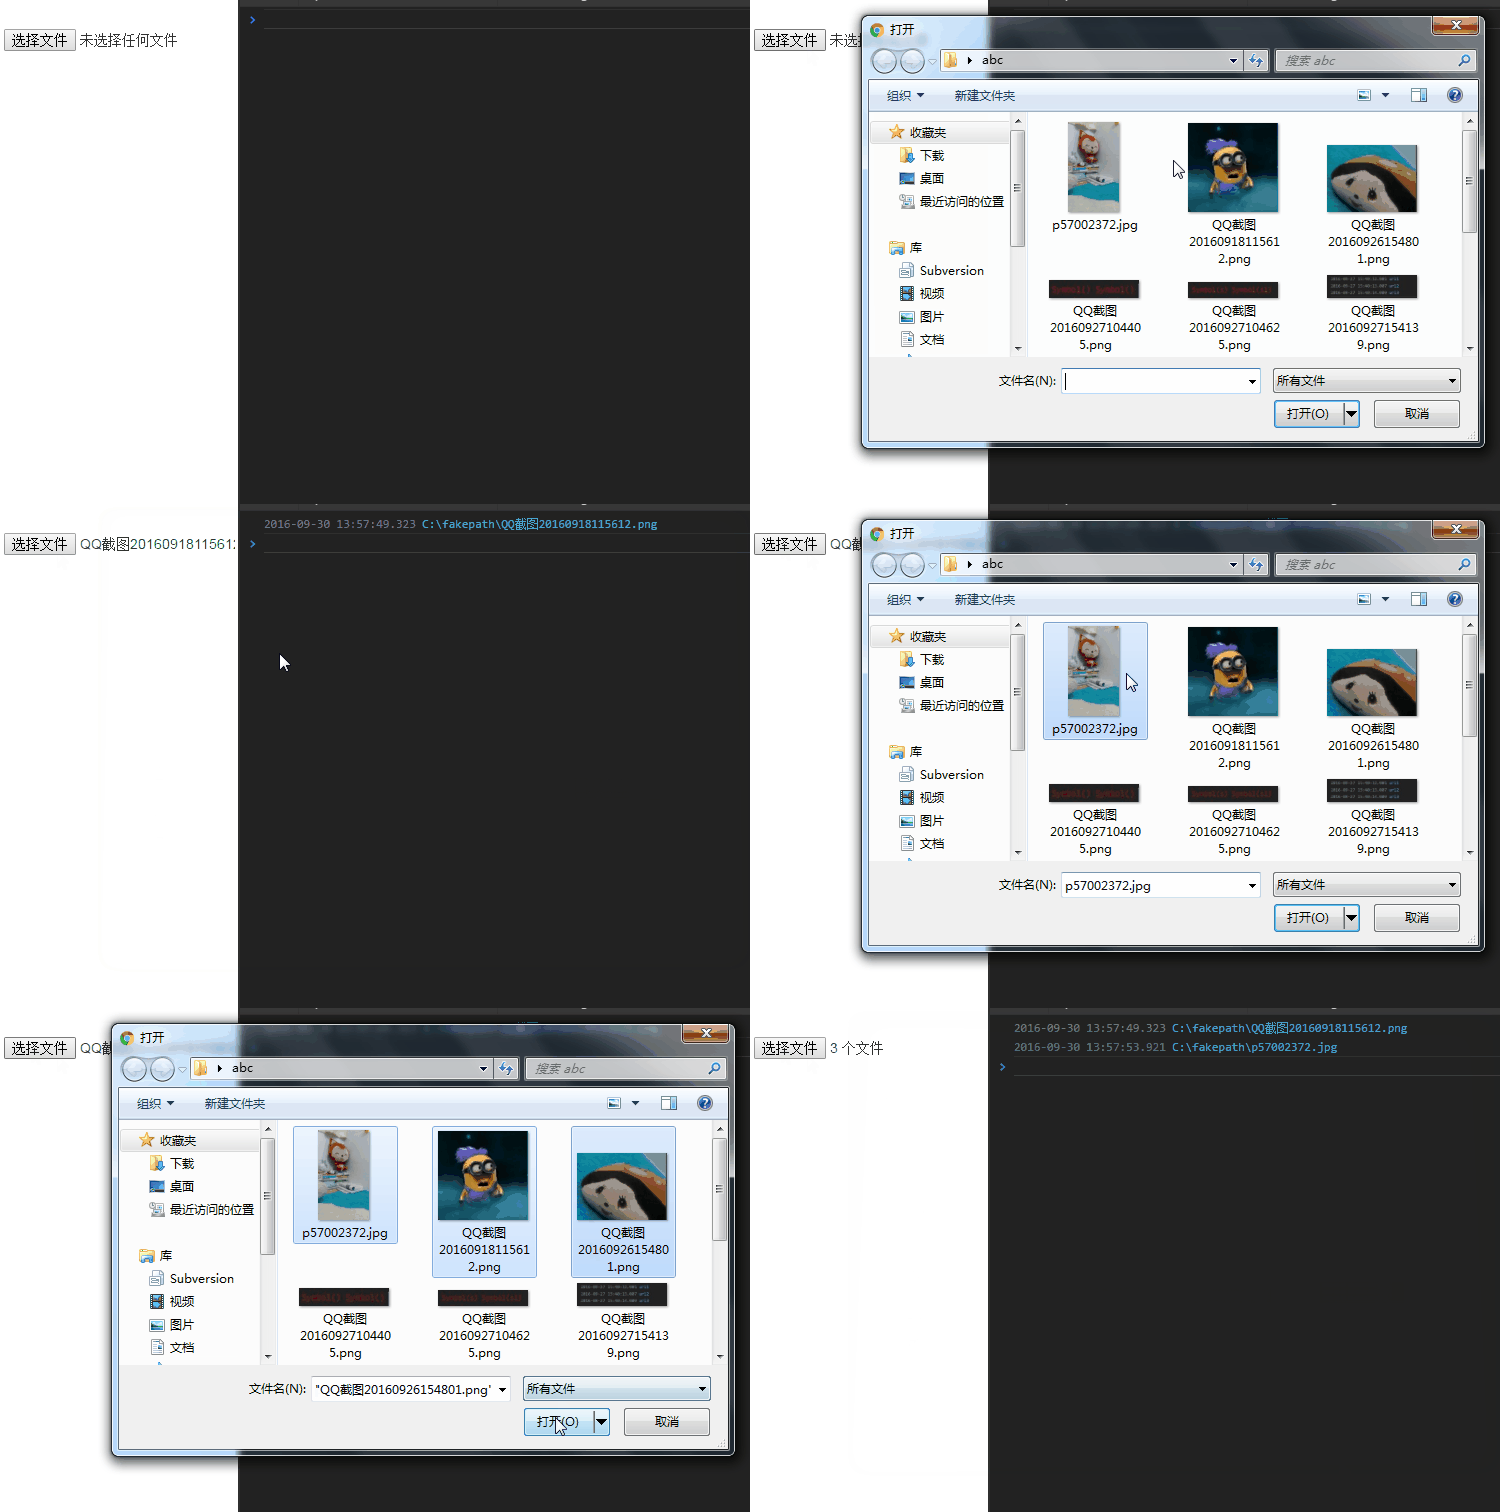
要获取到选中文件的信息,自然想到用value属性,但通过文件项的value只能获取到一个文件路径(第一个),无论有没有multiple
无multiple
<input type="file" onchange="console.log(this.value);">
有multiple
<input type="file" multiple onchange="console.log(this.value);">

既然直接通过value获取不到所有选中的文件信息,只能寻求其他途径。
1)FileList
获取选中的文件信息,还可以用FileList对象,这是在HTML5中新增的,每个表单文件项都有个files属性,里边存储这选中的文件的一些信息
<input type="file" multiple onchange="console.log(this.files);">
选中两个文件后,查看文件信息

FileList对象看起来是个类数组,有length属性。所以我们应该可以通过修改或删除相关的项来自定义我们选择的文件(注意其实这是不能修改的,且继续看下去)
假如我选择了两个文件,想删除第二项目,使用splice删除,则
<input type="file" multiple onchange="console.log(Array.prototype.splice.call(this.files, 1, 1));">
报错,由此可知FileList的length属性是只读的,那直接修改为可写可配置呢
Object.defineProperty(FileList.prototype, 'length', { writable: true, configurable: true });
配置之后length能修改了,乍一看还以为splice生效了,然而输出一看,FileList对象内容不变,仍为两项
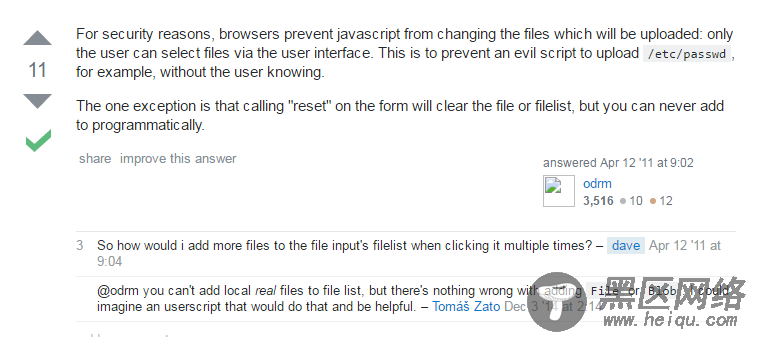
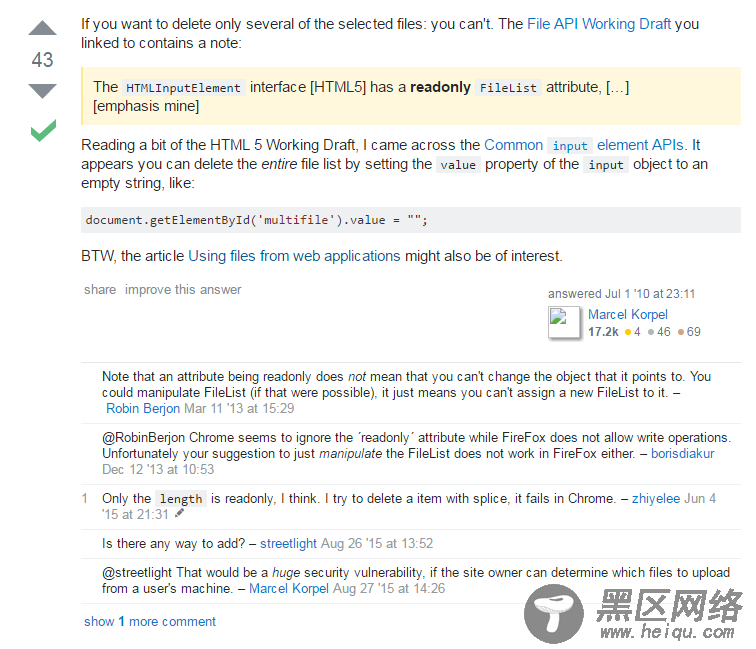
查阅了一些资料后,了解到浏览器为了安全性的考虑,把FileList对象的内容设为了不可更改,只可以手动置空,但不能修改内容


所以,解决办法是,新增一个数组,初始复制FileList对象的文件内容,之后的修改操作则通过这个可更改的数组进行
