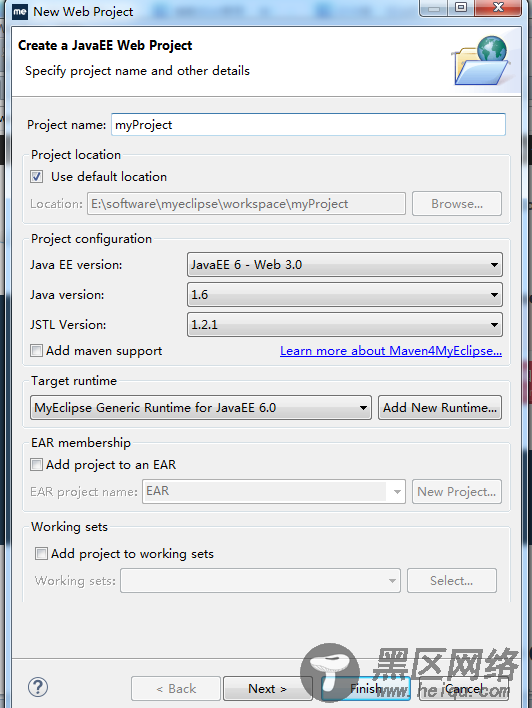
1,首先在自己新建的项目文本框中输入Web Project的名称,然后单击下一步。
2,继续单击下一步
3,把Generate web.xml deployment descriptor复选框勾上。
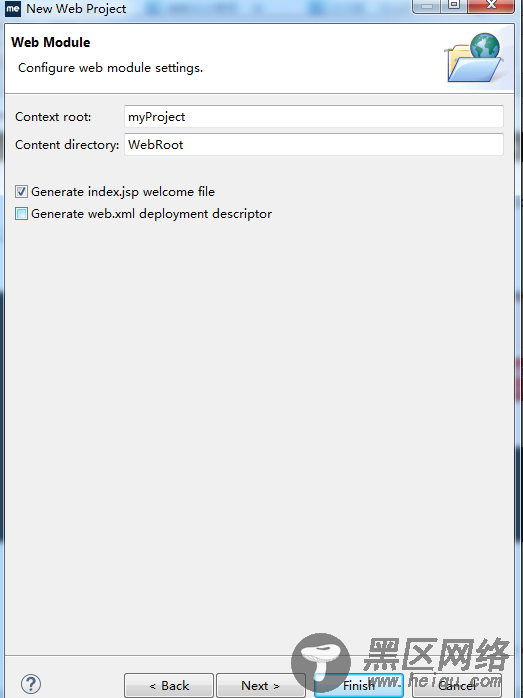
4,单击Finish,完成Web project工程的创建。
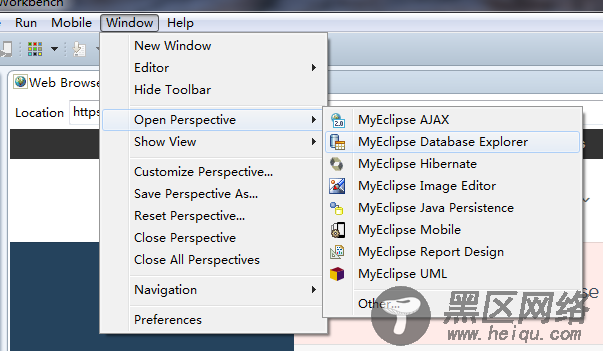
5,打开MyEclipse Datebase Explore,如图所示
6,按图中所示填写各项内容,并通过Add JARS添加相应的数据库驱动程序。
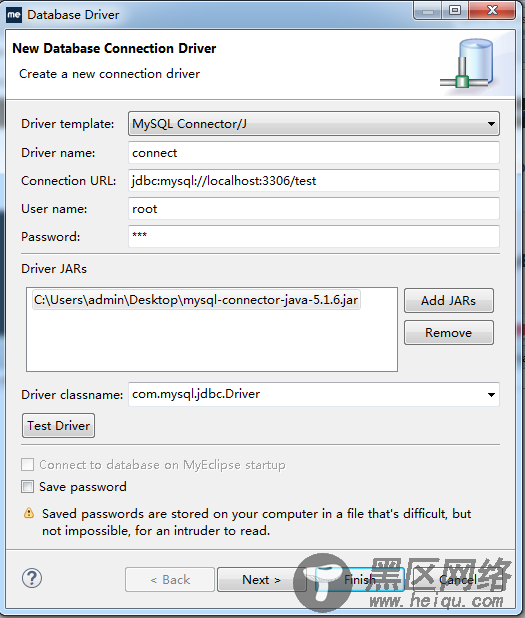
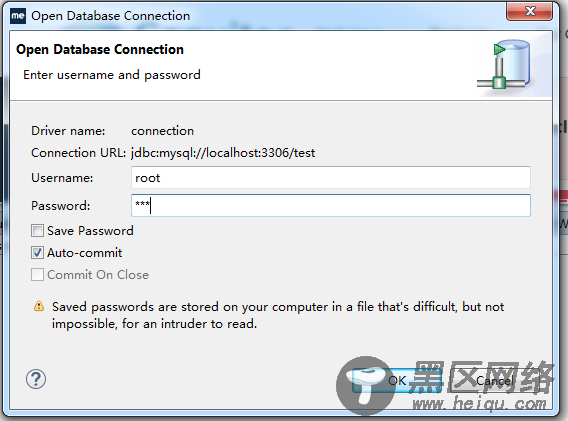
7,通过Test Driver测试驱动是否连接成功,需要输入密码。成功后如下图所示

8,单击Finish完成数据库的连接,右击选择Open Database Connection,输入密码后,并单击OK
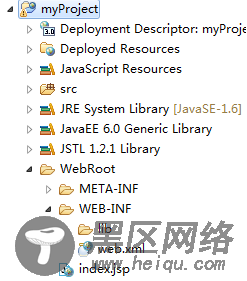
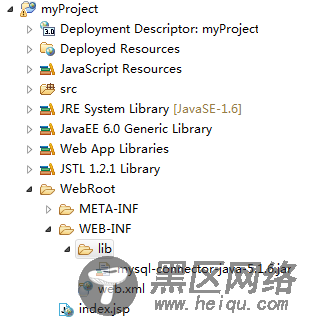
9,接下来需要在创建的目录中添加MySQL数据库驱动,需要将相应的MySQL数据库驱动粘贴到WEB-INF/lib文件夹下。
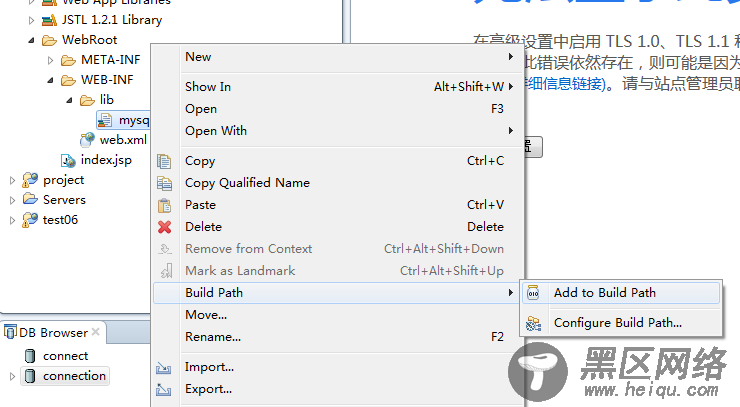
10,通过右击mysql-connectior-java-5.1.6.jar,在Build Path中单击Add to Build Path
11,在index.jsp中输入如下代码,并配置相应mySQL数据库数据
<%@ page language="java" import="java.util.*" pageEncoding="utf-8"%> <%@ page import="java.sql.*" %> <body> <% String driver = "com.mysql.jdbc.Driver"; // URL指向要访问的数据库名test1 String url = "jdbc:mysql://127.0.0.1:3306/test"; // MySQL配置时的用户名 String user = "root"; // Java连接MySQL配置时的密码 String password = "111"; try { // 1 加载驱动程序 Class.forName(driver); // 2 连接数据库 Connection conn = DriverManager.getConnection(url, user, password); // 3 用来执行SQL语句 Statement statement = conn.createStatement(); // 要执行的SQL语句 String sql = "select * from login"; ResultSet rs = statement.executeQuery(sql); String name = null; String mima=null; while (rs.next()) { name = rs.getString("userName"); mima = rs.getString("passWord"); out.println(name+"\t"+mima); } rs.close(); conn.close(); } catch (ClassNotFoundException e) { System.out.println("Sorry,can`t find the Driver!"); e.printStackTrace(); } catch (SQLException e) { e.printStackTrace(); } catch (Exception e) { e.printStackTrace(); } %> </body>
12,这样就运行成功了,对于出现8080端口号被占用,可以采用如下的方法进行删除对应的进程。
在命令提示符下,输入netstat -aon | findstr 8080
找到对应的进程的PID,假设是7659 再输入如下的命令
taskkill /pid 7659 /F
即可删除对应的进程。