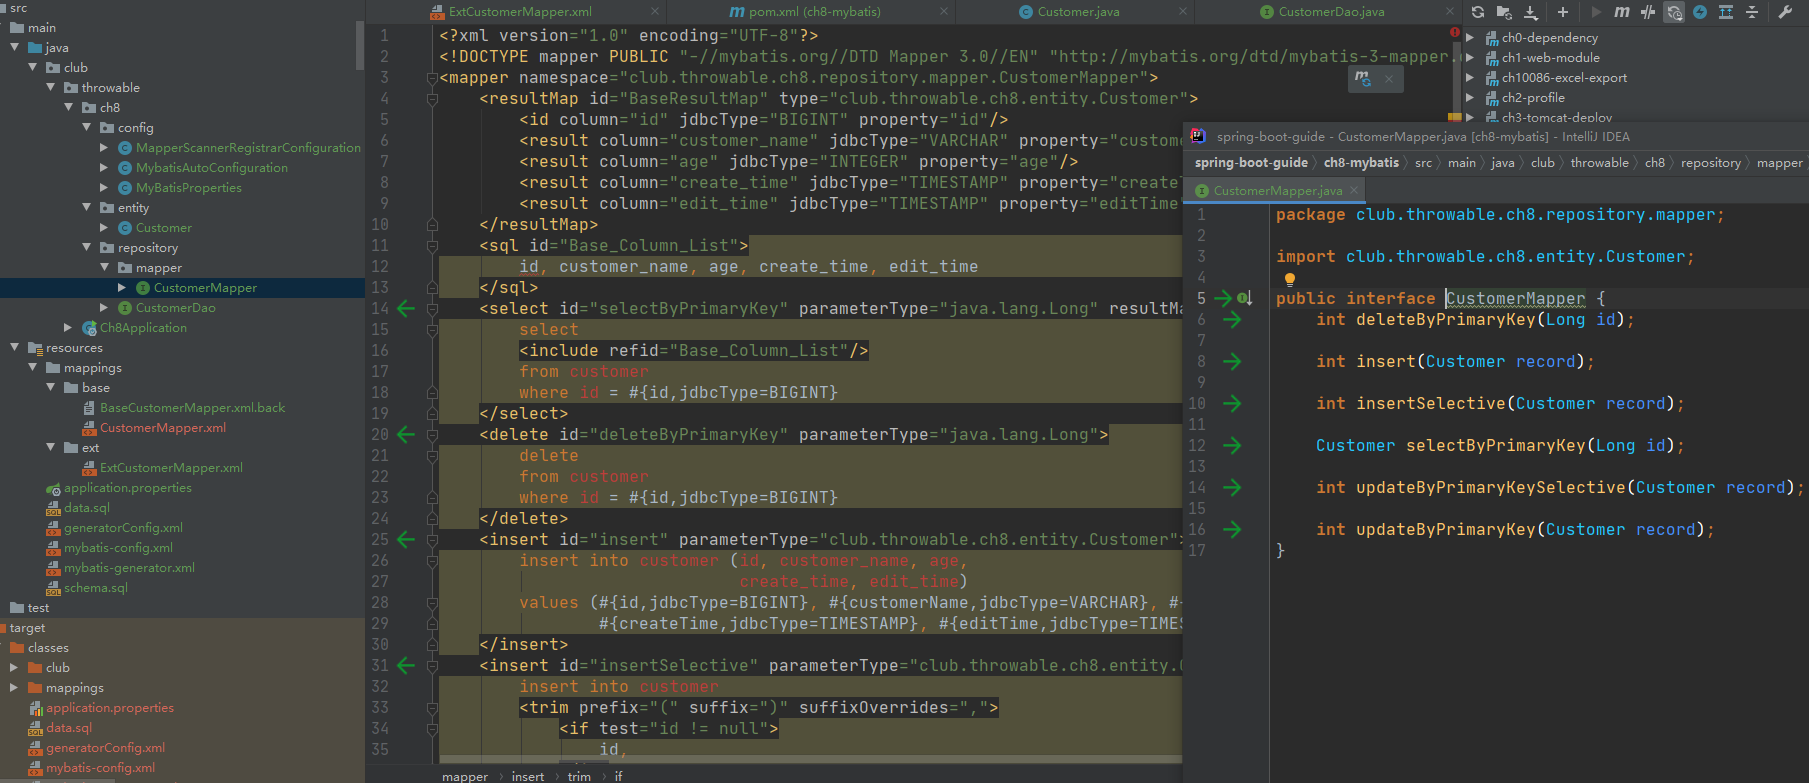
然后再项目的POM文件添加一个Maven插件:
<plugins> <plugin> <groupId>org.mybatis.generator</groupId> <artifactId>mybatis-generator-maven-plugin</artifactId> <version>1.4.0</version> <executions> <execution> <id>Generate MyBatis Artifacts</id> <goals> <goal>generate</goal> </goals> </execution> </executions> <configuration> <jdbcURL>jdbc:h2:mem:db_customer;MODE=MYSQL;DB_CLOSE_DELAY=-1;DATABASE_TO_UPPER=FALSE</jdbcURL> <jdbcDriver>org.h2.Driver</jdbcDriver> <jdbcUserId>root</jdbcUserId> <jdbcPassword>123456</jdbcPassword> <sqlScript>${basedir}/src/main/resources/schema.sql</sqlScript> </configuration> <dependencies> <dependency> <groupId>com.h2database</groupId> <artifactId>h2</artifactId> <version>1.4.200</version> </dependency> </dependencies> </plugin> </plugins>笔者发现这里必须要在插件的配置中重新定义数据库连接属性和schema.sql,因为插件跑的时候无法使用项目中已经启动的h2实例,具体原因未知。
配置完毕之后,执行Maven命令:
mvn -Dmybatis.generator.overwrite=true mybatis-generator:generate -X
然后resource/mappings/base目录下新增了一个带有基本CRUD方法实现的CustomerMapper.xml,同时CustoemrMapper接口和Customer实体也被重新覆盖生成了。

这里把前面手动编写的BaseCustomerMapper.xml注释掉,预防冲突。另外,CustomerMapper.xml的insertSelective标签需要加上keyColumn="id" keyProperty="id" useGeneratedKeys="true"属性,用于实体insert后的主键回写。
最后,修改并重启启动一下Ch8Application验证结果:

这篇文章相对详细地介绍了SpringBoot项目如何使用MyBatis,如果需要连接MySQL或者其他数据库,只需要修改数据源配置和MyBatis生成器的配置文件即可,其他配置类和项目骨架可以直接复用。
本文demo仓库:
Github:https://github.com/zjcscut/spring-boot-guide/tree/master/ch8-mybatis
(本文完 c-2-d e-a-20200719 封面来自《秒速五厘米》)
公众号《Throwable文摘》(id:throwable-doge),不定期推送架构设计、并发、源码探究相关的原创文章:


