[oracle@jystdrac1 ~]$ wget :4903/empbs/genwallet
--2018-01-23 16:02:03-- :4903/empbs/genwallet
Resolving oms... 192.168.1.88
Connecting to oms|192.168.1.88|:4903... connected.
HTTP request sent, awaiting response... No data received.
Retrying.
--2018-01-23 16:02:04-- (try: 2) :4903/empbs/genwallet
Connecting to oms|192.168.1.88|:4903... connected.
HTTP request sent, awaiting response... No data received.
Retrying.
--2018-01-23 16:02:06-- (try: 3) :4903/empbs/genwallet
Connecting to oms|192.168.1.88|:4903... connected.
HTTP request sent, awaiting response... No data received.
Retrying.
^C
4).
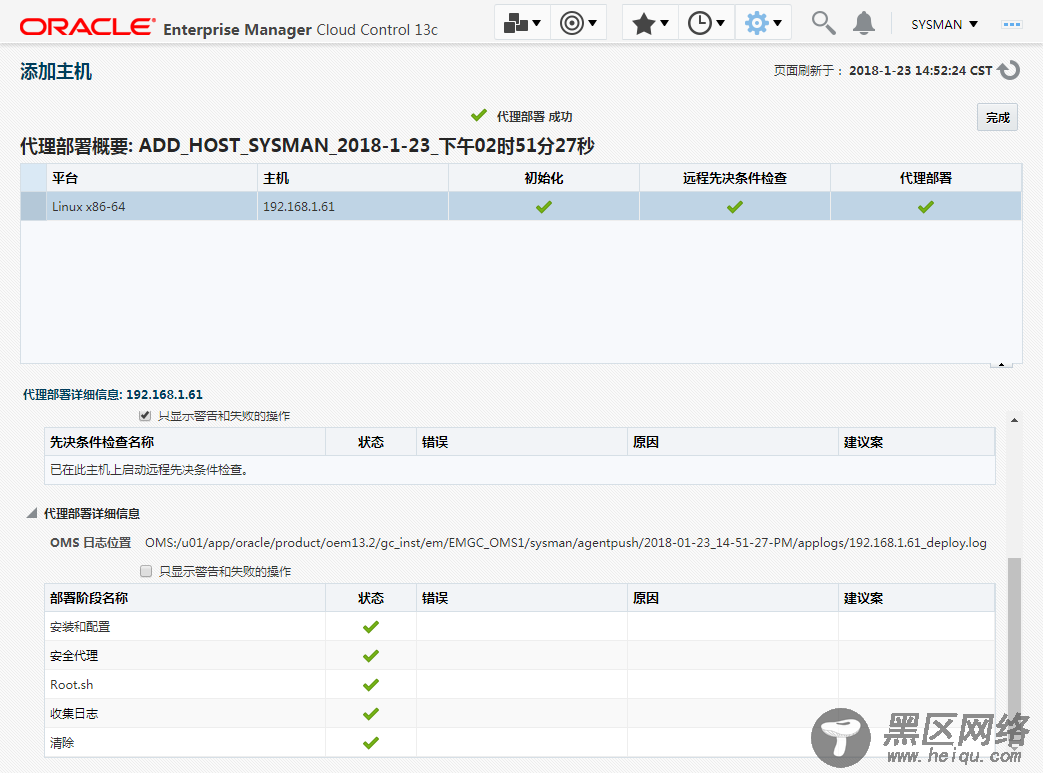
再次尝试重新部署agent成功。
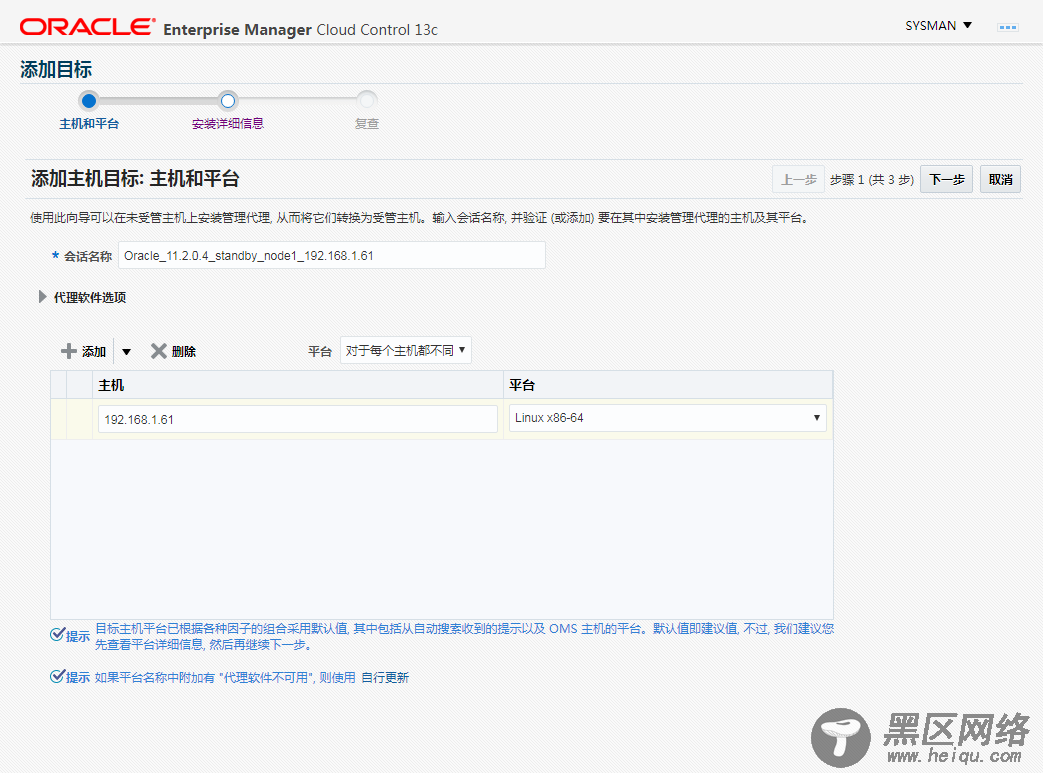
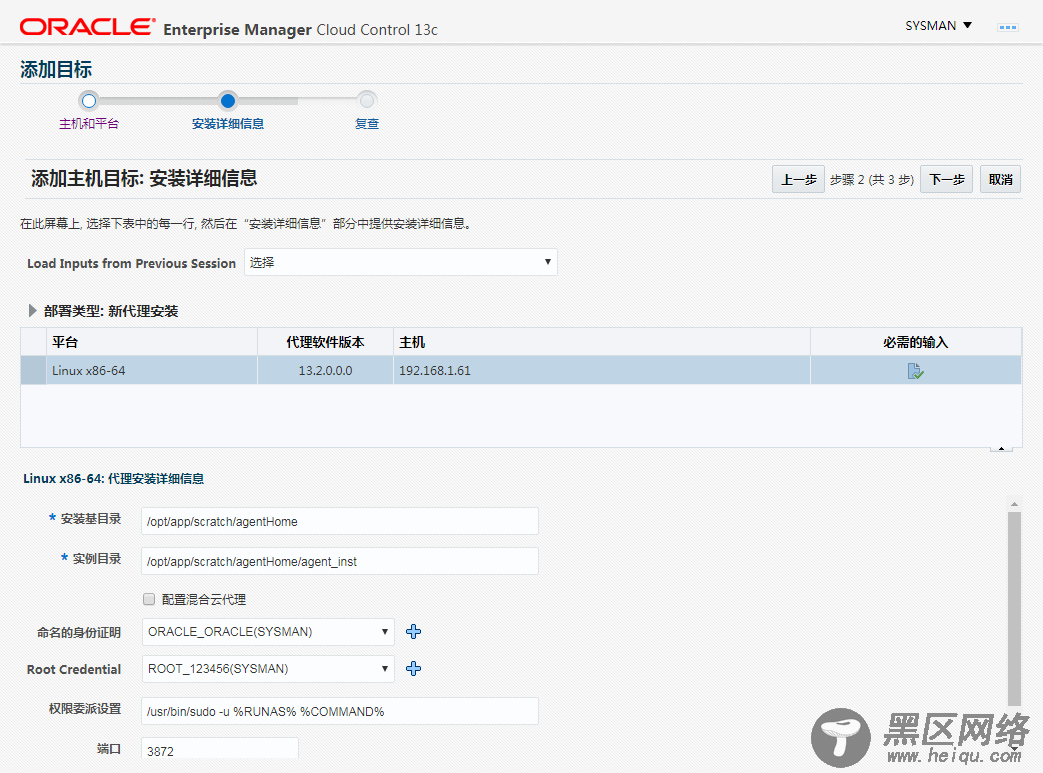
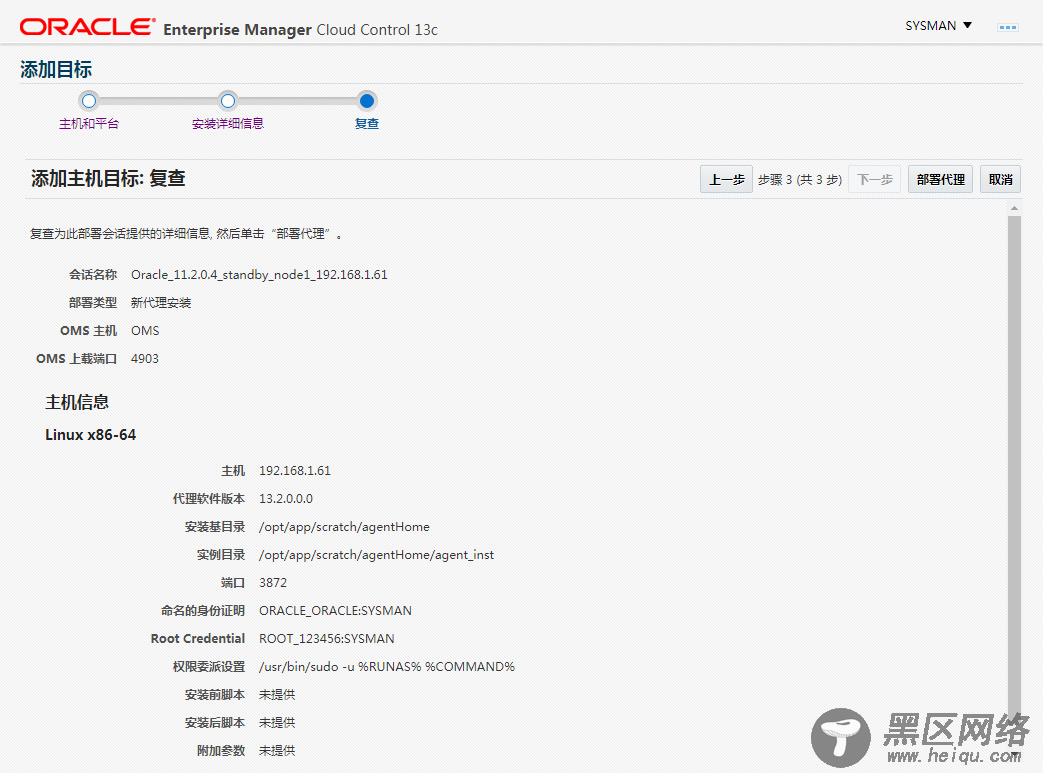
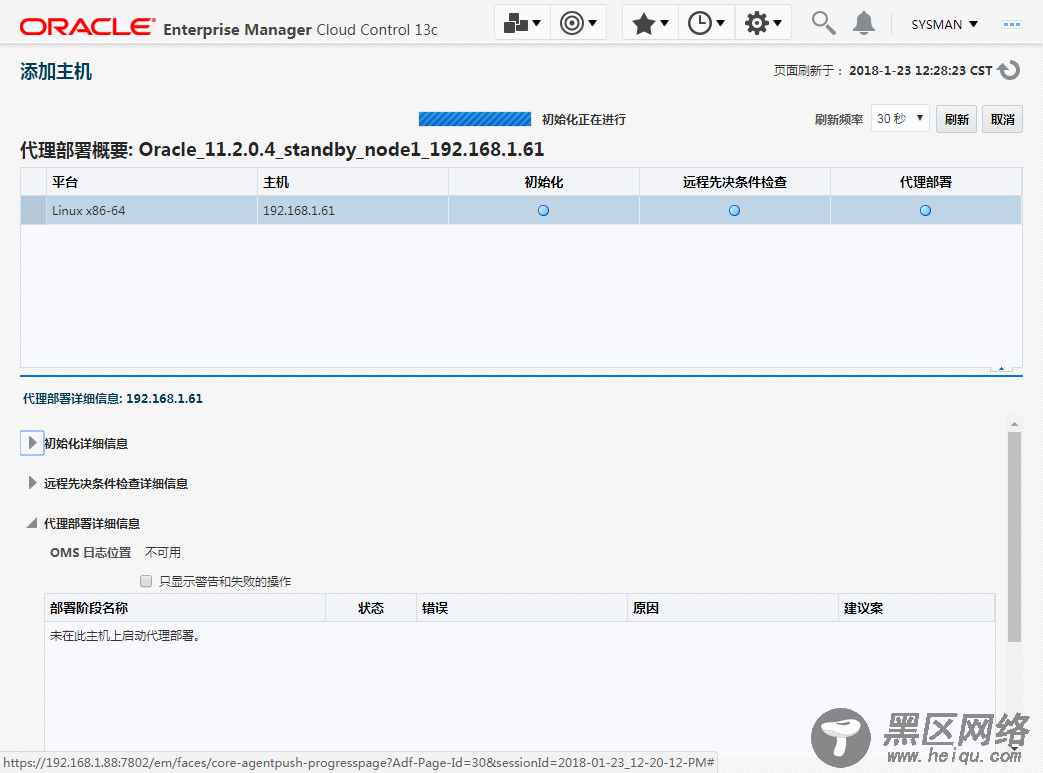
在OEMCC上部署agent(推送方式)步骤截图如下:

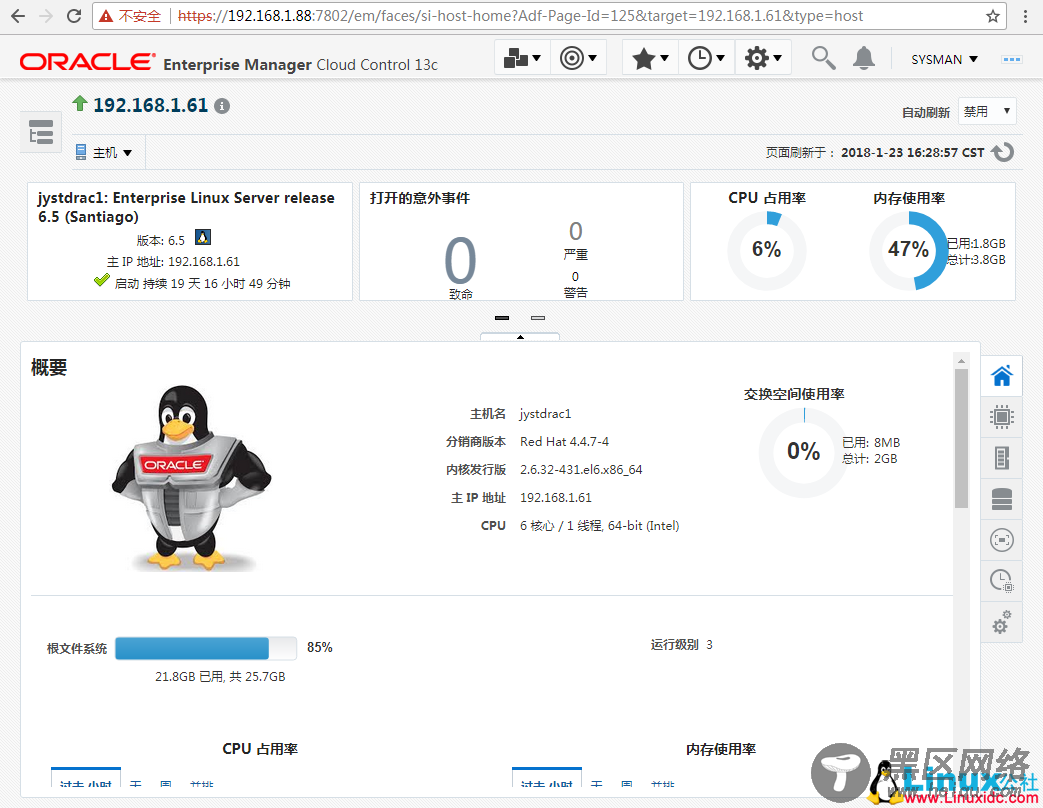
最后就可以在OEMCC上直观看到该主机的相关监控数据:
至此,我们就熟悉了OEMCC 13.2 的整体安装、部署、配置agent等基本操作,后续就可以在这个环境下逐渐深入学习并感受OEMCC的强大功能了。

