
1.ks文件可以在图形化界面通过system-config-kickstart进行生成,也手写(不建议)或使用已经装好的系统中,/root/anaconda-ks.cfg进行修改。此处以最小化安装ks文件为例。
此处需要注意的是在ks文件中使用network安装,要将url的路径设置为cobbler的内置变量$tree
2.ks6mini.cfg文件内容
[root@centos7 ~]# vim ks6.cfg #platform=x86, AMD64, or Intel EM64T #version=DEVEL # Firewall configuration firewall --disabled # Install OS instead of upgrade install # Use network installation url --url=$tree # Root password rootpw --iscrypted $1$6oVXZR1R$QOASc6inirmHCZmQ.W9Hg0 # System authorization information auth --useshadow --passalgo=sha512 # Use text mode install text # System keyboard keyboard us # System language lang en_US # SELinux configuration selinux --disabled # Do not configure the X Window System skipx # Installation logging level logging --level=info # Reboot after installation reboot # System timezone timezone Asia/Shanghai # Network information network --bootproto=dhcp --device=eth0 --onboot=on # System bootloader configuration bootloader --location=mbr # Clear the Master Boot Record zerombr # Partition clearing information clearpart --all --initlabel # Disk partitioning information part /boot --fstype="ext4" --size=200 part / --fstype="ext4" --size=20000 part swap --fstype="swap" --size=1024 %packages @core %end 二、将ks文件复制到cobbler的ks的仓库中cobbler有自带的ks仓库,其目录在/var/lib/cobbler/kickstarts/,将所准备好的ks文件复制到此目录下
[root@centos7 ~]# cp ks6mini.cfg /var/lib/cobbler/kickstarts/ 三、将ks文件与cobbler中的系统镜像相关联1.首先查看下cobbler仓库中的ks文件关联列表以及cobbler中所存在的系统镜像
[root@centos7 ~]# cobbler profile list #此命令可以查看ks关联安装列表 Centos-6.10-x86_64 #此为刚才创建的安装列表 [root@centos7 ~]# cobbler distro list #此命令可以查看所存在的系统镜像 Centos-6.10-x86_64 #此为刚才导入的镜像2.将ks6mini.cfg文件进行关联
[root@centos7 ~]# cobbler profile add --name=Centos-6.10-mini-x86_64 --distro=Centos-6.10-x86_64 --ks=/var/lib/cobbler/kickstarts/ks6mini.cfg #--name:指定新的安装列表的名称 #--distro:指定所要关联的镜像名称 #--ks:指定ks文件所在的路径 [root@centos7 ~]# cobbler profile list #查看安装列表 Centos-6.10-mini-x86_64 #此为刚才所关联的项 Centos-6.10-x86_643.删除ks关联
由于cobbler所自带的关联安装方法,并不是我们想要的,所以我们需要将其从列表中删除,删除方法
由于文本形式的cobbler的管理不太友好,我们也可以使用基于web的管理方法
一、安装cobbler-web [root@centos7 mnt]# yum install cobbler-web -y 二、重启httpd服务 [root@centos7 mnt]# systemctl restart httpd 三、此时已经能访问cobbler的web界面cobbler_web是基于ssl的,所以需要使用https协议,访问地址为:https://XXX.XXX.XXX.XXX/cobbler_web
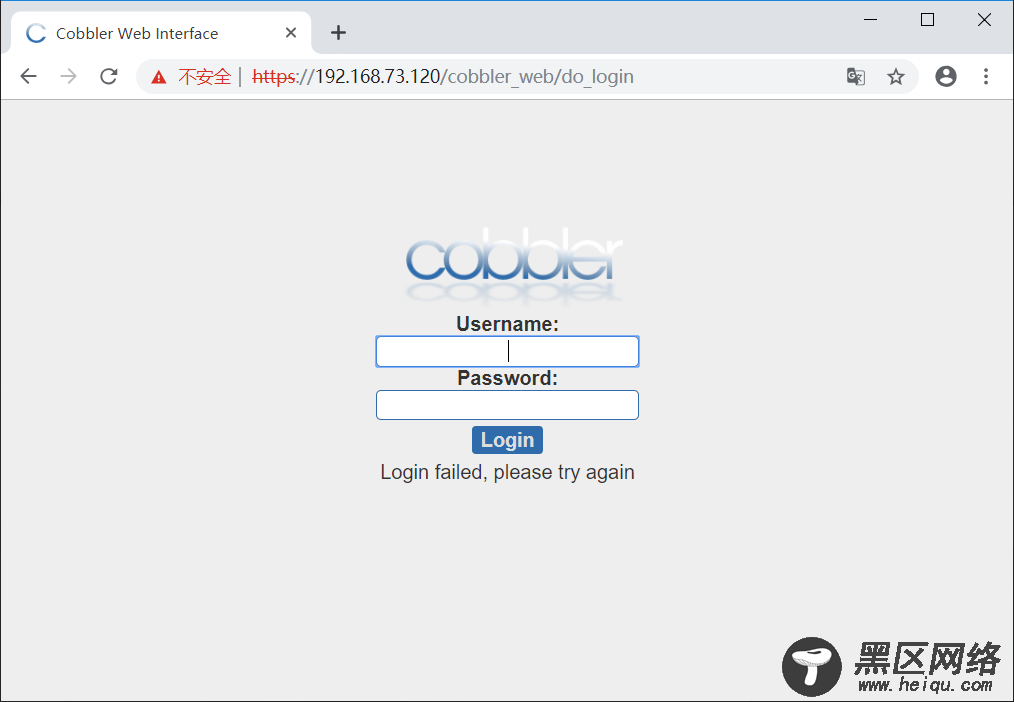
cobbler默认账户和密码都为cobbler,此密码不够安全,我们需要对其加以修改。
一、authn_configfile验证方法cobbler的验证文件存放在/etc/cobbler/modules.conf内部详细的说明了各种验证方法,默认的验证方法为configfile。
[root@centos7 mnt]# cat /etc/cobbler/modules.conf # cobbler module configuration file # ================================= # authentication: # what users can log into the WebUI and Read-Write XMLRPC? # choices: # authn_denyall -- no one (default) # authn_configfile -- use /etc/cobbler/users.digest (for basic setups) # authn_passthru -- ask Apache to handle it (used for kerberos) # authn_ldap -- authenticate against LDAP # authn_spacewalk -- ask Spacewalk/Satellite (experimental) # authn_pam -- use PAM facilities # authn_testing -- username/password is always testing/testing (debug) # (user supplied) -- you may write your own module # WARNING: this is a security setting, do not choose an option blindly. # for more information: # https://github.com/cobbler/cobbler/wiki/Cobbler-web-interface # https://github.com/cobbler/cobbler/wiki/Security-overview # https://github.com/cobbler/cobbler/wiki/Kerberos # https://github.com/cobbler/cobbler/wiki/Ldap [authentication] module = authn_configfile添加用户和删除用户
auth_confile的用户名和密码存放在/etc/cobbler/users.digest中使用一下命令可以创建Cobbler的用户和密码
Cobbler删除用户只需要在/etc/cobbler/users.digest中找到用户相对应的行将其删除。
二、authn_pam的验证方法1.修改验证文件/etc/cobbler/modules.conf中的authentication项,pam验证方法的用户名和密码存放在/etc/cobbler/users.conf文件中
[authentication] module = authn_pam