五、普通代理服务
即标准的、传统的代理服务,需要客户机在浏览器中指定代理服务器的地址、端口。
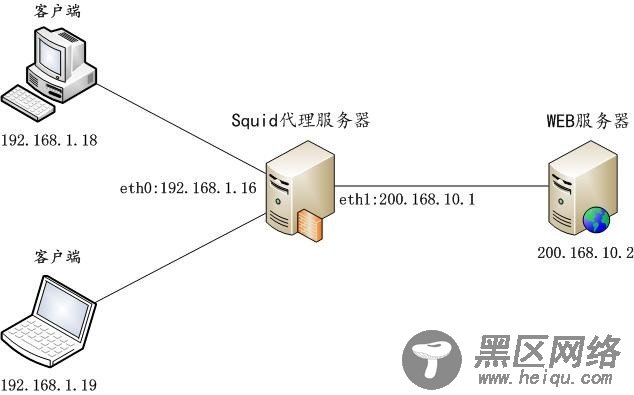
实验拓扑图如下:
5.1 配置Squid 代理服务器IP地址
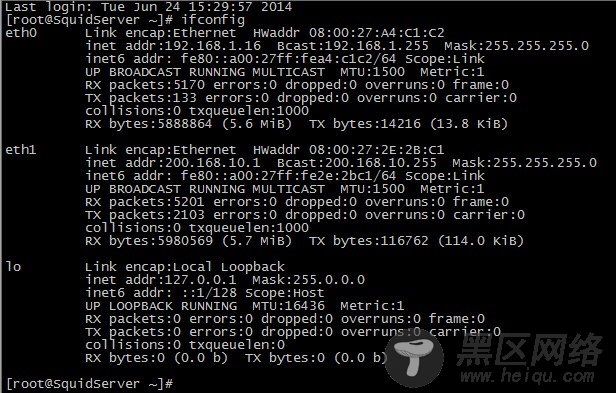
将eth1的IP地址修改为200.168.10.1
# ifconfig eth1 200.168.10.1
5.2 编辑squid 主配置文件/etc/squid/squid.conf
http_port 3128 cache_mem 64 MB maximum_object_size 4 MB cache_dir ufs /var/spool/squid 100 16 256 access_log /var/log/squid/access.log acl localnet src 192.168.1.0/24 http_access allow localnet http_access deny all visible_hostname squid.david.dev cache_mgr mchina_tang@qq.com
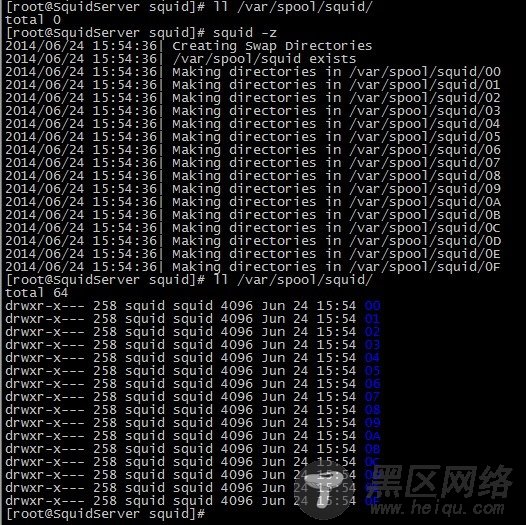
5.3 初始化
# squid –z
5.4 启动Squid
# /etc/init.d/squid start
5.5 配置Web 服务器
A. 安装Apache
# rpm -qa|grep httpd
# yum -y install httpd
B. 启动Apache并加入开机启动
# /etc/init.d/httpd start
# chkconfig httpd on
C. 创建index.html
# echo "<h1>Squid-Web1/200.168.10.2</h1>" > /var/www/html/index.html
D. 修改Web服务器IP地址
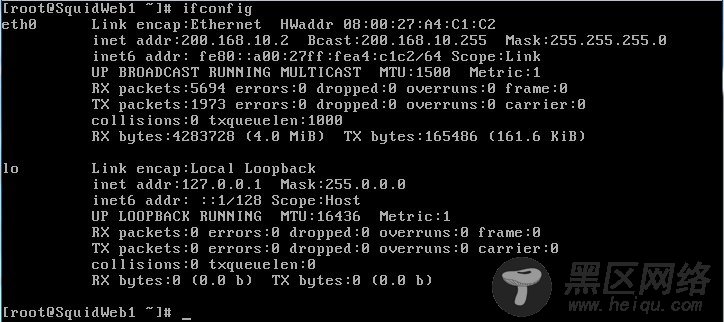
将web服务器的IP地址修改为200.168.10.2
# ifconfig eth0 200.168.10.2
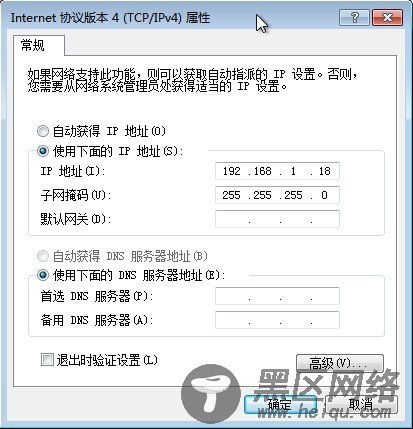
5.6 配置客户端IP地址
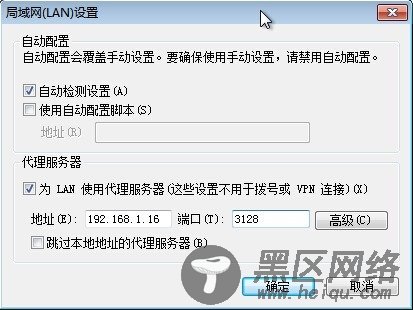
5.7 配置浏览器代理
打开浏览器(以IE为例,其他类似),菜单栏 -> 工具 -> Internet 选项 -> 连接 -> 局域网设置 -> 代理服务器,按照以下格式设置。
5.8 测试
测试成功。
5.9 测试错误页面
在Oracle VM VirtualBox里,因为上面手动设置了ip地址,导致外网不能访问,刚好可以测试访问出错的页面。
可以看到在squid 配置文件里设置的参数在错误页面里的显示。


