
创建并发卷组(SSA 和 RAID)
在使用 C-SPOC 为集群创建并发卷组之前,请检查以下内容:
所有磁盘设备均正确连接到集群节点。 在所有集群节点上都正确地配置了所有磁盘设备,并在所有节点上列为可用设备。 安装了集群并发逻辑卷管理器。 构成卷组的所有磁盘都支持并发操作。 在 SSA 磁盘子系统上已经分配了唯一的非零节点号。要创建并发卷组,请使用 smitty cl_convg 快速路径,如示例 8 所示。
示例 8 创建并发卷组
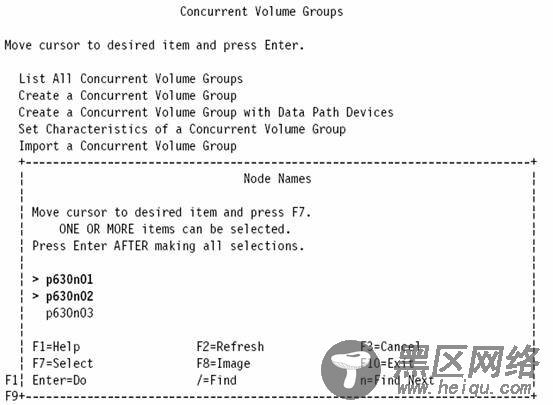
Concurrent Volume Groups Move cursor to desired item and press Enter. List All Concurrent Volume Groups Create a Concurrent Volume Group Create a Concurrent Volume Group with Data Path Devices Set Characteristics of a Concurrent Volume Group Import a Concurrent Volume Group Mirror a Concurrent Volume Group Unmirror a Concurrent Volume Group F1=Help F2=Refresh F3=Cancel F8=Image F9=Shell F10=Exit Enter=Do选择将要创建并发卷组的节点(参见示例 9)。
示例 9 选择节点
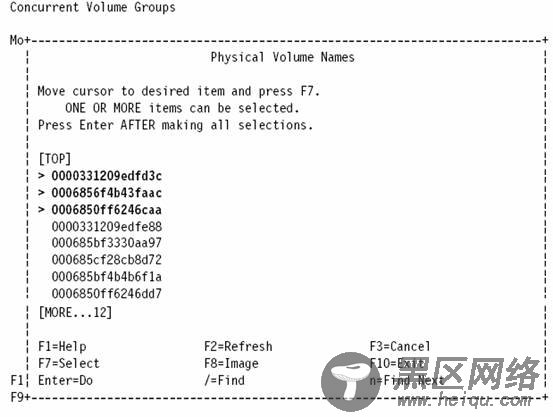
示例 10 选择物理卷
示例 11 创建并发卷组
Create a Concurrent Volume Group Type or select values in entry fields. Press Enter AFTER making all desired changes. [TOP] [Entry Fields] Node Names p630n01,p630n02 PVID 0000331209edfd3c 0006> VOLUME GROUP name [concvg01] Physical partition SIZE in megabytes 16 + Volume group MAJOR NUMBER [101] +# Enhanced Concurrent Mode true + Warning : [MORE...10] F1=Help F2=Refresh F3=Cancel F4=List F5=Reset F6=Command F7=Edit F8=Image F9=Shell F10=Exit Enter=Do