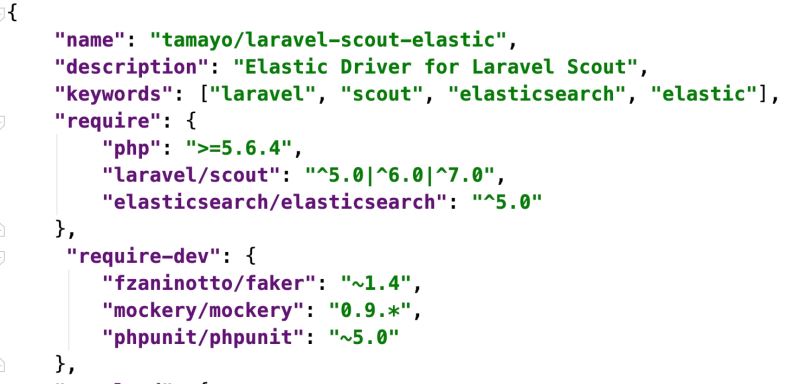
tamayo/laravel-scout-elastic 插件。
composer require tamayo/laravel-scout-elastic

composer require laravel/scout

php artisan vendor:publish
选择:Laravel\Scout\ScoutServiceProvider

修改驱动为 elasticsearch:
'driver' => env('SCOUT_DRIVER', 'elasticsearch'),
创建索引
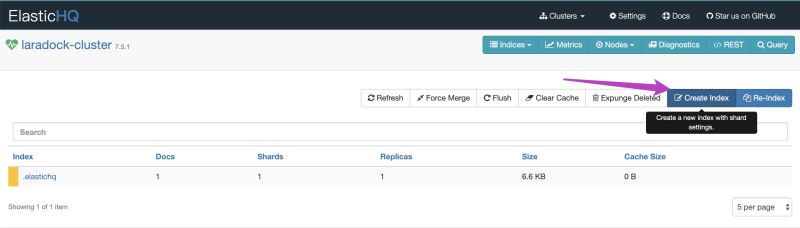
创建索引有几种方法,其中可以使用 Ela 可视化工具 ElasticHQ 直接创建。
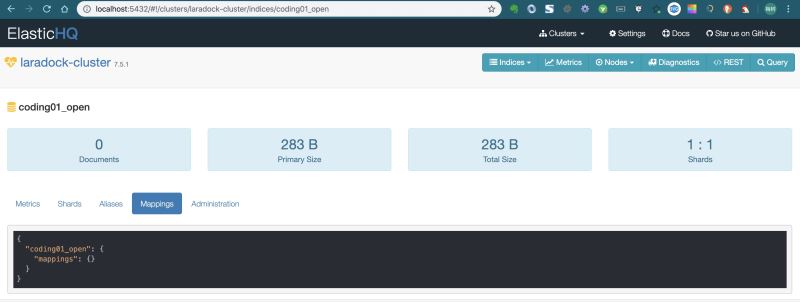
接下来我们需要更新这个索引,补充 Mappings 这部分,可以用 Postman。
另一种方法是用 Laravel 自带的 Artisan 命令行功能。
这里我们推荐使用 Artisan 命令行。
php artisan make:command ESOpenCommand
根据官网提示,我们可以在 ESOpenCommand 上向 Elasticsearch 服务器发送 PUT 请求,这里借助 Elasticsearch 提供的 PHP 插件,在我们使用 tamayo/laravel-scout-elastic 插件时,已经安装了 Elasticsearch PHP 插件:
下面就可以借助插件,创建我们的 Index,直接看代码:
 public function handle()
  {
  $host = config('scout.elasticsearch.hosts');
  $index = config('scout.elasticsearch.index');
  $client = ClientBuilder::create()->setHosts($host)->build();

  if ($client->indices()->exists(['index' => $index])) {
    $this->warn("Index {$index} exists, deleting...");
    $client->indices()->delete(['index' => $index]);
  }

  $this->info("Creating index: {$index}");

  return $client->indices()->create([
    'index' => $index,
    'body' => [
      'settings' => [
        'number_of_shards' => 1,
        'number_of_replicas' => 0
      ],
      'mappings' => [
        '_source' => [
          'enabled' => true
        ],
        'properties' => [
          'id' => [
            'type' => 'long'
          ],
          'title' => [
            'type' => 'text',
            'analyzer' => 'ik_max_word',
            'search_analyzer' => 'ik_smart'
          ],
          'subtitle' => [
            'type' => 'text',
            'analyzer' => 'ik_max_word',
            'search_analyzer' => 'ik_smart'
          ],
          'content' => [
            'type' => 'text',
            'analyzer' => 'ik_max_word',
            'search_analyzer' => 'ik_smart'
          ]
        ],
      ]
    ]
  ]);
}
内容版权声明:除非注明,否则皆为本站原创文章。