foreach (var description in provider.ApiVersionDescriptions) { services.AddSwaggerDocument(document => { document.OperationProcessors.Add(new OperationSecurityScopeProcessor("JWT token")); document.DocumentName = description.GroupName; document.Version = description.GroupName; document.ApiGroupNames = new string[] { description.GroupName }; //jwt 认证 document.AddSecurity("JWT token", Enumerable.Empty<string>(), new OpenApiSecurityScheme() { Type = OpenApiSecuritySchemeType.ApiKey, Name = nameof(Authorization), In = OpenApiSecurityApiKeyLocation.Header, Description = "将token值复制到如下格式: \nBearer {token}" } ); }); }
4,nswag中间件
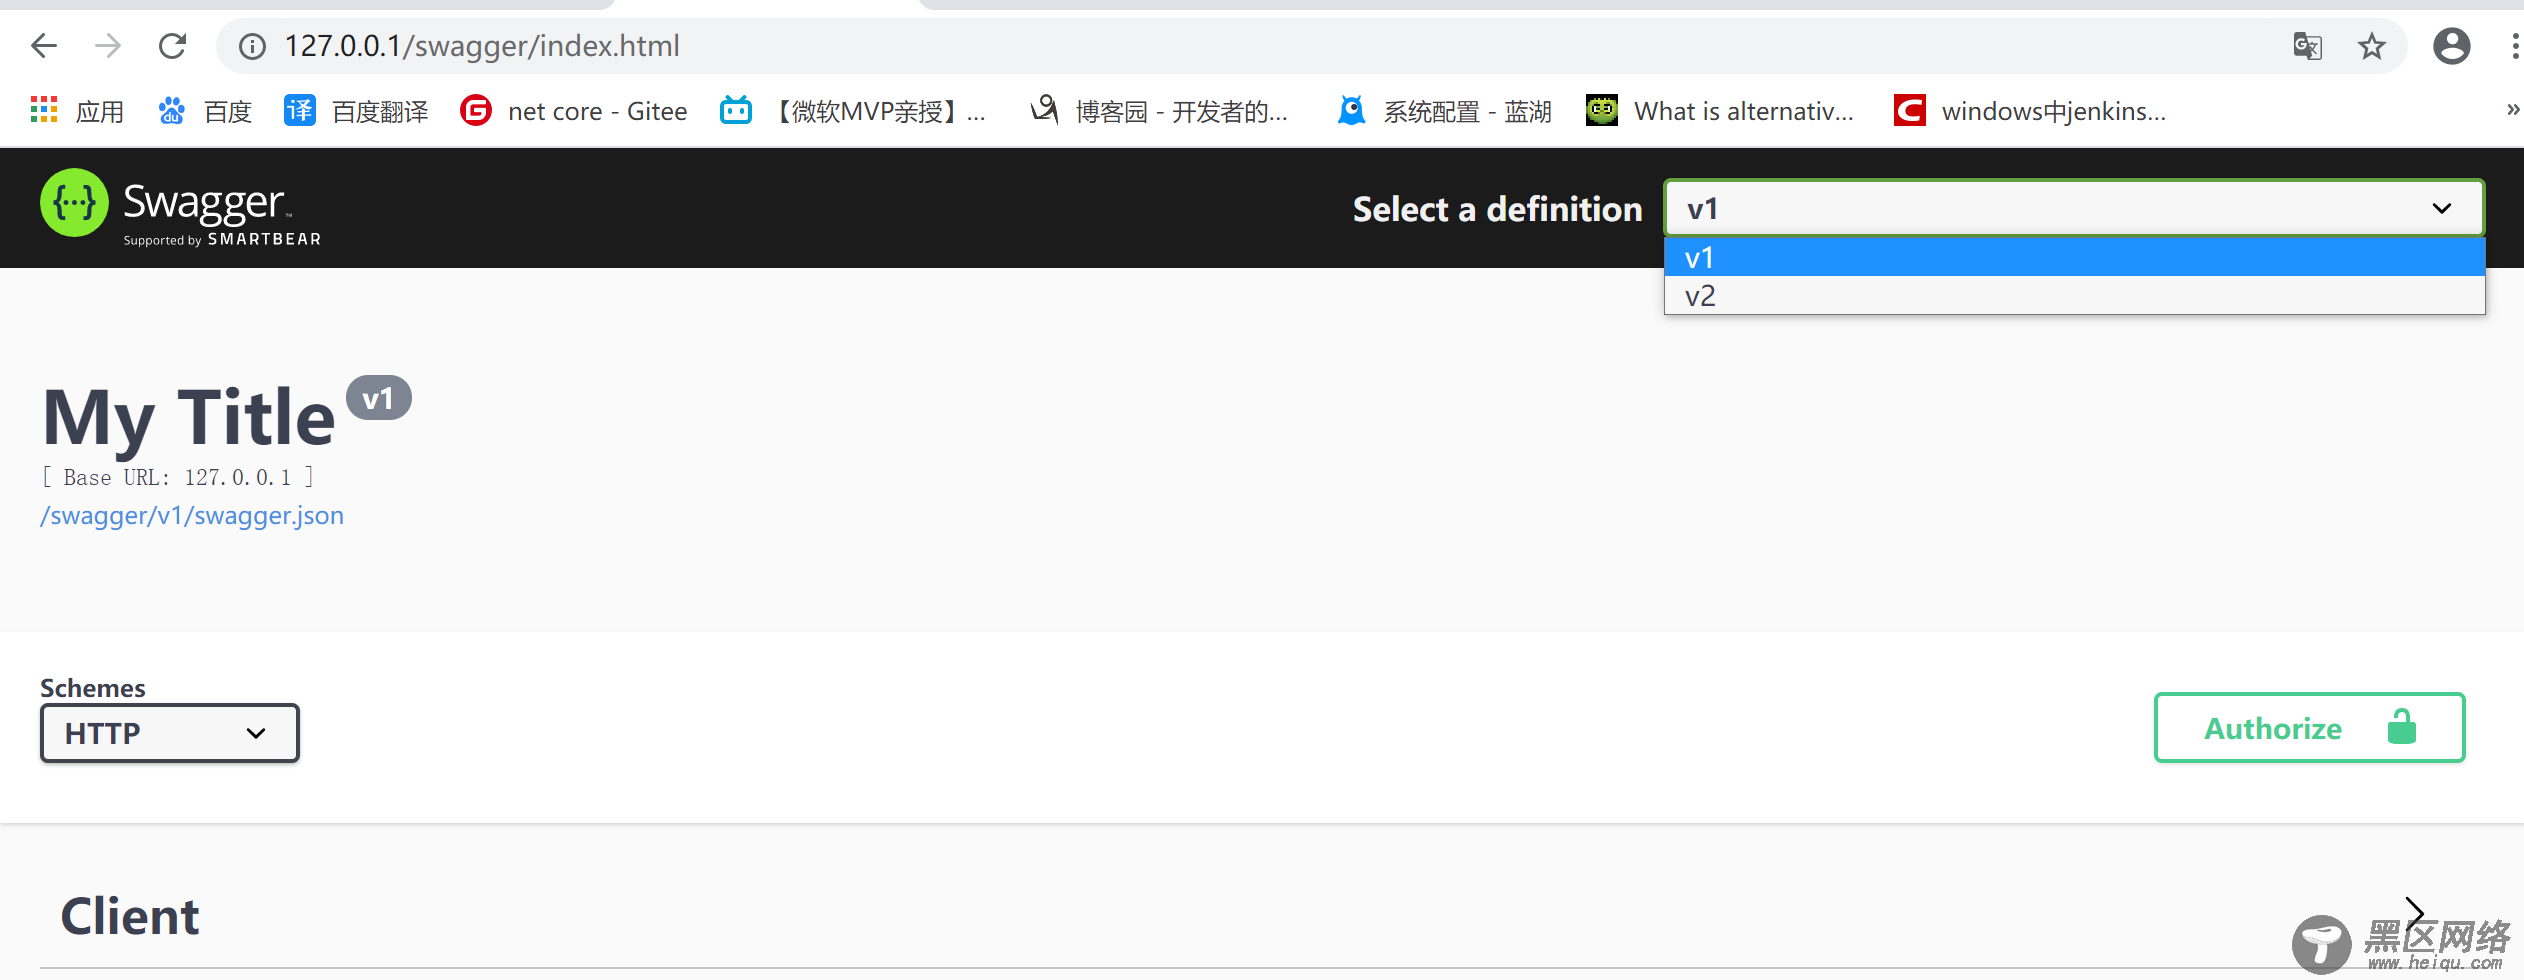
app.UseOpenApi(); app.UseSwaggerUi3(setting => { });
是的我们做任何配置,如果你愿意其实有很多好玩的。但上面的配置方式足够多版本的控制与nswag交互。
到此这篇关于net core webapi多版本控制与swagger(nswag)配置教程的文章就介绍到这了,更多相关net core webapi多版本控制内容请搜索脚本之家以前的文章或继续浏览下面的相关文章希望大家以后多多支持脚本之家!
您可能感兴趣的文章: