│ App.vue │ main.js │ ├─assets │ logo.png │ ├─components │ │ cartcontrol.vue │ │ code.vue │ │ coupon.vue │ │ mineHeader.vue │ │ scroll.vue │ │ shopHeader.vue │ │ sidebar.vue │ │ submitBar.vue │ │ takeout.vue │ │ wallet.vue │ │ │ └─tabs │ Other.vue │ Outward.vue │ Selfhelp.vue │ Vgold.vue │ ├─pages │ ├─home │ │ home.vue │ │ │ ├─mine │ │ mine.vue │ │ │ ├─order │ │ order.vue │ │ │ └─shop │ shop.vue │ ├─router │ index.js │ └─vuex │ store.js │ types.js │ └─modules com.js cou.js take.js
效果展示


定义的组件
better-scroll
因为每个页面都需要滑动,所以一开始就把scroll组件封装好,之后使用的话引入一下就行了
<template> <div ref="wrapper"> <slot></slot> </div> </template> <script> import BScroll from 'better-scroll'; const DIRECTION_H = 'horizontal'; const DIRECTION_V = 'vertical'; export default { name: 'scroll', props: { /** * 1 滚动的时候会派发scroll事件,会节流。 * 2 滚动的时候实时派发scroll事件,不会节流。 * 3 除了实时派发scroll事件,在swipe的情况下仍然能实时派发scroll事件 */ probeType: { type: Number, default: 1 }, /** * 点击列表是否派发click事件 */ click: { type: Boolean, default: true }, /** * 是否开启横向滚动 */ scrollX: { type: Boolean, default: false }, /** * 是否派发滚动事件 */ listenScroll: { type: Boolean, default: false }, /** * 列表的数据 */ data: { type: Array, default: null }, pullup: { type: Boolean, default: false }, pulldown: { type: Boolean, default: false }, beforeScroll: { type: Boolean, default: false }, /** * 当数据更新后,刷新scroll的延时。 */ refreshDelay: { type: Number, default: 20 }, direction: { type: String, default: DIRECTION_V } }, methods: { _initScroll() { if(!this.$refs.wrapper) { return } this.scroll = new BScroll(this.$refs.wrapper, { probeType: this.probeType, click: this.click, eventPassthrough: this.direction === DIRECTION_V ? DIRECTION_H : DIRECTION_V }) // 是否派发滚动事件 if (this.listenScroll) { this.scroll.on('scroll', (pos) => { this.$emit('scroll', pos) }) } // 是否派发滚动到底部事件,用于上拉加载 if (this.pullup) { this.scroll.on('scrollEnd', () => { if (this.scroll.y <= (this.scroll.maxScrollY + 50)) { this.$emit('scrollToEnd') } }) } // 是否派发顶部下拉事件,用于下拉刷新 if (this.pulldown) { this.scroll.on('touchend', (pos) => { // 下拉动作 if (pos.y > 50) { this.$emit('pulldown') } }) } // 是否派发列表滚动开始的事件 if (this.beforeScroll) { this.scroll.on('beforeScrollStart', () => { this.$emit('beforeScroll') }) } }, disable() { // 代理better-scroll的disable方法 this.scroll && this.scroll.disable() }, enable() { // 代理better-scroll的enable方法 this.scroll && this.scroll.enable() }, refresh() { // 代理better-scroll的refresh方法 this.scroll && this.scroll.refresh() }, scrollTo() { // 代理better-scroll的scrollTo方法 this.scroll && this.scroll.scrollTo.apply(this.scroll, arguments) }, scrollToElement() { // 代理better-scroll的scrollToElement方法 this.scroll && this.scroll.scrollToElement.apply(this.scroll, arguments) }, }, mounted() { setTimeout(() => { this._initScroll() },20) }, watch: { data () { setTimeout(() => { this.refresh() },this.refreshDelay) } }, } </script> <style> </style>
slot 插槽是一块模板,显示不显示,以及怎样显示由父组件来决定, 也就是把你想要滑动的区域插进去,剩下的内容都是官方文档定义好的,复制一遍就好了
固定头部
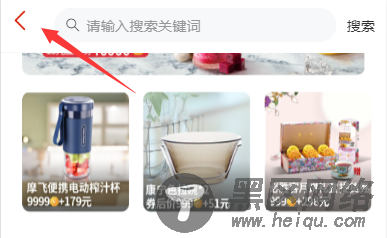
头部相对页面是固定的,这里我把头部都封装成了组件,在主页面引入头部,要滑动的部分放入上面定义好的scroll组件即可
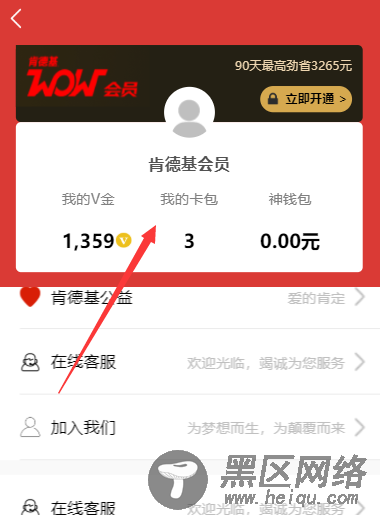
侧边栏以及弹出框
起初我的想法是用router-link直接跳转,然后发现这样做页面会自带导航栏,于是我决定通过CSS动态绑定来实现它