By default, MariaDB comes with a database named 'test' that anyone can
access. This is also intended only for testing, and should be removed
before moving into a production environment.
Remove test database and access to it? [Y/n] y
- Dropping test database...
... Success!
- Removing privileges on test database...
... Success!
Reloading the privilege tables will ensure that all changes made so far
will take effect immediately.
Reload privilege tables now? [Y/n] Y
... Success!
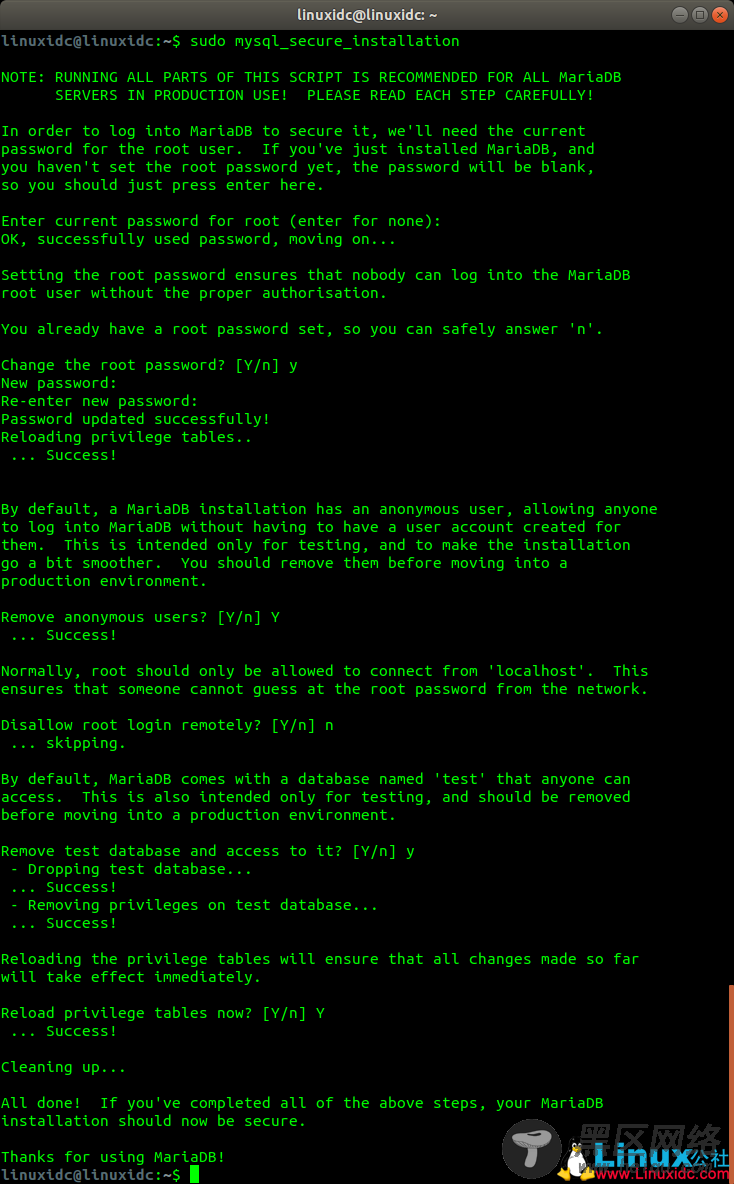
只需在提示中回答问题即可完成任务。
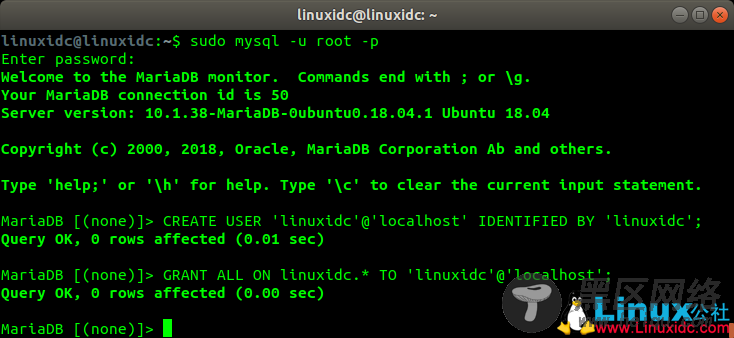
为网站创建WordPress数据库之后,我们将为该用户准备数据库,数据库用户和密码。 它们将由我们的WordPress应用程序使用,因此它可以连接到MySQL服务器。
linuxidc@linuxidc:~$ sudo mariadb -u root
使用下面的命令,我们将首先创建数据库,然后创建数据库用户及其密码。 然后我们将授予用户对该数据库的权限。
CREATE DATABASE linuxidc;
grant all privileges on linuxidc.* to linuxidc@localhost identified by '你的密码';
FLUSH PRIVILEGES;
EXIT;

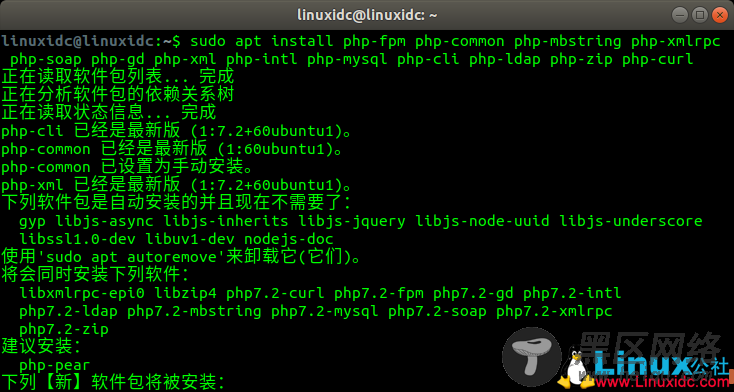
由于WordPress是用PHP编写的应用程序,我们将安装PHP和运行WordPress所需的PHP包,使用以下命令:
$ sudo apt install php-fpm php-common php-mbstring php-xmlrpc php-soap php-gd php-xml php-intl php-mysql php-cli php-ldap php-zip php-curl
安装完成后,我们将启动php-fpm服务并启用它:
linuxidc@linuxidc:~$ sudo systemctl start php7.2-fpm
linuxidc@linuxidc:~$ systemctl enable php7.2-fpm
Synchronizing state of php7.2-fpm.service with SysV service script with /lib/systemd/systemd-sysv-install.
Executing: /lib/systemd/systemd-sysv-install enable php7.2-fpm

在Ubuntu 18.04上安装WordPress 5
从这一点开始,开始简单的部分。 使用以下wget命令下载最新的WordPress包:
linuxidc@linuxidc:~$ cd /tmp && wget https://wordpress.org/latest.tar.gz

然后用以下内容提取存档:
linuxidc@linuxidc:/tmp$ sudo tar -xvzf latest.tar.gz -C /var/www/html
以上将创建我们在vhost中设置的文档根目录,即/var/www/html/wordpress。 然后,我们需要更改该目录中文件和文件夹的所有权:
linuxidc@linuxidc:/tmp$ sudo chown www-data: /var/www/html/wordpress/ -R
现在我们准备运行WordPress的安装。 如果您使用了未注册/不存在的域,则可以使用以下记录配置 /etc/hosts的hosts文件:
192.168.1.100
假设您的服务器的IP地址是192.168.1.100并且您使用的域是linuxidc.com那么您的计算机将在给定的IP地址上解析linuxidc.com。
现在将您的域加载到浏览器中,您应该看到WordPress安装页面:
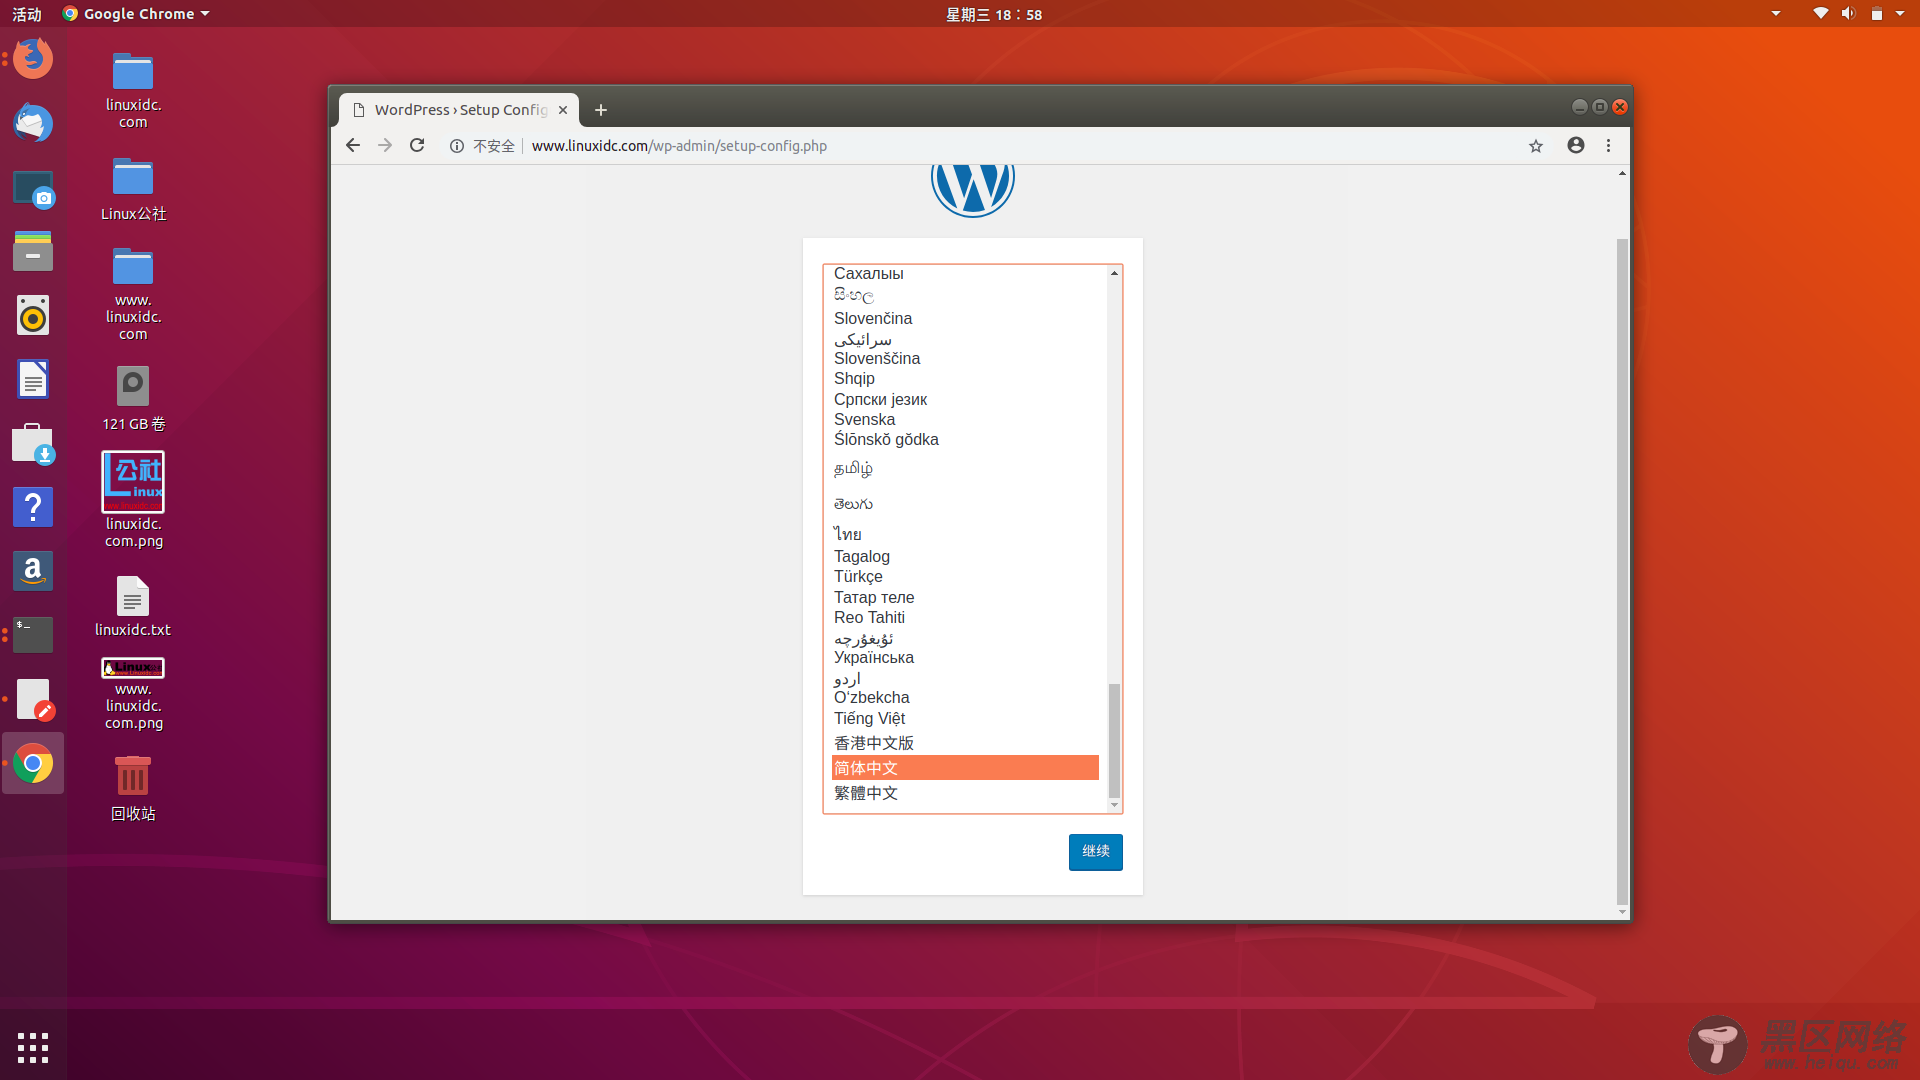
在下一页上输入我们之前设置的数据库凭据:

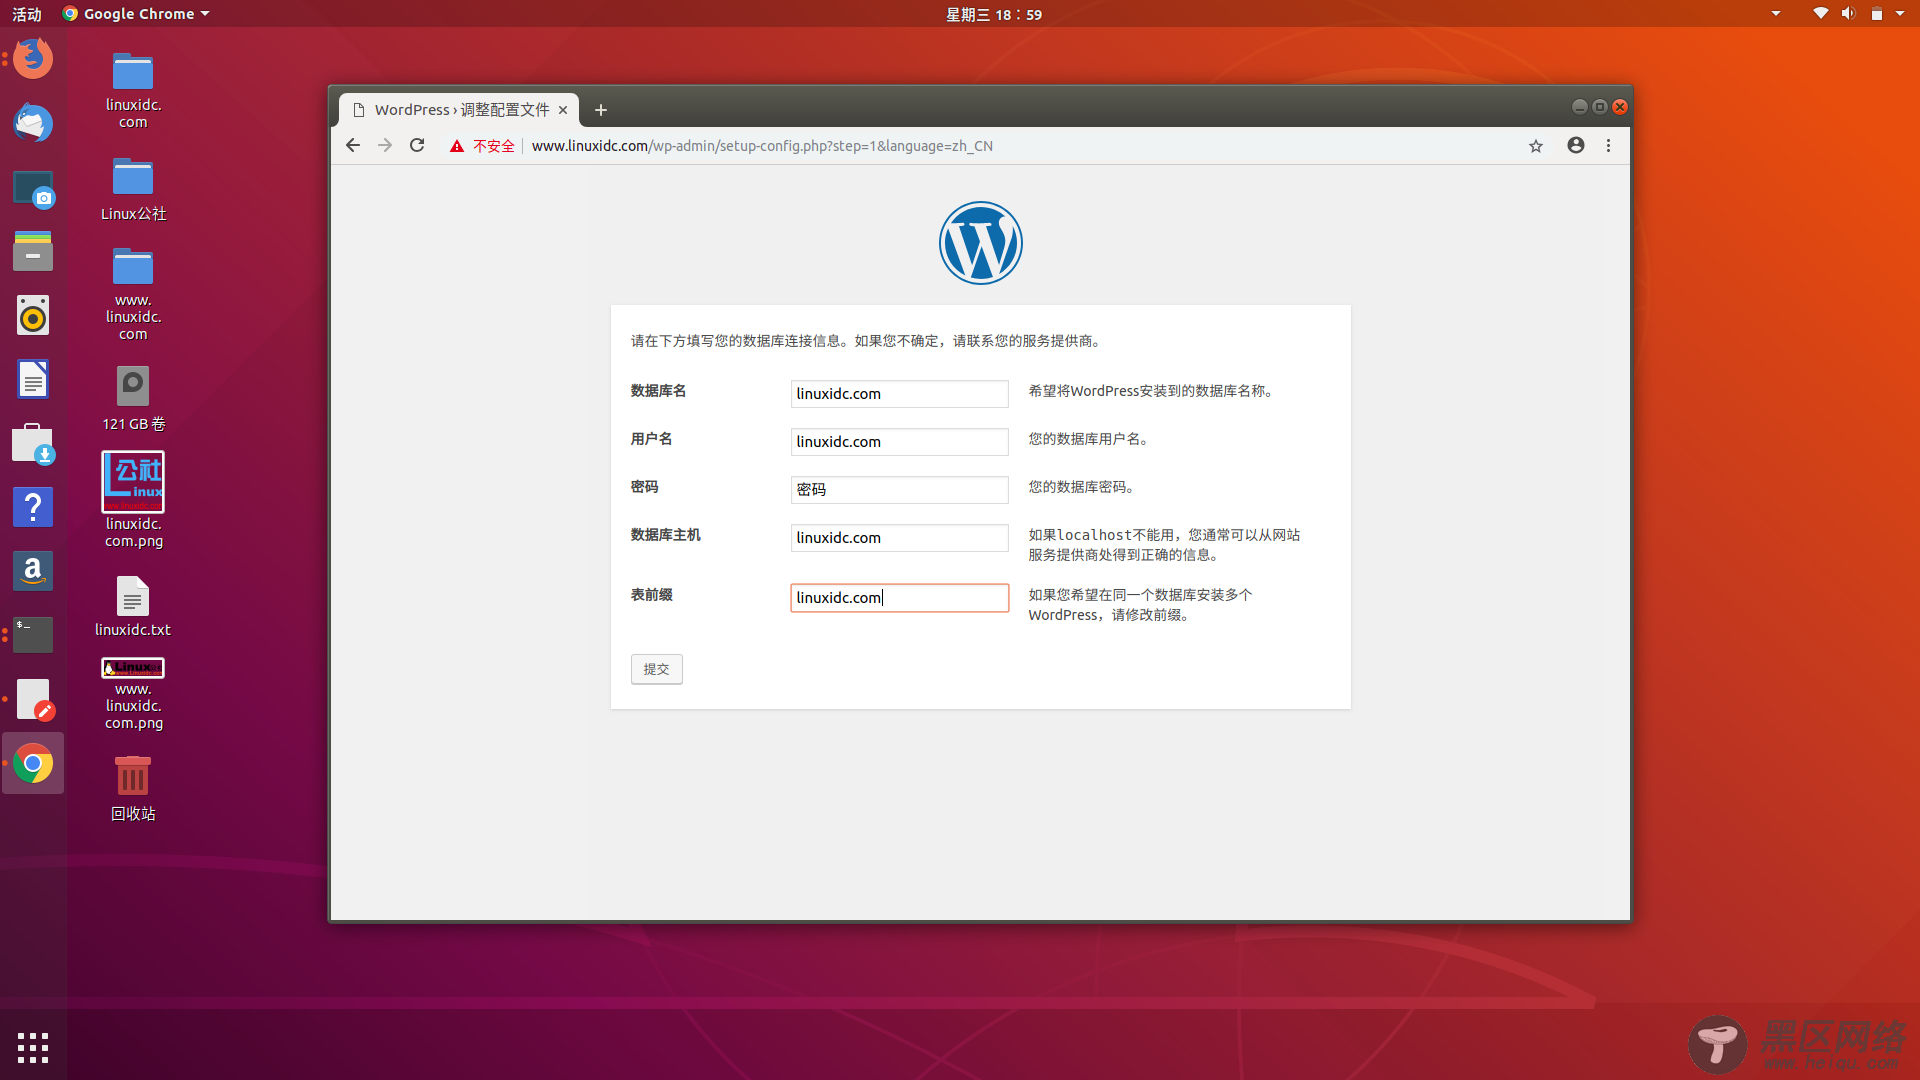
提交表单,然后在下一个屏幕上配置您的网站标题,管理员用户和电子邮件:

您的安装现已完成,您可以开始管理您的WordPress网站。 您可以先安装一些全新的主题或通过插件扩展网站功能。
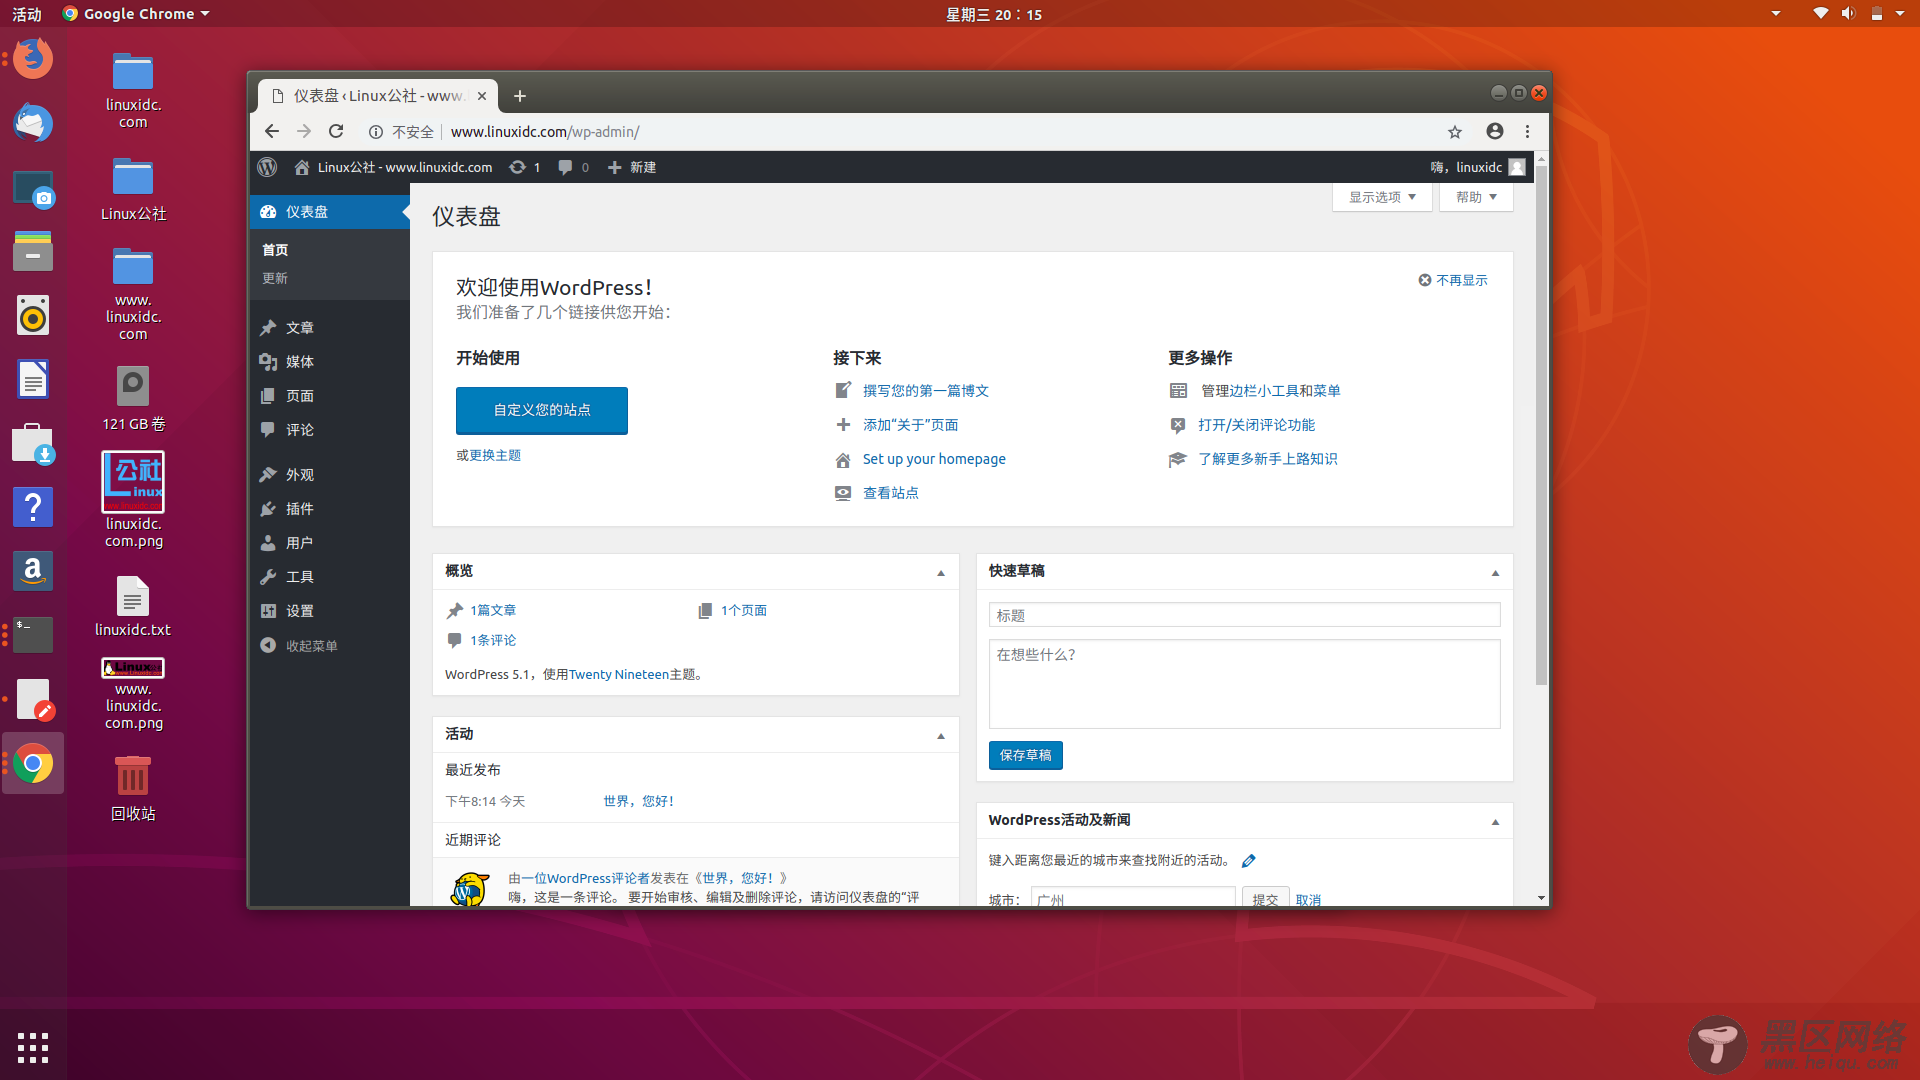
就是这样。 在Ubuntu 18.04上安装设置自己的WordPress过程。 我希望这个过程简单明了。
Linux公社的RSS地址:https://www.linuxidc.com/rssFeed.aspx

