
--------在amoeba前端服务器上----
[root@amoeba amoeba]# cd /usr/local/amoeba
[root@amoeba amoeba]# vi conf/amoeba.xml
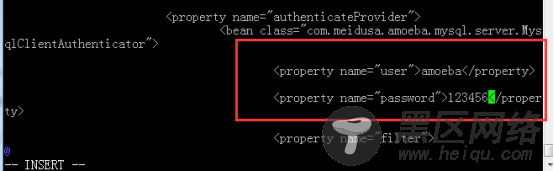
-----设置客户端连接amoeba前端服务器时使用的用户名和密码----28行
<property>amoeba</property>
<property>123456</property>
----同时把默认的server1改成master,把默认的servers改成 slaves-----83行
<property>master</property>
<property>master</property>
<property>slaves</property>

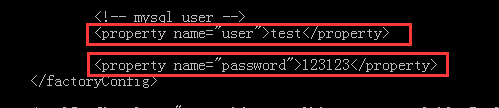
[root@amoeba conf]# vi dbServers.xml
<property>test</property>
<property>123123</property> //指定数据库的登录用户名和密码
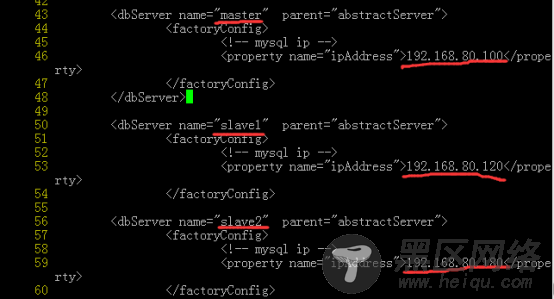
修改以下内容
<dbServer parent="abstractServer">
<property>192.168.80.100</property>
<dbServer parent="abstractServer">
<property>192.168.80.120</property>
<dbServer parent="abstractServer">
<property>192.168.80.180/property>
<dbServer virtual="true">
<poolConfig>
<property>slave1,slave2</property>
</poolConfig>
[root@amoeba amoeba]# service amoeba restart
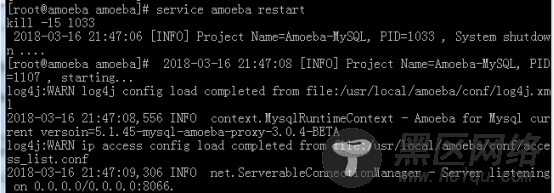
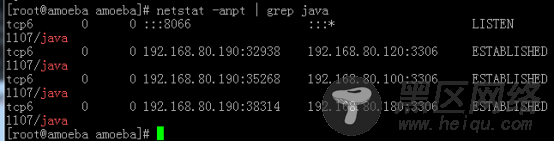
[root@amoeba amoeba]# netstat -anpt | grep java
5、搭建mariadb客户端:192.168.80.170
[root@MYSQL ~]# yum install -y mysql
[root@MYSQL ~]# mysql -u amoeba -p123456 -h 192.168.80.190 -P8066
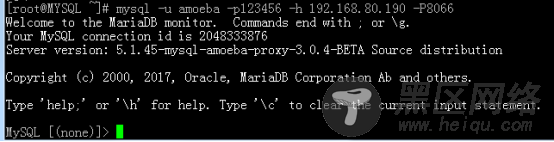
如上图,已经成功连接到数据库了
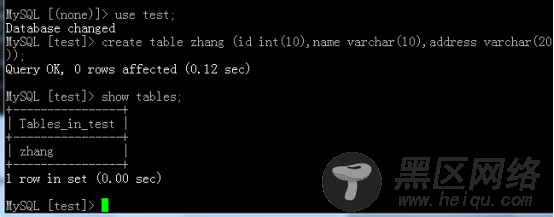
在客户端上使用命令在test创建一个表:
MySQL [(none)]> use test;
MySQL [test]> create table zhang (id int(10),name varchar(10),address varchar(20));
MySQL [test]> show tables;
在从服务器上
在其中一台从服务器上创建一个空库
在主服务器上查看所有库
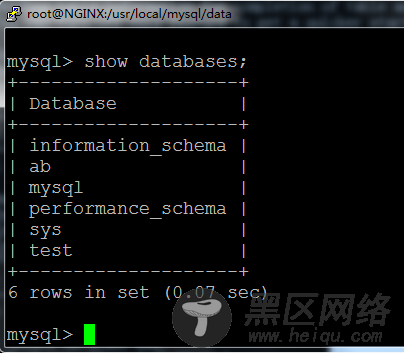
没有新建的那个库
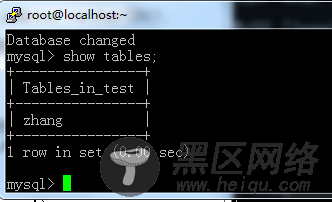
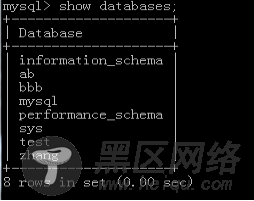
在客户端上查看:

由此所见,从服务器上建库,客户端可以读取,说明读写分离成功
Linux公社的RSS地址:https://www.linuxidc.com/rssFeed.aspx