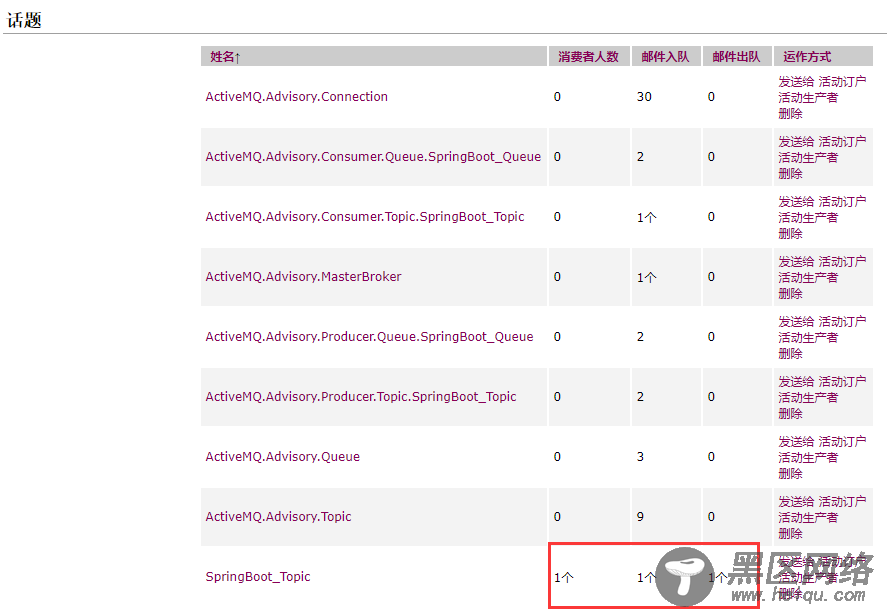
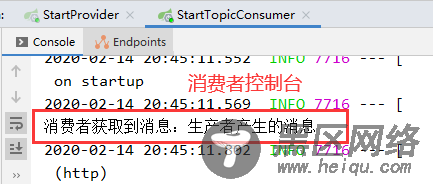
<dependency>
<groupId>org.springframework.boot</groupId>
<artifactId>spring-boot-starter</artifactId>
</dependency>
<!-- spring boot web支持:mvc,aop... -->
<dependency>
<groupId>org.springframework.boot</groupId>
<artifactId>spring-boot-starter-web</artifactId>
</dependency>
<dependency>
<groupId>org.springframework.boot</groupId>
<artifactId>spring-boot-starter-test</artifactId>
<scope>test</scope>
</dependency>
<dependency>
<groupId>org.springframework.boot</groupId>
<artifactId>spring-boot-starter-activemq</artifactId>
</dependency>
7、TopicProvider
package com.zn.topic;
import org.apache.activemq.command.ActiveMQQueue;
import org.apache.activemq.command.ActiveMQTopic;
import org.springframework.jms.core.JmsTemplate;
import org.springframework.stereotype.Component;
import javax.annotation.Resource;
/**
* 生产者,通过JMSTemplate模板发送消���
*/
@Component
public class TopicProvider {
//注入JMSTemplate模板
@Resource
private JmsTemplate jmsTemplate;
//创建方法
public void sendMessage(){
//发布订阅,创建主题
ActiveMQTopic topic=new ActiveMQTopic("SpringBoot_Topic");
//springboot默认是queue
jmsTemplate.setPubSubDomain(true);
//发送消息
jmsTemplate.convertAndSend(topic,"生产者产生topic的消息");
}
}
8、ProvideController
package com.zn.controller;
import com.zn.p2p.MyProvider;
import com.zn.topic.TopicProvider;
import org.springframework.web.bind.annotation.RequestMapping;
import org.springframework.web.bind.annotation.RestController;
import javax.annotation.Resource;
/**
* 客户端访问的方法
*/
@RestController
public class ProvideController {
//topic调用
@Resource
private TopicProvider topicProvider;
@RequestMapping("/sendMessage")
public String sendMessage(){
topicProvider.sendMessage();
return "success";
}
}


package com.zn.p2p;
import org.apache.activemq.command.ActiveMQQueue;
import org.springframework.jms.core.JmsTemplate;
import org.springframework.stereotype.Component;
import javax.annotation.Resource;
/**
* 生产者,通过JMSTemplate模板发送消息
*/
@Component
public class MyProvider {
//注入JMSTemplate模板
@Resource
private JmsTemplate jmsTemplate;
//创建方法
public void sendMessage(){
//开启持久化
jmsTemplate.setDeliveryMode(2);
jmsTemplate.setExplicitQosEnabled(true);
jmsTemplate.setDeliveryPersistent(true);
//点对点,创建队列
ActiveMQQueue queue=new ActiveMQQueue("SpringBoot_Queue");
//发送消息
jmsTemplate.convertAndSend(queue,"生产者产生的消息");
}
}


