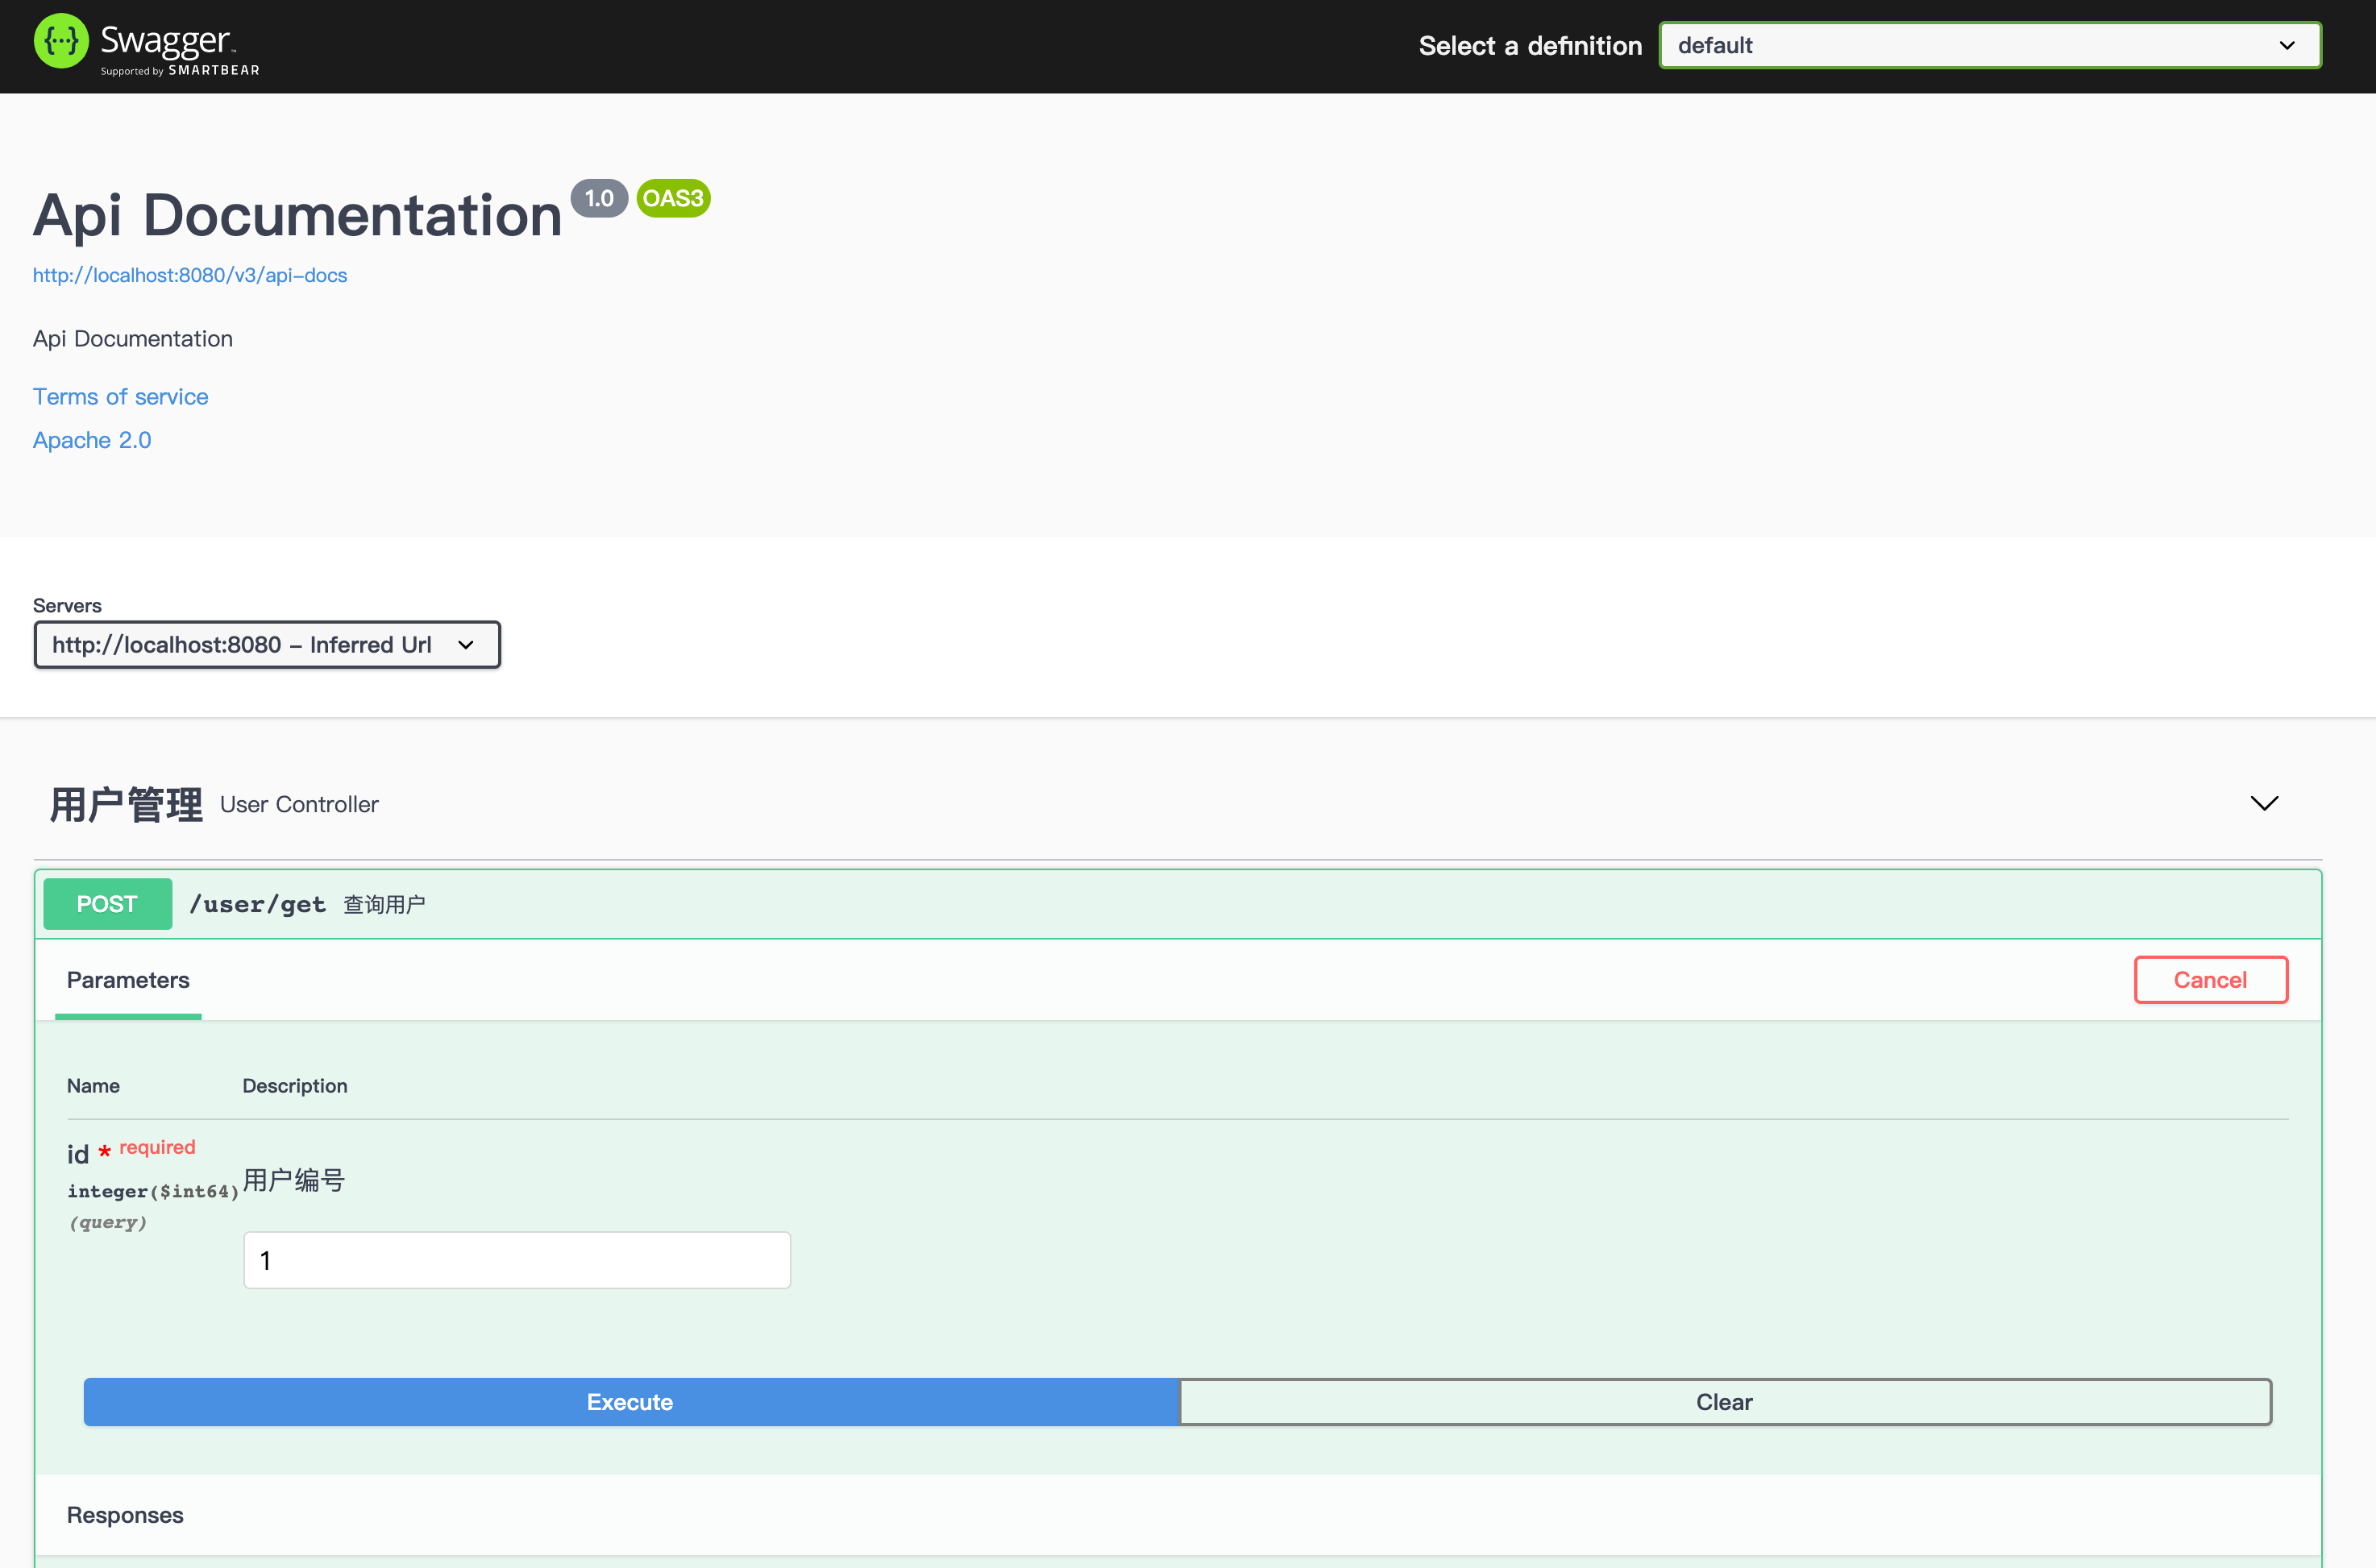
Swagger 3.0 发布已经有一段时间了,它于 2020.7 月 发布,但目前市面上使用的主流版本还是 Swagger 2.X 版本和少量的 1.X 版本,然而作为一名合格的程序员怎么能不折腾新技术呢?所以本期就大家带来一篇最新版 Swagger 的内容,本文会带大家看最新版 Swagger 有哪些改变?又是如何将老版本 Swagger 升级到新版的?
Swagger 是什么?Swagger 是一个用于生成、描述和调用 RESTful 接口的 Web 服务。通俗的来讲,Swagger 就是将项目中所有(想要暴露的)接口展现在页面上,并且可以进行接口调用和测试的服务。
PS:Swagger 遵循了 OpenAPI 规范,OpenAPI 是 Linux 基金会的一个项目,试图通过定义一种用来描述 API 格式或 API 定义的语言,来规范 RESTful 服务开发过程。
Swagger 官网地址:https://swagger.io/
Swagger 有什么用?从上述 Swagger 定义我们不难看出 Swagger 有以下 3 个重要的作用:
将项目中所有的接口展现在页面上,这样后端程序员就不需要专门为前端使用者编写专门的接口文档;
当接口更新之后,只需要修改代码中的 Swagger 描述就可以实时生成新的接口文档了,从而规避了接口文档老旧不能使用的问题;
通过 Swagger 页面,我们可以直接进行接口调用,降低了项目开发阶段的调试成本。

Swagger 旧版本也就是目前市面上主流的 V2 版本是 Swagger 2.9.2,在讲新版本之前,我们先来回顾一下 Swagger 2.9.2 是如何使用的。
Swagger 2.9.2 的使用分为以下 4 步:
添加依赖
开启 Swagger 功能
配置 Swagger 文档摘要信息
调用接口访问
下面我们分别来看。
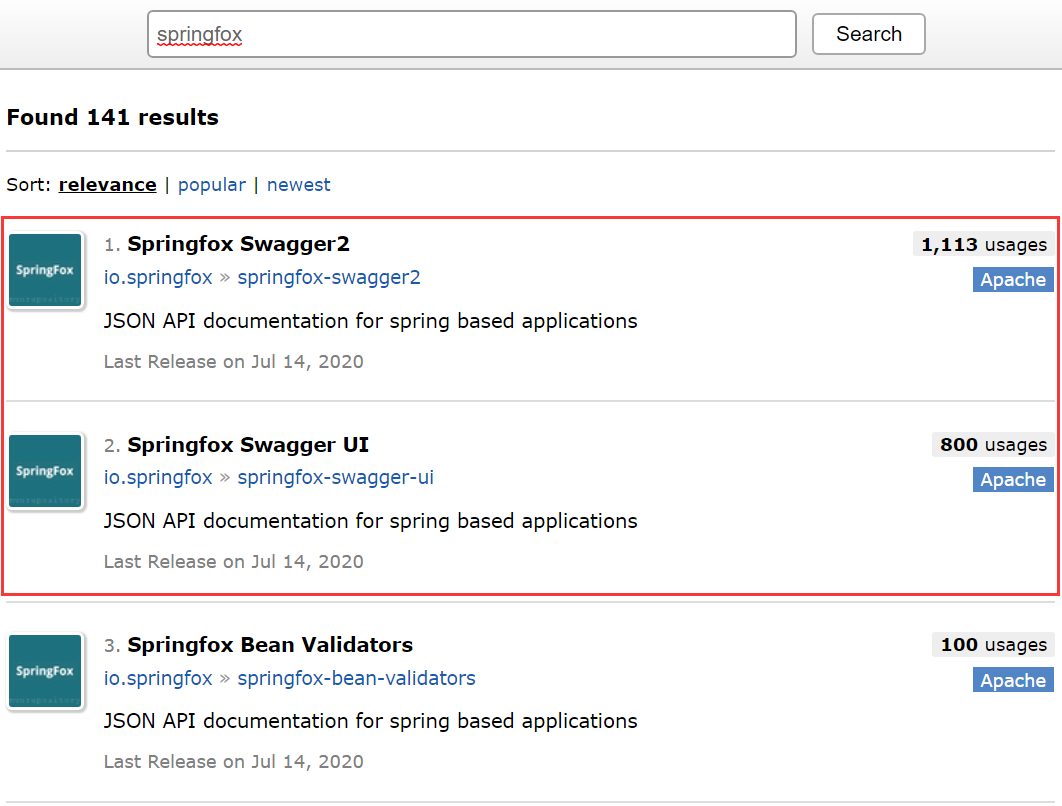
1.添加依赖首先,我们要去 mvnrepository 查询 Swagger 的依赖,搜索“springfox”关键字,得到结果的前两条依赖信息,就是我们想要的结果,如下图所示:

将这两个依赖添加带项目中: <!-- https://mvnrepository.com/artifact/io.springfox/springfox-swagger2 --> <dependency> <groupId>io.springfox</groupId> <artifactId>springfox-swagger2</artifactId> <version>2.9.2</version> </dependency> <!-- https://mvnrepository.com/artifact/io.springfox/springfox-swagger-ui --> <dependency> <groupId>io.springfox</groupId> <artifactId>springfox-swagger-ui</artifactId> <version>2.9.2</version> </dependency> 为什么是“springfox”?
问:我们要使用的是 Swagger,为什么要搜索“springfox”?
答:Swagger 可以看作是一个遵循了 OpenAPI 规范的一项技术,而 springfox 则是这项技术的具体实现。 就好比 Spring 中的 AOP 和 DI 一样,前者是思想,而后者是实现。
2.开启Swagger在 Spring Boot 的启动类或配置类中添加 @EnableSwagger2 注释,开启 Swagger,部分核心代码如下:
@EnableSwagger2 @SpringBootApplication public class Application {... 3.配置摘要信息 import org.springframework.context.annotation.Bean; import org.springframework.context.annotation.Configuration; import springfox.documentation.builders.RequestHandlerSelectors; import springfox.documentation.spi.DocumentationType; import springfox.documentation.spring.web.plugins.Docket; import springfox.documentation.swagger2.annotations.EnableSwagger2; @Configuration public class SwaggerConfig { @Bean public Docket createRestApi() { return new Docket(DocumentationType.SWAGGER_2) // 1.SWAGGER_2 .select() .apis(RequestHandlerSelectors.basePackage("com.example.swaggerv2.controller")) // 2.设置扫描路径 .build(); } } 4.访问Swagger项目正常启动之后使用“:8080/swagger-ui.html”访问Swagger页面,如下图所示:


