
[root@xiaolyu linux-4.7.2]# cp /boot/config-3.10.0-327.el7.x86_64 /sdb1/linux-4.7.2/.config
cp: overwrite ‘/sdb1/linux-4.7.2/.config’? y
[root@xiaolyu linux-4.7.2]#

比较原内核的配置文件和备份的新生成的配置文件的差异:
[root@xiaolyu linux-4.7.2]# diff .config .config_bak
3c3
< # Linux/x86_64 3.10.0-327.el7.x86_64 Kernel Configuration
---
> # Linux/x86 4.7.2 Kernel Configuration
13d12
< CONFIG_HAVE_LATENCYTOP_SUPPORT=y
14a14,17
> CONFIG_ARCH_MMAP_RND_BITS_MIN=28
因为差异实在太大了,想了解具体的差异的朋友,可以看我另一篇博文:
差异还是蛮大的。因为太长了,这里仅仅给出一个局部的截图:

这个地方为了快速完成新内核的安装,采用了修改原配置文件的方法。
修改配置文件,使其支持ntfs读写。
[root@xiaolyu linux-4.7.2]# vim .config


5、编译内核
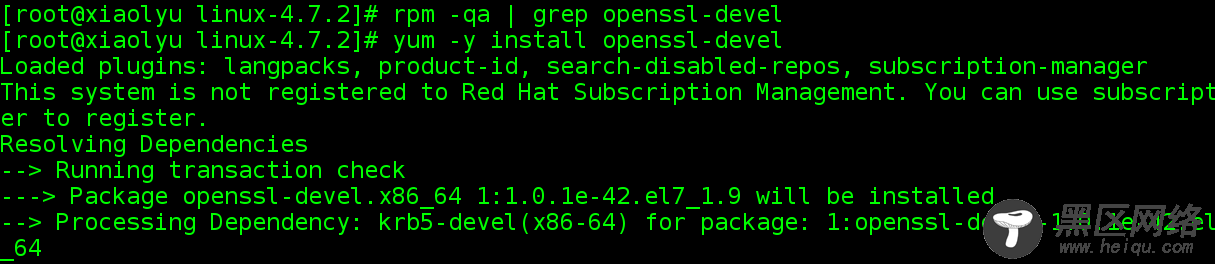
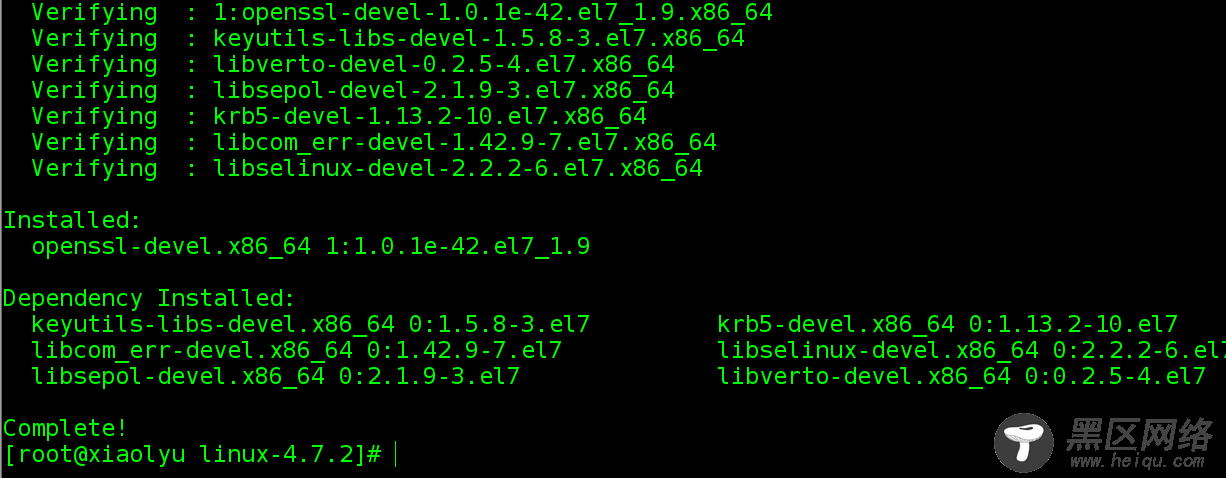
先检查openssl-devel 这个包安装没有 ,如果没有,提前安装这个包openssl-devel
rpm -qa | grep openssl-devel
yum -y install openssl-devel
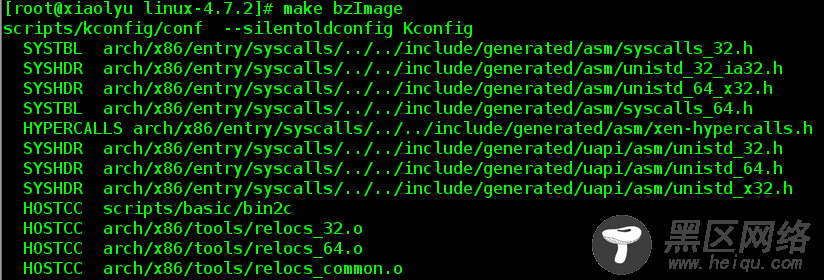
[root@xiaolyu linux-4.7.2]# make bzImage //生成内核。这个过程非常非常的慢。
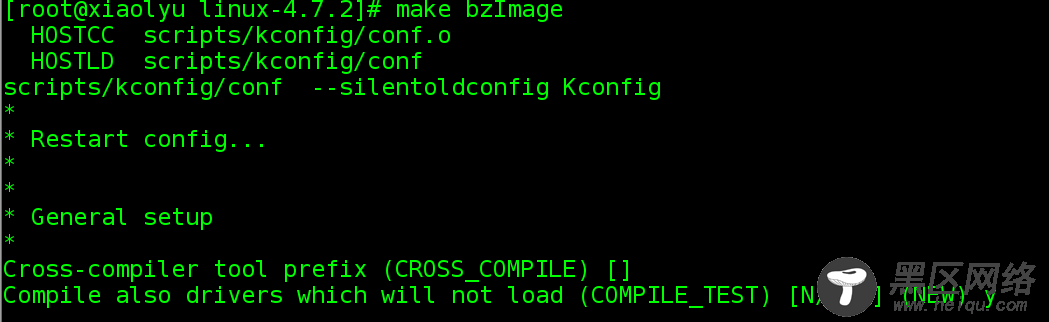
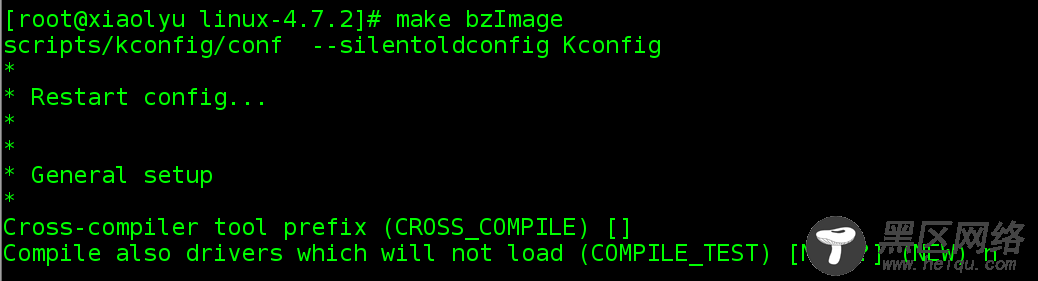
中间多次问你y/n,全部选y,就可以了。这个过程比较慢。
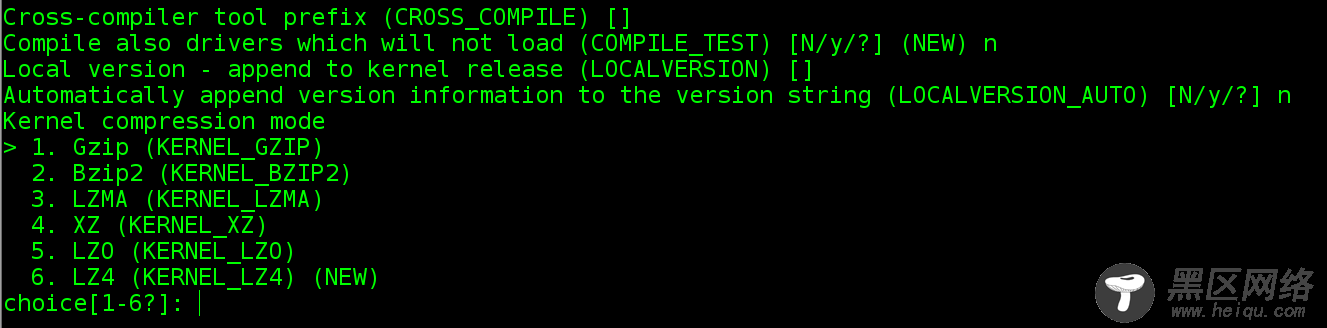
说明,上述的问题,我已经完全解决了,问题出在,我是先执行make menuconfig ,然后cp /boot/config-3.10.0-327.el7.x86_64 /sdb1/linux-4.7.2/.config
这样的结果使得,新生成的内核被完全覆盖掉,毫无用处,4.7.2的内核比3.1的内核多的东西都没有做任何配置。
正确的做法是:先执行cp /boot/config-3.10.0-327.el7.x86_64 /sdb1/linux-4.4/.config 然后再make menuconfig 。
如下图:
说明在编译内核: make bzImage 之前,要先安装一下这个包:openssl-devel,即:
yum -y install openssl-devel
否则会报如下错误:
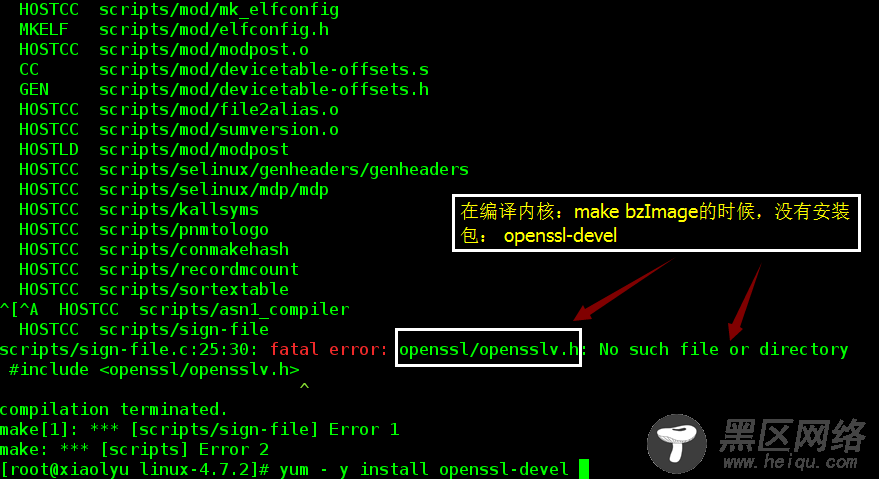
即:

重新: make bzImage:
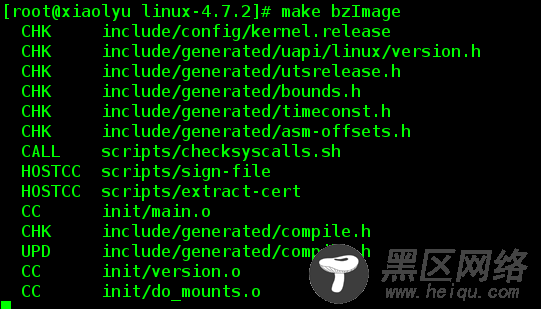
这里也是需要一段时间
出现此界面OK!

6、下面 生成新内核的驱动模块: