
PyTorch 是目前主流的深度学习框架之一,而 JupyterLab 是基于 Web 的交互式笔记本环境。于 JupyterLab 我们可以边记笔记的同时、边执行 PyTorch 代码,便于自己学习、调试或以后回顾。
本文将介绍这样的环境如何进行准备。了解更多:
PyTorch 官方文档
JupyterLab 交互式笔记本
安装 AnacondaAnaconda:
北外镜像源: https://mirrors.bfsu.edu.cn/help/anaconda/
# 激活 base 环境 conda activate base 安装 JupyterLabJupyterLab: https://jupyterlab.readthedocs.io/
应该已随 Anaconda 安装,如下查看版本:
jupyter --version不然,如下进行安装:
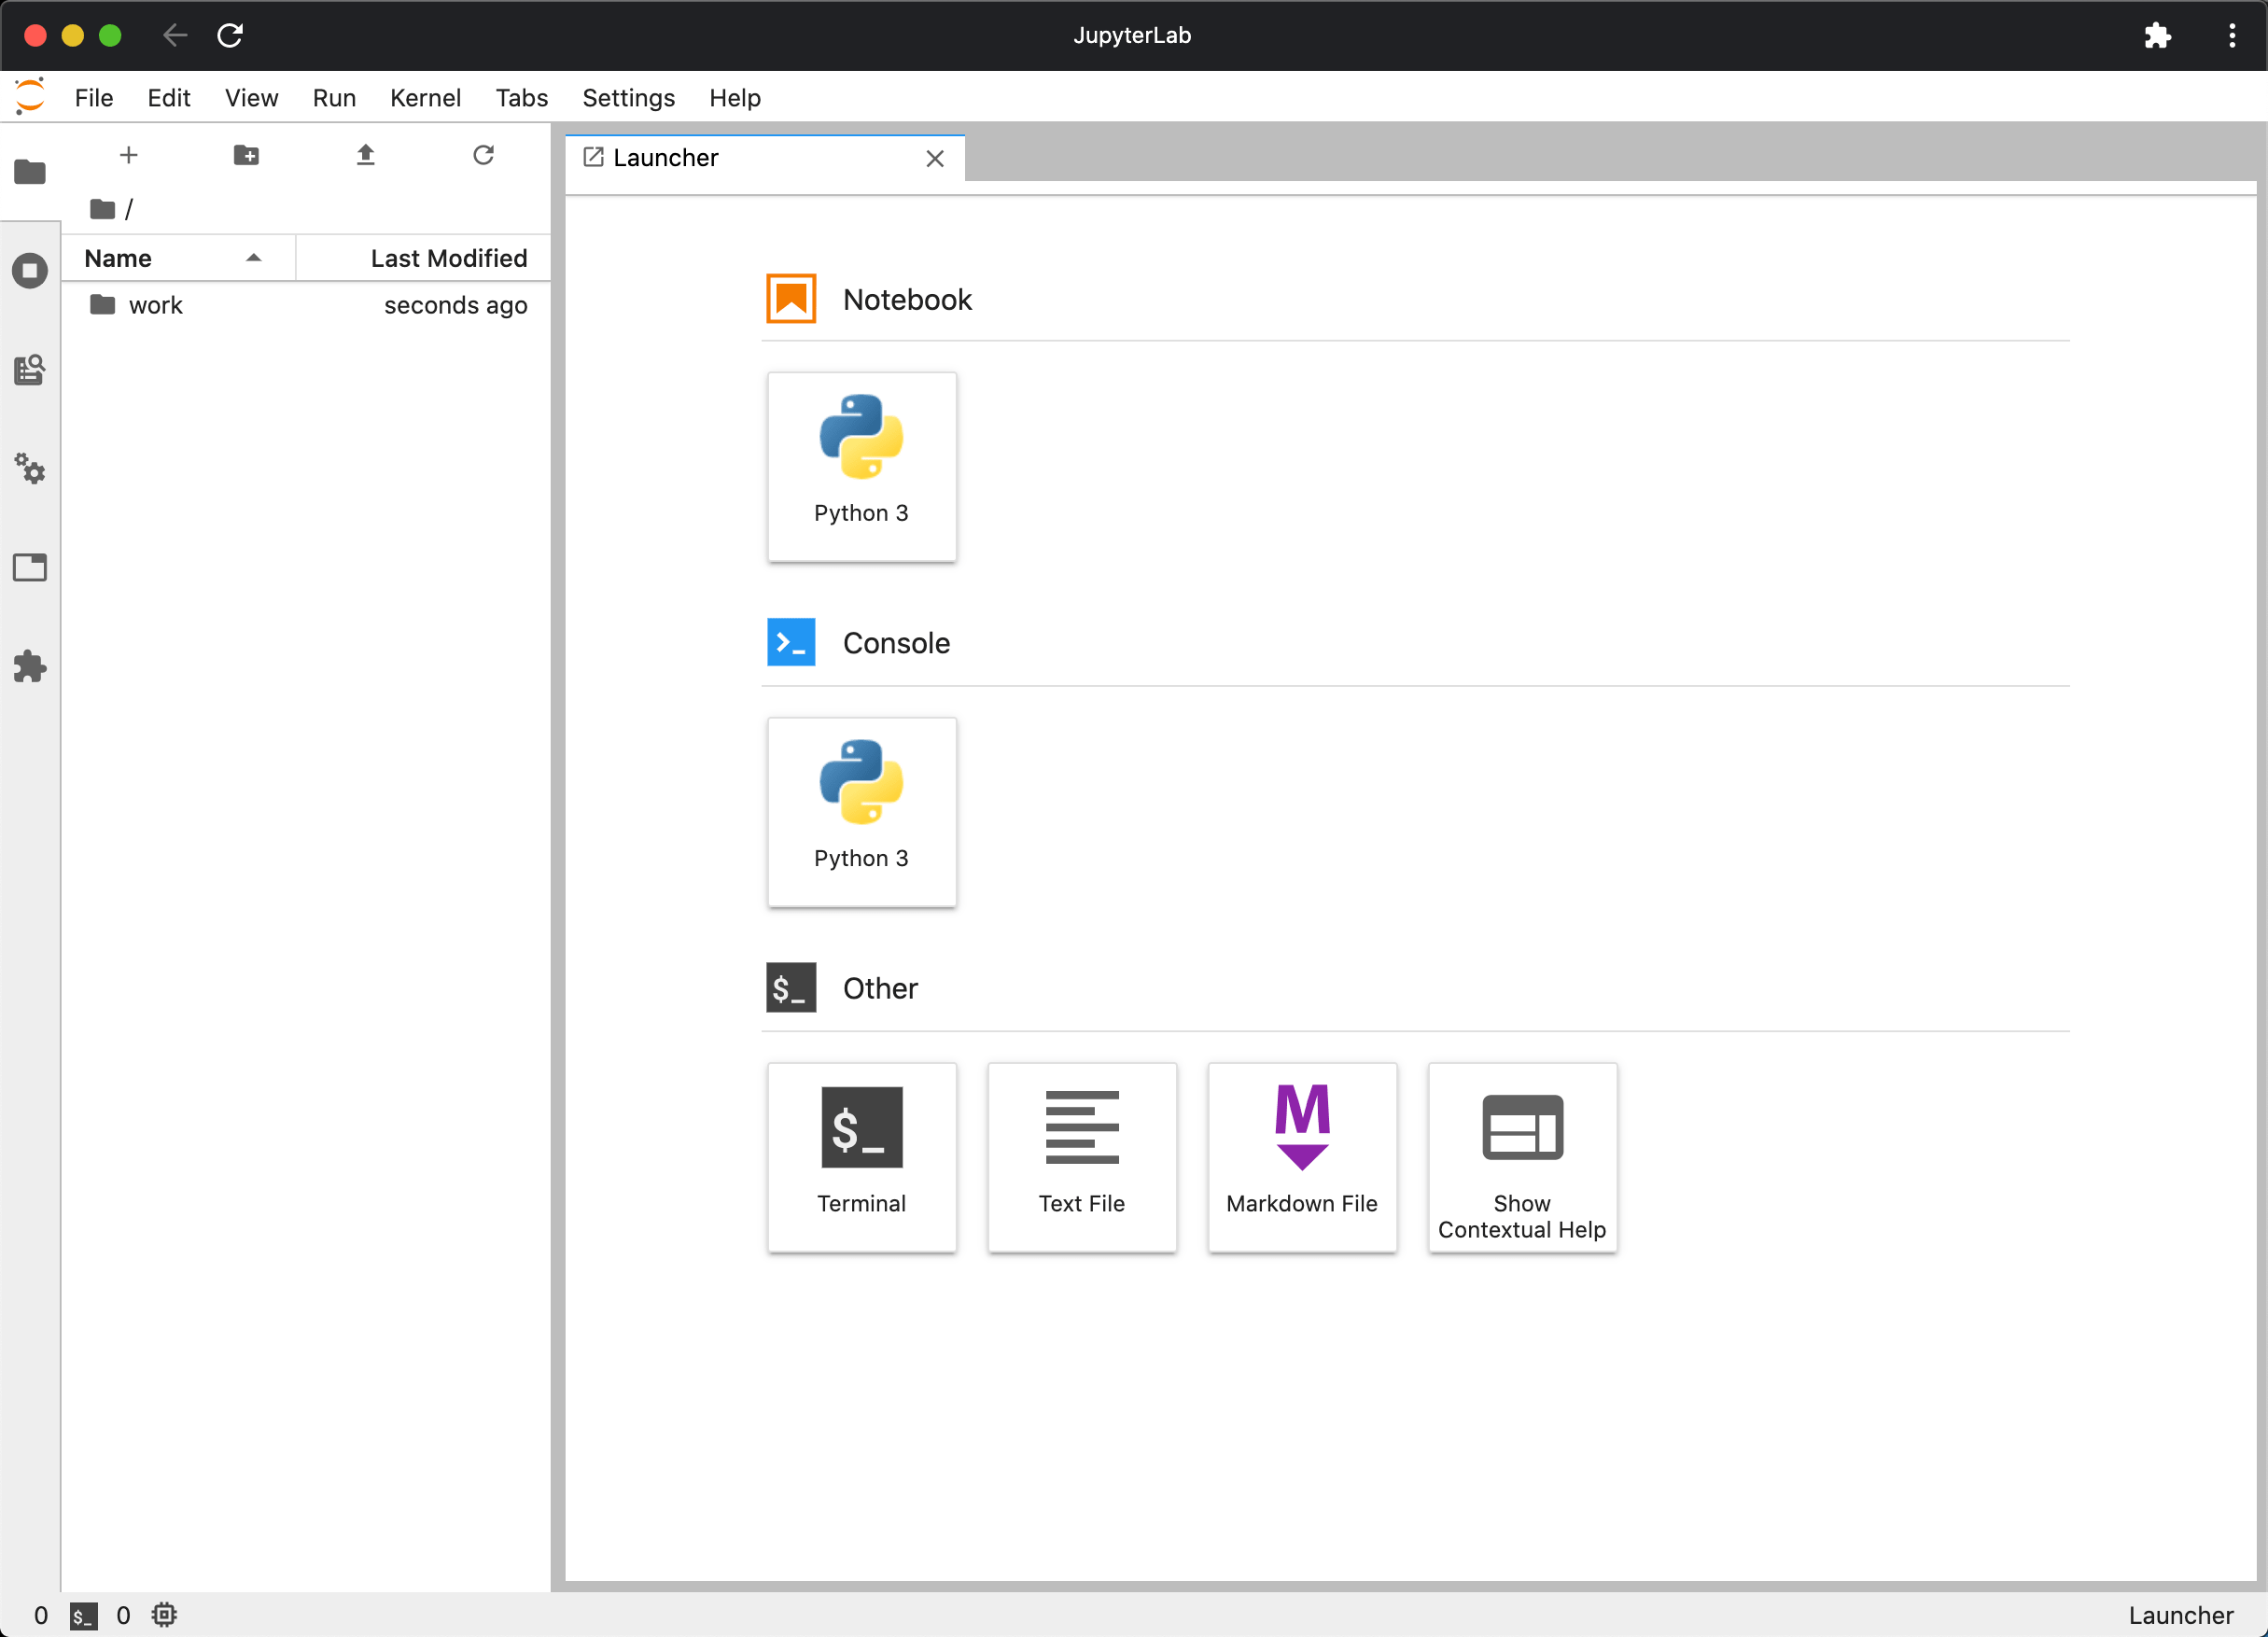
conda install -c conda-forge jupyterlab执行 jupyter lab 启动,浏览器会打开 :8888/ :
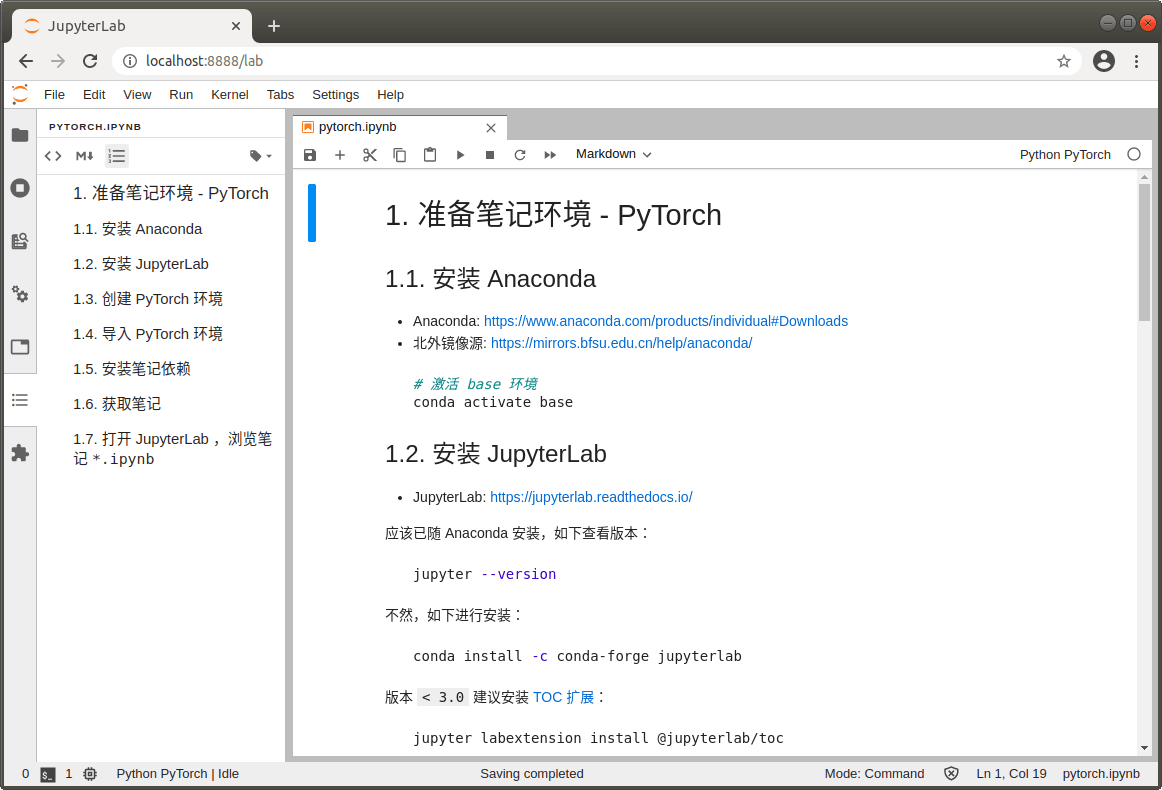
版本 < 3.0 建议安装 TOC 扩展:
jupyter labextension install @jupyterlab/tocTOC 目录效果如下:
PyTorch: https://pytorch.org/
# 创建虚拟环境 conda create -n pytorch python=3.8 -y conda activate pytorch # 安装 PyTorch with CUDA # NOTE: Python 3.9 users will need to add '-c=conda-forge' for installation conda install pytorch==1.7.1 torchvision==0.8.2 cudatoolkit=10.2 -c pytorch -yNvidia Driver 于 Ubuntu 推荐安装办法
如下检查 PyTorch 版本与 GPU 支持情况:
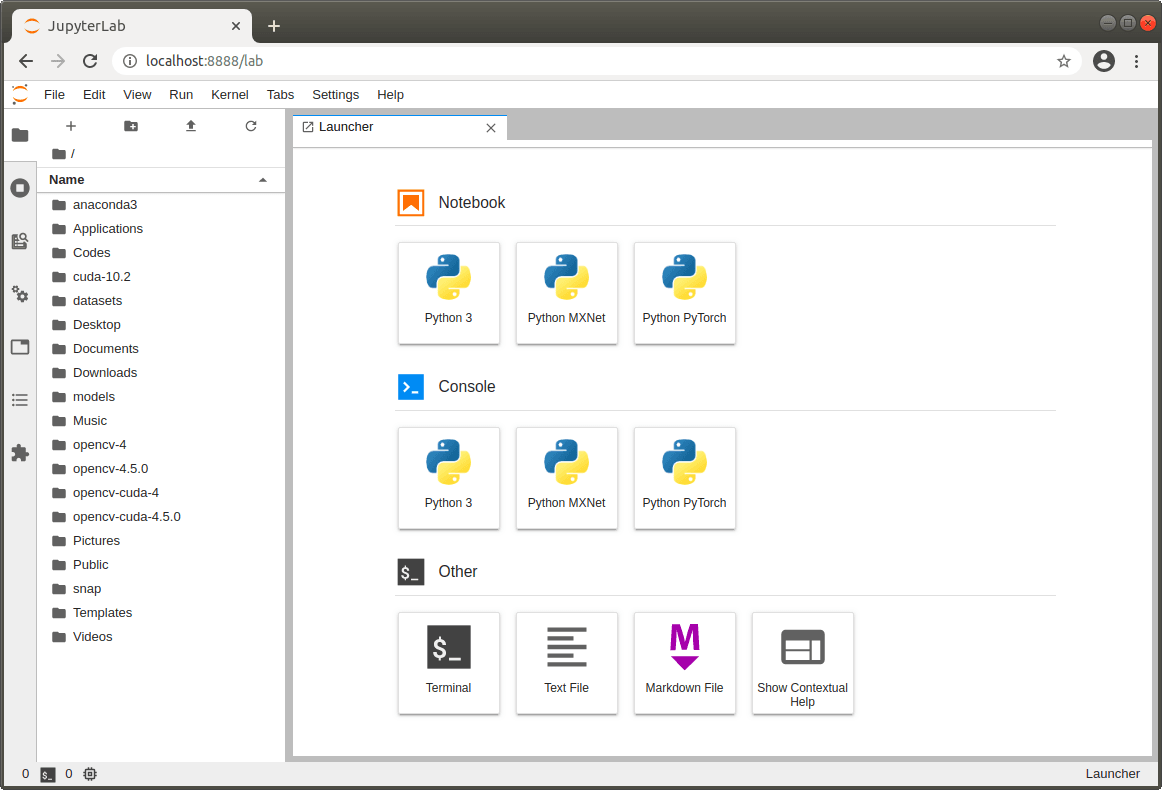
$ python - <<EOF import torch, torchvision print(torch.__version__, torch.cuda.is_available()) EOF 1.7.1 True 导入 PyTorch 环境 conda activate pytorch # 安装 IPython kernel for Jupyter conda install ipykernel -y # 导入 pytorch 虚拟环境到 ipykernel python -m ipykernel install --user --name pytorch --display-name "Python PyTorch"Python PyTorch 即会添加进 Launcher:
运行 JupyterLab :
conda activate base # 启动 JupyterLab jupyter lab浏览器会打开 :8888/ ,如上节图片。
可于左侧 File Browser 浏览打开 *.ipynb 笔记
可于右侧 Launcher 创建编辑 Python PyTorch 笔记
笔记可编辑 Code 并执行:

或者 VS Code 安装 Jupyter 扩展进行浏览与编辑。
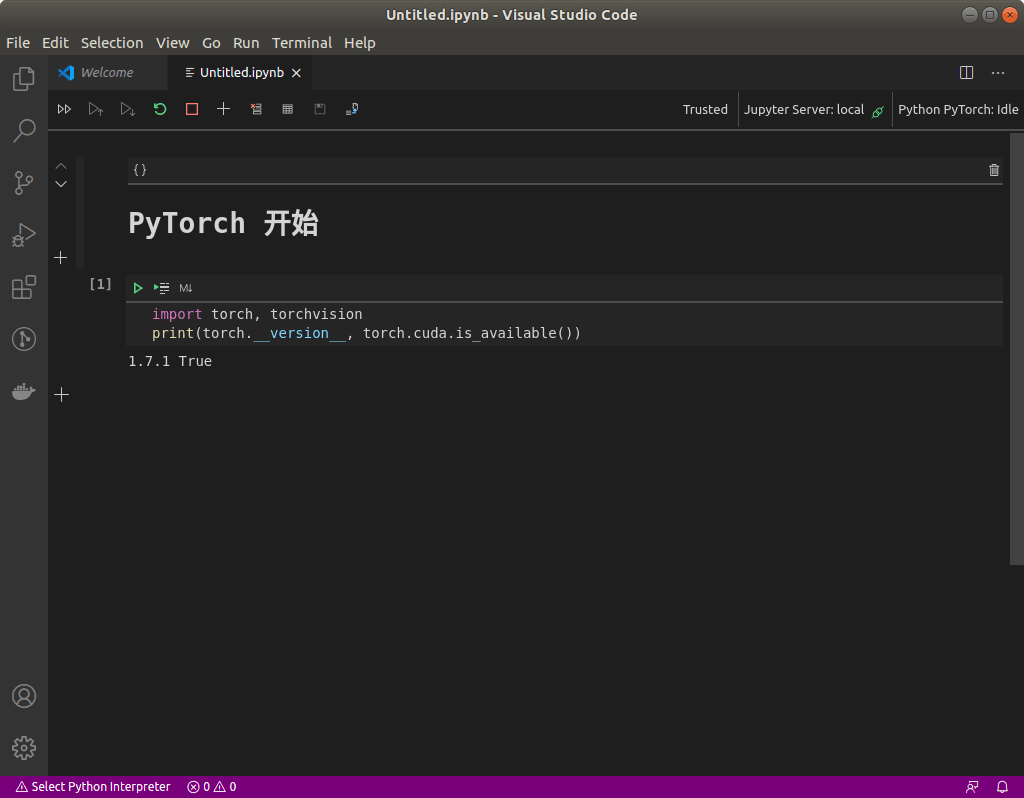
注意:笔记右上角选择的 Kernel 应为 Python PyTorch。
GoCoding 个人实践的经验分享,可关注公众号!